How To Make A Video From YouTube Clips
So, you want to create a compelling new video using clips from YouTube? It's a fantastic way to make reaction videos, highlight reels, or educational content. But before you jump in, it's smart to have a game plan. Think of it less like a random collage and more like building with digital LEGOs—you need to find the right pieces and have a clear idea of what you're building before you start snapping them together.
The whole process really boils down to four key stages: planning your story, grabbing the clips you need (legally, of course), stitching them together into a story, and finally, polishing and exporting your new video.
Your Blueprint for Creating Videos from YouTube Clips
Let’s get a bird's-eye view of the entire workflow. If you skip the planning and just start downloading clips randomly, you'll almost certainly get bogged down later. A little structure upfront saves a ton of headaches during the editing phase.
This visual gives you a quick look at the journey from a simple idea to a finished video ready for an audience.
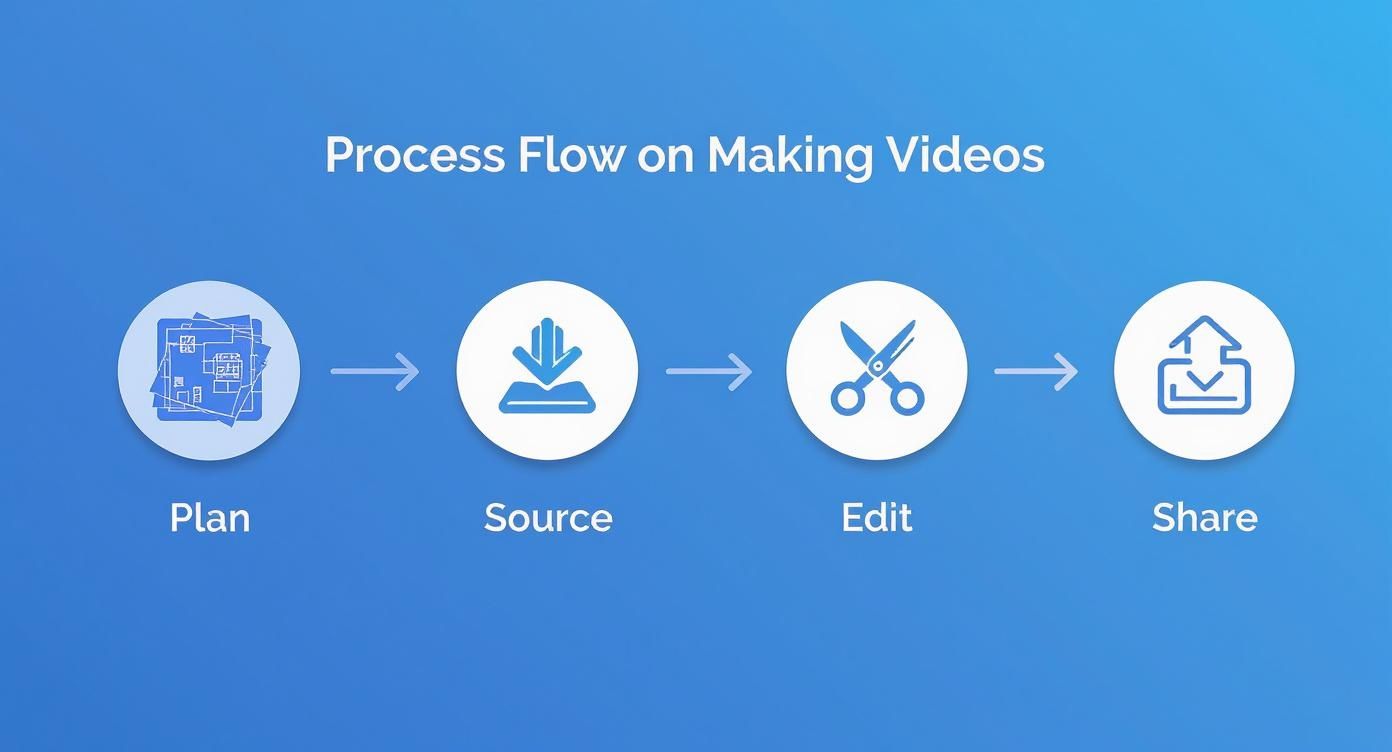
Each of these stages flows logically into the next. You can't edit clips you haven't downloaded, and you won't know which clips to download if you haven't planned your narrative. This step-by-step approach keeps things manageable.
To give you a clearer picture, here’s how those stages break down into actionable steps.
The 4 Core Stages of Making a Video from YouTube Clips
This table outlines the essential workflow you'll follow from start to finish.
| Stage | Key Actions | Primary Goal |
|---|---|---|
| 1. Planning | Outline your video's message, create a storyboard or shot list, and identify potential source clips. | To create a clear roadmap for your video before you start any technical work. |
| 2. Sourcing | Find and download the specific YouTube clips you need while respecting copyright and fair use. | To gather all the raw video assets required for your project. |
| 3. Editing | Trim clips, arrange them on a timeline, add transitions, music, text, and voiceovers. | To assemble the raw clips into a cohesive and engaging final narrative. |
| 4. Exporting | Render your final video in the correct format, resolution, and aspect ratio for its destination. | To produce a high-quality, shareable video file ready for upload. |
Seeing the process laid out like this makes it feel much less intimidating, right? You just focus on one stage at a time.
The secret to a great compilation video isn't just flashy editing; it’s thoughtful planning. Knowing your story's beginning, middle, and end before you even download your first clip saves hours of frustration.
This framework is especially powerful for short-form content, where every second counts. If you're aiming for that vertical video format, many of these same principles apply. For a deeper dive, check out our guide on how to make viral YouTube Shorts.
Finding and Sourcing Your Clips (The Right Way)
Before you even think about firing up your editor, you have to get your raw materials. This is where a lot of new creators get into trouble. Just grabbing any video you like is a surefire way to get hit with a copyright strike, and that’s a headache nobody wants. So, let’s talk about how to source your clips legally from the get-go.
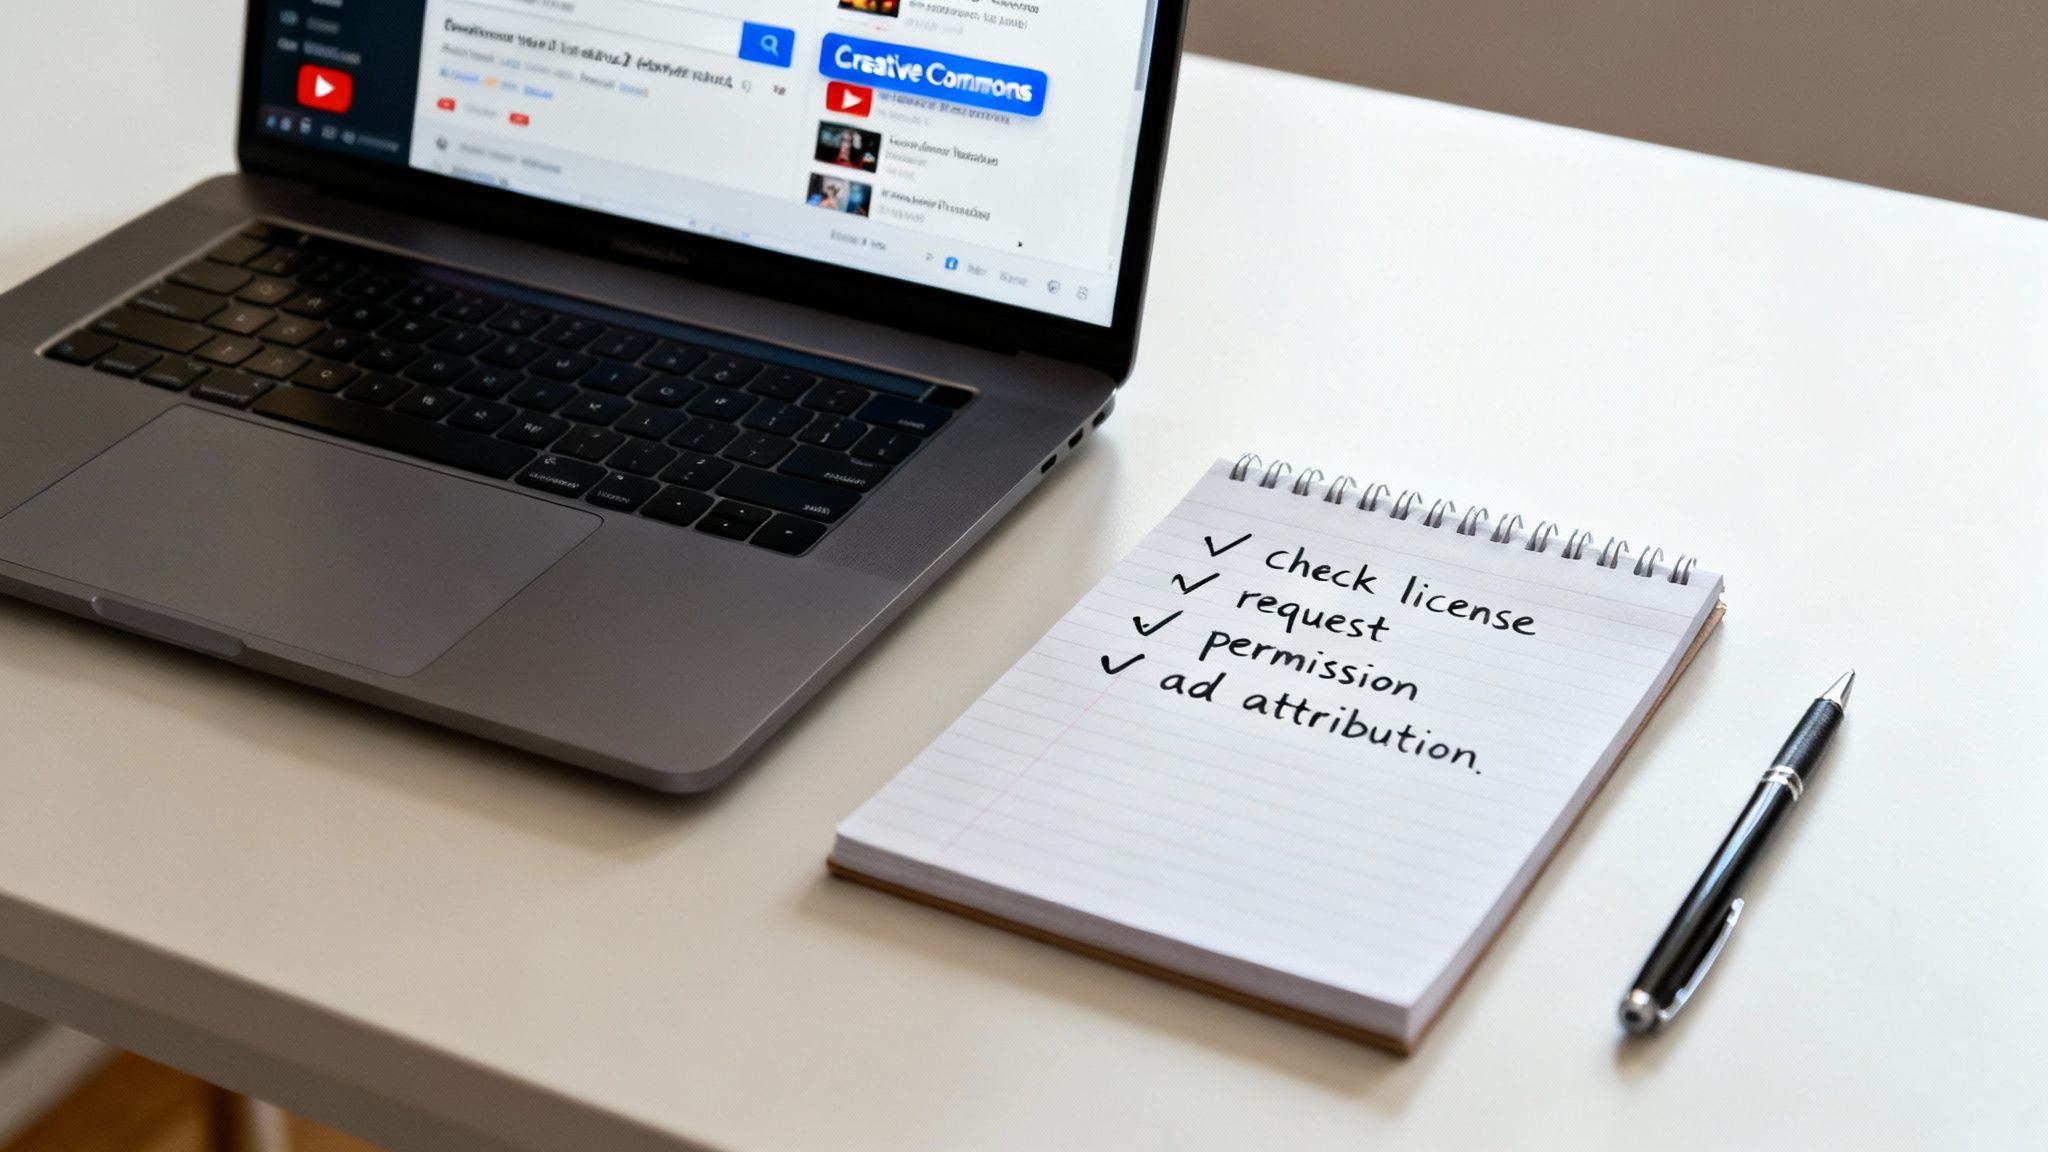
Your first and best tool for this is built right into YouTube. Once you've searched for something, just click on "Filters" and look for the Creative Commons option. This one click is a game-changer, showing you only the videos that creators have already given permission to reuse.
Know Your Licenses
Okay, so you've filtered for Creative Commons. You're not quite done yet. It’s not a total free-for-all; these licenses have different rules, and you need to know what you’re agreeing to.
Here’s a quick breakdown of the most common ones:
- Attribution (CC BY): This is the one you want to see. It’s the most flexible and lets you use the clip for pretty much anything, even commercially. The only catch? You have to give proper credit to the person who made it.
- ShareAlike (CC BY-SA): This is similar to Attribution, but with an important twist. You still have to give credit, but you also have to license your new video under the exact same ShareAlike terms.
- NoDerivs (CC BY-ND): Steer clear of this one for compilations. It lets you share the original video, but you can't edit or alter it at all, which defeats the whole purpose of what we're doing.
My personal take: I almost exclusively hunt for CC BY clips. It gives me the most creative runway to edit and mix content while still doing right by the original creator. A simple credit in my description is all it takes.
Another goldmine is the public domain. This is where you'll find older content where the copyright has expired. It's completely free for anyone to use for any reason, no strings attached.
The sheer volume of content on YouTube is staggering. We're talking over 3.9 billion videos already online, and that number is growing every single day. The right clips for your project are out there. If you're curious about the numbers, you can dig into more YouTube statistics on awisee.com. This massive library means that with a little patience, you'll find exactly what you need.
Picking Your Toolkit: How to Download and Edit Your Clips
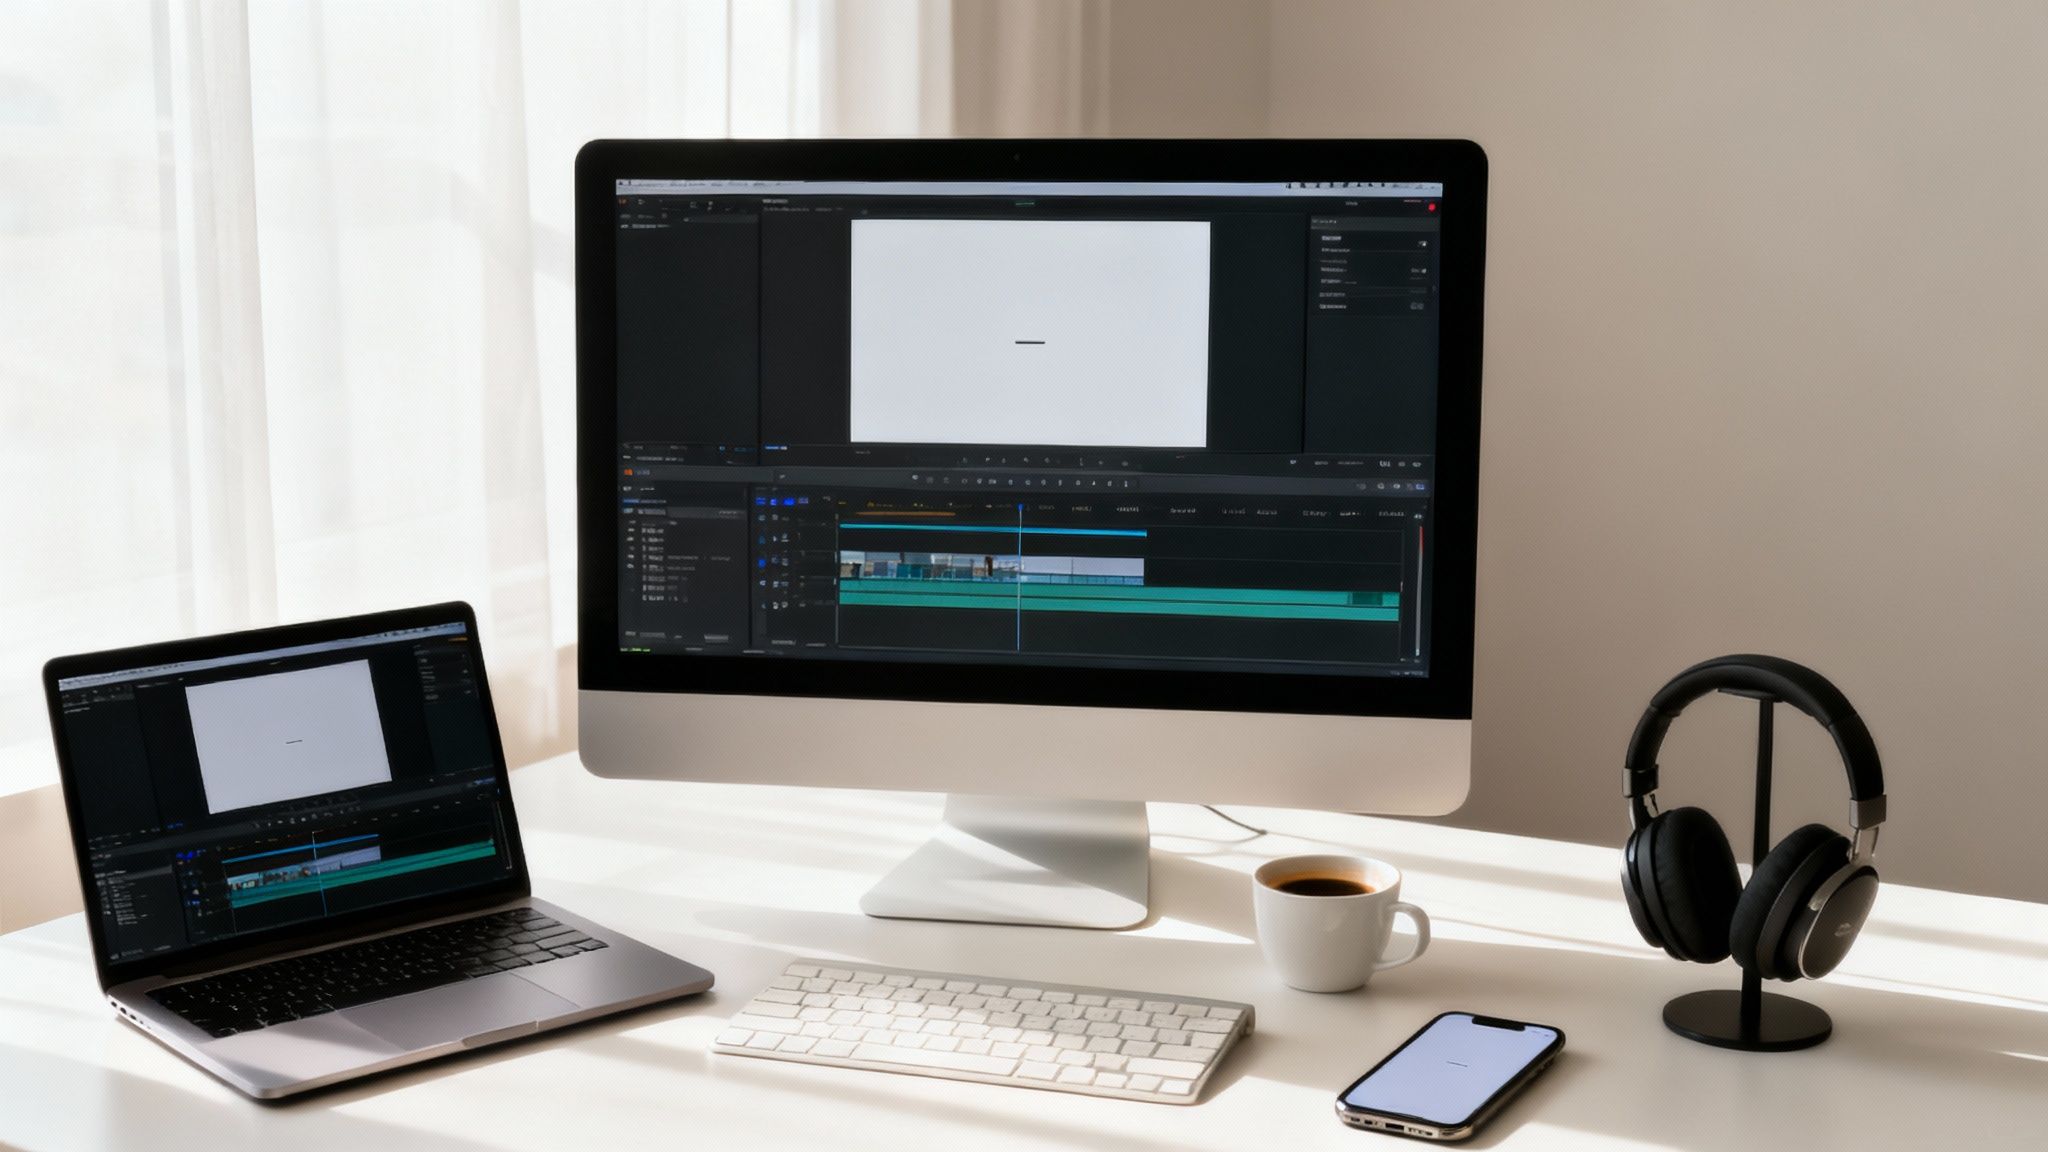
Okay, you've scouted and found the perfect clips. Now for the fun part: stitching them all together. The tools you pick for this next step are crucial, as they'll shape both how quickly you can work and the polish of your final video.
Honestly, it all comes down to a classic balancing act: do you need speed and simplicity, or do you crave power and control?
If you're in a hurry and just need to get something done, web-based editors are a lifesaver. Tools like Clipchamp or Canva let you do all the basics—trimming clips, adding text, maybe a simple transition—right from your browser. No installs, no fuss. This is the perfect route if you're trying to bang out a quick highlights reel on your lunch break.
But when your project needs a little more finesse, it's time to look at dedicated desktop software.
Free Powerhouses vs. Paid Industry Standards
Jumping to a more advanced editor doesn't mean you have to open your wallet. There are some incredible free options out there. Take DaVinci Resolve, for example. It offers professional-level color correction and audio tools that are, frankly, astounding for a free program. The trade-off? It has a pretty steep learning curve, which can be a bit much if you're just starting out.
Then you have the paid heavy-hitters like Adobe Premiere Pro. It’s the industry standard for a reason. You get a massive feature set, it plays nicely with other Adobe creative apps, and there's a huge ecosystem of plugins. This is the kind of software you turn to when you need to get granular with effects or work on a collaborative team project.
My two cents: A flashy feature list means nothing if you can't figure out how to use it. I always tell people to start with a simpler, free editor. Get comfortable with the fundamentals of how to make a video from YouTube clips before you commit your time and money to a pro-level suite.
To help you decide, let's break down some of the most popular options.
Video Editing Software Comparison
Here’s a look at how some of the top free and paid tools stack up, so you can find the best fit for your project and skill level.
| Tool | Best For | Key Features | Price |
|---|---|---|---|
| DaVinci Resolve | Advanced users on a budget | Pro-level color grading, Fairlight audio tools, node-based effects. | Free (Studio version is paid) |
| Adobe Premiere Pro | Professional creators & teams | Seamless Adobe integration, vast effects library, multi-cam editing. | Subscription |
| Clipchamp | Beginners & quick edits | Browser-based, simple timeline, stock library, template-driven. | Free (with paid tiers) |
| Canva | Social media & non-editors | Drag-and-drop interface, huge template library, great for graphics. | Free (with paid tiers) |
Ultimately, choosing a tool comes down to what you're trying to accomplish right now. There's no single "best" editor for everyone.
In fact, a lot of experienced creators I know use a mix of tools. They might use a quick online editor for simple, fast-turnaround jobs, but fire up their powerful desktop software when a project needs that extra layer of quality. Adopting this flexible mindset lets you work efficiently without ever compromising on your vision.
Weaving Your Clips into a Cohesive Story
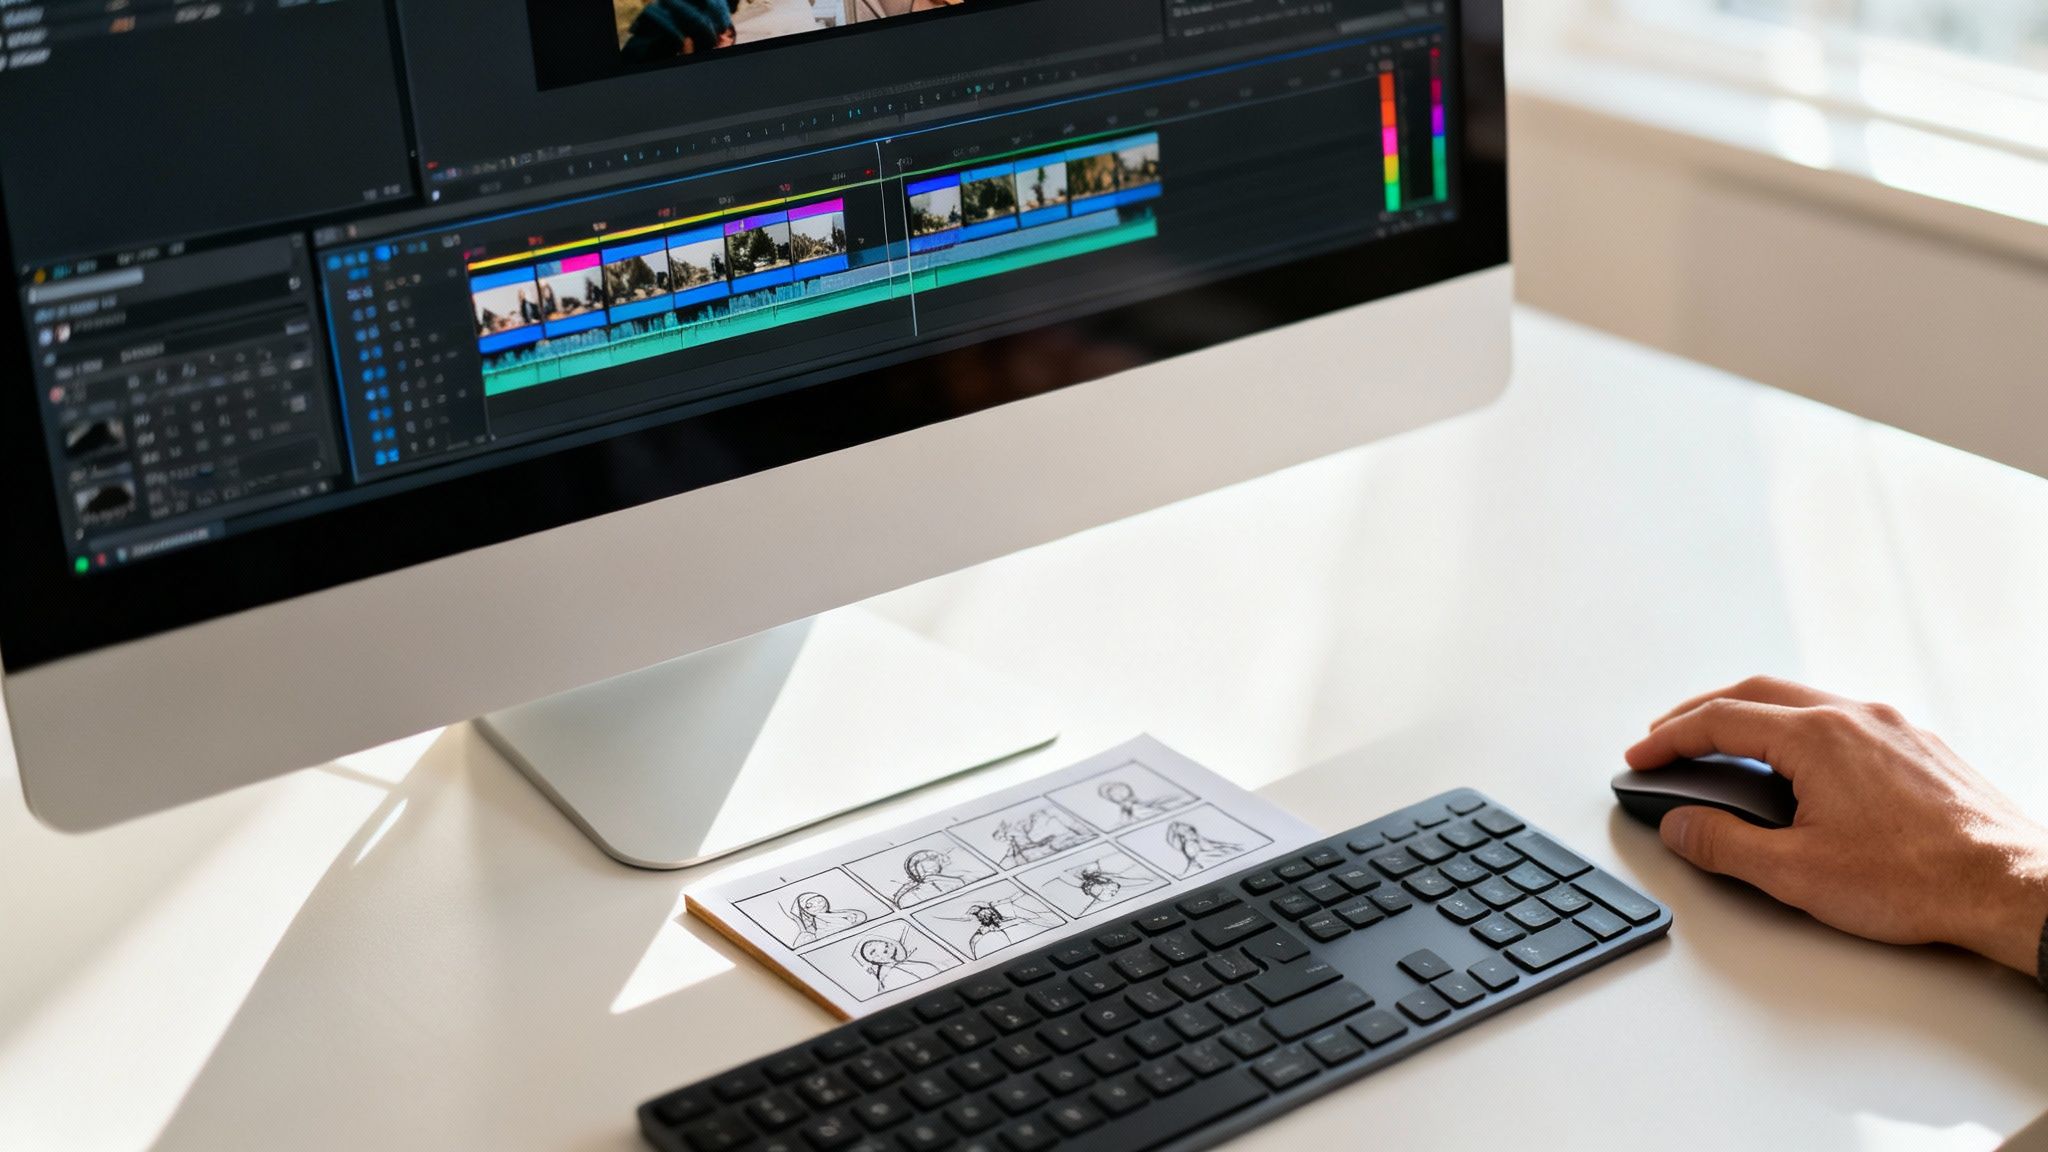
Alright, you've got your pile of downloaded clips. Now for the fun part: turning that raw footage into a compelling story. This is where the real magic happens, right there on your editing timeline. Your job is to arrange, trim, and stitch everything together to create a video that hooks people from the very first frame.
Think of it less like editing and more like storytelling.
The first thing I always do is just dump my best clips onto the timeline. Don't stress about getting the timing perfect at this stage. The goal is simply to lay out the basic skeleton of your video. This "rough cut" gives you a bird's-eye view of your narrative, making it easy to spot where the story flows well and where you might have some awkward gaps.
Finding Your Story's Rhythm
Every great video, no matter how short, needs a clear beginning, middle, and end. For example, when I was putting together a compilation of user reviews recently, I didn't just throw them in randomly. I started with all the glowing first impressions, moved into the more detailed, constructive feedback, and wrapped it all up with a powerful final verdict. This simple structure guided the viewer on a clear journey.
A strong story arc is what makes a video feel intentional, not just like a jumble of clips. Pacing is your best friend here. You can really shape the viewer's experience by:
- Varying your shots: Jump between wide, establishing shots and tight close-ups. This creates a natural visual rhythm that keeps things interesting.
- Playing with clip length: Use rapid-fire cuts for high-energy moments. For more thoughtful or emotional points, let the shots linger and give the audience a moment to breathe.
- Weaving in B-roll: Supplementary footage is perfect for smoothing over cuts and adding extra context. It makes your transitions feel buttery smooth.
Getting this right is worth the effort. People retain a staggering 95% of a message from a video, compared to just 10% from text. That's a huge difference. You can dig into more stats like this in this breakdown of the impact of video marketing on thedesirecompany.com.
The best edits feel invisible. Your goal is to make the transitions so smooth and the pacing so natural that the audience gets completely lost in the story you're telling.
Adding the Final Polish
Once your main story is locked in, it's time to add the professional touches that really make it shine. This is where you'll add things like text overlays to highlight key points, sync up your audio, and apply clean transitions between clips.
Don't underestimate the power of sound. Music and sound effects are your secret weapons for setting the mood, whether you’re going for something upbeat and motivational or lighthearted and funny.
A well-placed voice-over can also be incredibly effective, especially if you need to provide context the visuals can't convey on their own. For tutorials or list-style videos, a clear voice-over is perfect for walking the audience through each step. This is a go-to technique for highlight reels that need to summarize key moments quickly. If you want more tips on that, check out our guide on how to make a highlight video.
Exporting and Sharing Your Finished Video
You've put in the work and your edit is finally complete. Now for the exciting part: getting it ready for the world to see. The final step is exporting, and getting this right is key to making sure your video looks polished and professional on any screen.
Thankfully, most editing software has built-in presets that take the guesswork out of this. For almost any web video, exporting as an MP4 file is your best bet. It strikes the perfect balance between high quality and a manageable file size, which is exactly what you want for platforms like YouTube.
Choosing the Right Export Settings
While presets are a great starting point, knowing a few specific settings can give you much more control over how your final video looks and performs.
- Resolution: For crisp, high-definition video, 1080p (1920x1080) is the industry standard. If you worked with 4K clips and want to maintain that ultra-high quality, you can export in 4K, but just be ready for a much larger file.
- Frame Rate: The golden rule here is to match the frame rate of your original clips. This is typically 24 or 30 frames per second (fps). If you mix and match, you risk ending up with jerky, stuttering playback.
- Aspect Ratio: This all comes down to where you plan to post your video. A standard widescreen YouTube video uses a 16:9 ratio, while vertical formats for YouTube Shorts, Reels, or TikTok need a 9:16 ratio.
I see this mistake all the time: people export a horizontal video and try to post it as a Short. To avoid those ugly black bars or having your masterpiece awkwardly cropped, make sure you set the correct aspect ratio for your project before you even start editing.
This attention to detail is crucial, especially if you plan to monetize your content. When you're reusing clips, navigating platform policies is a big deal, and getting the formatting right is part of that.
Once the export is done, it's time to think about your upload strategy. Don't just throw it online! Spend some time crafting titles and descriptions packed with keywords people are actually searching for. If you're focusing on short-form content, our guide on how to upload YouTube Shorts has some great platform-specific tips to help you get more views right from the get-go.
Common Mistakes to Avoid When Using YouTube Clips
Turning existing clips into a polished new video is a fantastic skill to have, but it’s surprisingly easy to make missteps that scream "amateur." I’ve seen it happen time and again. The good news is that most of these pitfalls are simple to avoid once you know what to look for.
A classic mistake is completely ignoring aspect ratios. You might grab a standard 16:9 widescreen clip and try to jam it into a vertical 9:16 format for a YouTube Short. What you end up with are those ugly black bars or a weird, cropped-in shot that cuts off the action. Always set your project's aspect ratio right from the start to keep things looking clean and intentional.
Another one that drives viewers crazy is mismatched audio. When you pull clips from different videos, their sound levels will be all over the place. One moment it's too quiet, the next a sudden blast of sound sends your audience scrambling for the volume button. Take a few extra minutes to normalize the audio across all your clips. A quick listen-through with headphones is the best way to catch any jarring changes before you publish.
Overlooking the Finer Details
It's not just about the technical stuff, either. Your creative choices can make or break the final product. I get it—it’s tempting to throw in every flashy transition your editor offers. But more often than not, this just makes the video feel chaotic and cheapens your message. A simple, clean cut or a subtle dissolve usually works best because it keeps the viewer focused on the content, not the editing.
The goal of a good edit is to be invisible. If the viewer is noticing your transitions more than your content, it’s a sign to dial it back and simplify your approach.
And here’s the most critical mistake of all: forgetting about permissions. Using a clip without checking its license or giving proper credit is the quickest way to get a copyright strike and have your video taken down. Before you even think about hitting that upload button, double-check the license for every single clip. It’s a tiny step that can save you from a massive headache later.
Got Questions? We’ve Got Answers.
When you're piecing together a video from YouTube clips, a few key questions always pop up. Getting these sorted out from the start can save you a world of trouble later on. Let's tackle some of the most common ones.
Is It Actually Legal to Make a Video from YouTube Clips?
This is the big one, and the honest answer is… maybe. It all boils down to how you source your content.
The safest route, by far, is to stick with videos that have a Creative Commons license. You can filter for these right in YouTube's search. Creators who choose this license are basically giving you permission to reuse their work, though you'll almost always need to give them credit (attribution).
Leaning on Fair Use is a much bigger gamble. It’s a legal concept that can protect content that’s been transformed for things like commentary, parody, or reviews. But think of it as a defense you might have to use in court, not a free pass. To stay out of trouble with copyright strikes, your best bet is always to use Creative Commons clips or get direct permission from the original creator.
What’s the Best Free Software for Editing Clips Together?
You don’t need to break the bank to get started. In fact, some of the best tools are completely free.
For total beginners, I usually point them to browser-based editors like Clipchamp or Canva. They're incredibly intuitive—you can drag and drop clips onto a timeline, add text, and drop in simple transitions without needing a super-powerful computer.
If you find yourself wanting more creative control, the free version of DaVinci Resolve is a powerhouse. It’s what a lot of pros use, so there’s definitely a learning curve. But you get access to Hollywood-level color correction and audio tools that other companies charge hundreds for.
My advice? Start with a simple, free tool to get a feel for the basics of pacing and storytelling. Once your skills outgrow the software, then you can level up to something more advanced.
How Do I Download YouTube Clips Without Losing Quality?
Nothing ruins a great video like a blurry, pixelated clip. To make sure your final product looks sharp, you have to start with high-quality source material.
When you're looking for a downloader, use a reputable online service or desktop app that lets you choose the resolution. You should always aim for at least 1080p, and if the original video is in 4K, grab that version.
A word of caution: be picky about free download sites. Some are sketchy and try to bundle adware or other junk with your download. And, of course, only download a video if you've confirmed you have the rights to use it in your project.
Can I Make Money from a Video Made of Other People's Clips?
Monetizing compilations is tough, but not impossible. YouTube’s Content ID system is incredibly sophisticated and automatically scans for reused content. If your video is just a string of other people's clips with no original input, it’s almost guaranteed to be flagged and demonetized.
To have a real shot at monetization, you need to add significant value. This means using Creative Commons clips that specifically allow for commercial use or creating something genuinely transformative that falls under Fair Use—like an in-depth film analysis or an educational video that breaks down a complex topic using various clips as examples.
Ready to create stunning short-form videos without the hassle? ClipShort uses AI to turn your ideas into viral-ready TikToks, Reels, and YouTube Shorts in minutes. Start creating for free today!