Posting a YouTube Video on Instagram Your Complete Guide
So, can you just drop a YouTube link onto your Instagram feed and call it a day? Not quite.
The short answer is yes, you can get your YouTube videos onto Instagram, but it takes a few extra steps. The real trick is to download your original video file, give it a vertical-friendly makeover, and then upload it as a Reel, Story, or feed post. This simple workflow is your ticket to getting in front of a whole new audience.
Why Bother Repurposing YouTube Videos for Instagram?
Look, reusing your long-form YouTube content isn't just about saving time—it's a seriously smart growth strategy. Think of your YouTube channel as a library of high-value content. The problem is, a huge chunk of your potential audience lives on Instagram, a platform with a completely different vibe and viewing style.
By adapting your videos for the 'gram, you're meeting people where they are.
For instance, that in-depth, 15-minute product review on your YouTube channel? It can be reborn as a punchy 60-second Reel that shows off the product's absolute best features. This makes your content instantly digestible for people who might never stumble across your YouTube channel.
Expand Your Reach Exponentially
The biggest win here is tapping into Instagram's massive, visually-hungry user base. Reels, in particular, are an organic reach goldmine, often blowing traditional feed posts out of the water.
By 2024, Reels were already driving more engagement than regular posts and Stories combined. In major markets, they accounted for over 50% of the time users spend on the platform. That's huge.
A single YouTube video can be sliced and diced into multiple Instagram assets—a teaser Reel, an informative carousel post, and even an interactive Story. This creates several opportunities to connect with your audience from just one piece of content.
This multi-format approach is a cornerstone of any solid content repurposing strategy.
Build a Stronger, More Engaged Community
While YouTube is fantastic for deep, educational dives, Instagram is where you build real, day-to-day community.
Sharing clips lets you kickstart conversations in the comments, run quick polls in your Stories, and chat with followers in a way that feels immediate and personal. It’s how you turn passive viewers into a loyal community that genuinely feels connected to you and what you do.
Getting Your YouTube Video Instagram-Ready
Before you even dream up the perfect caption or hashtag strategy, you’ve got to get the actual video file prepped for Instagram. The very first move is grabbing a clean, high-quality copy of your YouTube video. If it's your own content, this part is easy.
Just hop into your YouTube Studio, navigate to the video you want to repurpose, and download the MP4 file. This is the best way to ensure you're starting with the original, uncompressed file, which makes a huge difference in the final quality. Whatever you do, never screen record your own video—it absolutely tanks the resolution and looks unprofessional.
From Horizontal to Vertical
Once you have that file, the real work begins: transforming it for a vertical-first world. YouTube's standard 16:9 widescreen format just looks clunky and out of place on Instagram, where everything is built for vertical viewing. Your goal is to make your content feel like it belongs on the platform.
You're mainly shooting for two aspect ratios:
- 9:16: This is the full-screen vertical format you see in Instagram Reels and Stories.
- 4:5: A slightly shorter vertical format that's perfect for in-feed video posts, as it commands more screen real estate than a simple square post.
The process is pretty straightforward when you break it down. You're essentially taking your original content, reformatting it, and then posting it to a new platform.
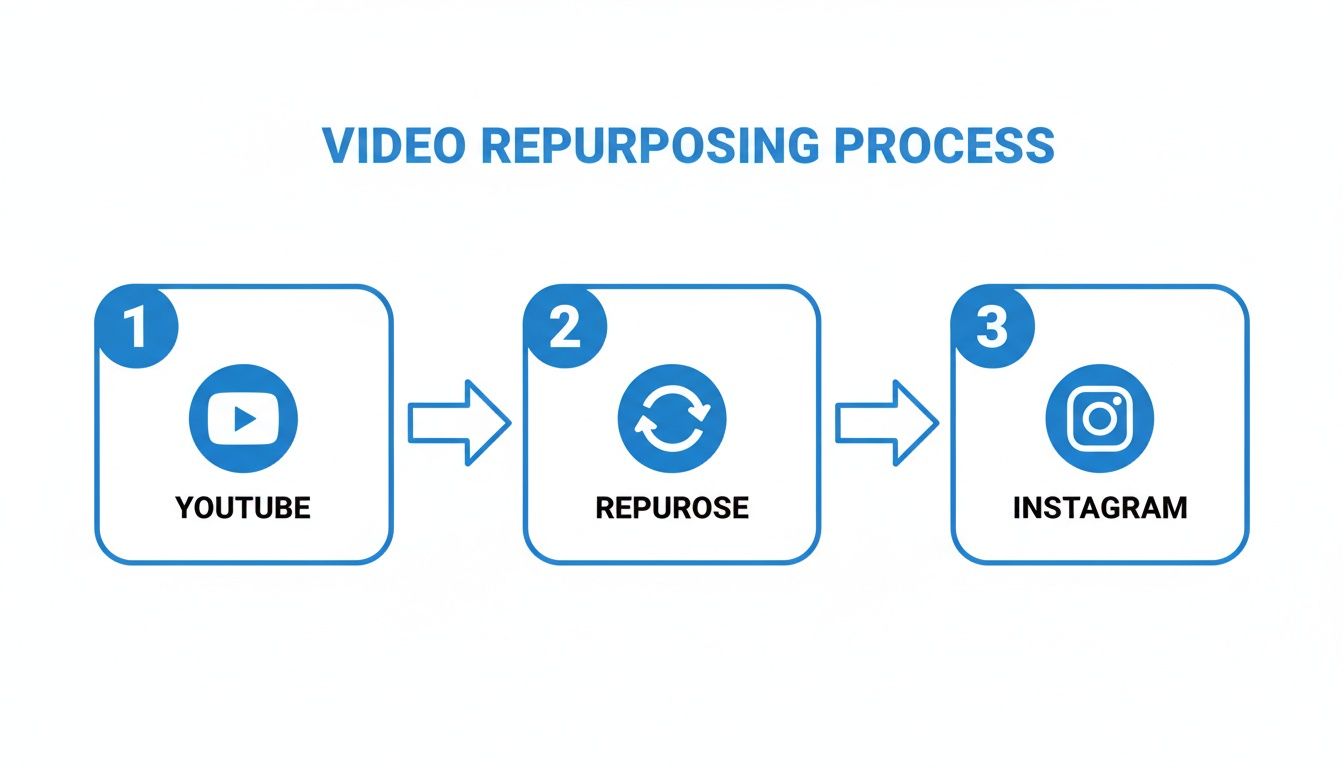
This simple workflow—YouTube to repurposing to Instagram—is the secret to making one piece of content work hard for you across multiple platforms.
To give you a clearer picture, here's a quick cheat sheet comparing the technical specs for video on both platforms.
Instagram vs YouTube Video Format Cheat Sheet
This table breaks down the key differences in video requirements, so you know exactly what to aim for when repurposing your content.
| Specification | Instagram Reels/Stories | Instagram Feed Post | YouTube Standard Video |
|---|---|---|---|
| Aspect Ratio | 9:16 (Vertical) | 4:5 (Vertical) or 1:1 (Square) | 16:9 (Horizontal) |
| Resolution | 1080 x 1920 pixels | 1080 x 1350 pixels | 1920 x 1080 pixels (or higher) |
| Max Length | 90 seconds | 60 seconds (up to 10 mins for some) | Up to 12 hours |
| File Type | MP4, MOV | MP4, MOV | MP4, MOV, and others |
| Orientation | Primarily vertical | Vertical, square, or horizontal | Primarily horizontal |
Having these specs handy will save you a ton of headaches and ensure your video looks crisp and native on each platform.
Reframing Your Shot
Now, resizing isn't just about plugging in new dimensions. It’s about thoughtful reframing. When you crop a wide horizontal video into a tall vertical one, you're guaranteed to lose visual information on the sides. The trick is to make sure the most important part of your shot stays front and center.
For example, if your original YouTube video has someone speaking on the far left of the frame, a lazy center crop will completely cut them out. You have to actively pan and reframe the shot to keep that person as the main focus.
This is where a lot of creators drop the ball, but getting the reframing right is what separates polished content from amateurish clips. For a much deeper dive into getting the specs perfect, check out our complete guide on vertical video dimensions. Mastering this is key to making sure your content is perfectly optimized for how people actually scroll through Instagram.
Editing Your Clip for Maximum Engagement

Just snipping a piece of your YouTube video and throwing it on Instagram won't cut it. A raw, unedited clip feels out of place and is the fastest way to get scrolled past. Real success in posting a YouTube video on Instagram comes from making your clip feel like it was born on the platform—engaging, fast-paced, and built for a mobile audience.
First up, let's talk timing. For Reels, you've got a 90-second maximum, but shorter is almost always better. You want to deliver a single, powerful idea or a quick win without any fluff.
More importantly, the first three seconds are everything. That's your hook. You have to give people a reason to stop scrolling. Ditch the slow intros and jump straight into the action: a surprising statement, a visually stunning moment, or a question that makes them want the answer.
Adding Native Instagram Elements
To really make your content feel at home, you need to play with Instagram's own toys. The algorithm tends to reward creators who use the platform's native features because it keeps people on the app longer.
Try working in a few of these:
- Trending Audio: Find a popular song or sound that fits your vibe and layer it quietly under your original audio. This is a simple trick that can give your Reel a serious discoverability boost.
- Text Overlays: Use Instagram’s built-in text to emphasize key points or add context. Animated text is especially good at keeping eyes glued to the screen.
- Interactive Stickers: If you're posting to Stories, throw in a poll, quiz, or question sticker. These are gold for sparking direct engagement with your followers.
These little touches tell both the algorithm and your audience that you made this content for them, not just recycled it. Beyond these edits, it's worth exploring other ways to post high-quality content on Instagram to really level up your strategy.
The Power of Burned-In Captions
If you do nothing else, do this. The vast majority of people watch Instagram videos with the sound off. If your video has someone talking, you absolutely need burned-in captions—subtitles that are actually part of the video file itself.
Without captions, you're basically invisible to a huge chunk of your potential audience. Adding them is one of the easiest ways to increase watch time and make your content accessible to everyone.
This doesn't have to be a painful, manual process. Modern AI tools can automatically transcribe your audio and generate slick, animated captions in minutes. A tool like ClipShort can even analyze a long YouTube video to find the most "viral" moments for you, which saves hours of digging for the perfect clip. It’s a smart workflow that lets you create engaging shorts without all the grunt work.
Crafting a Post That People Will Love
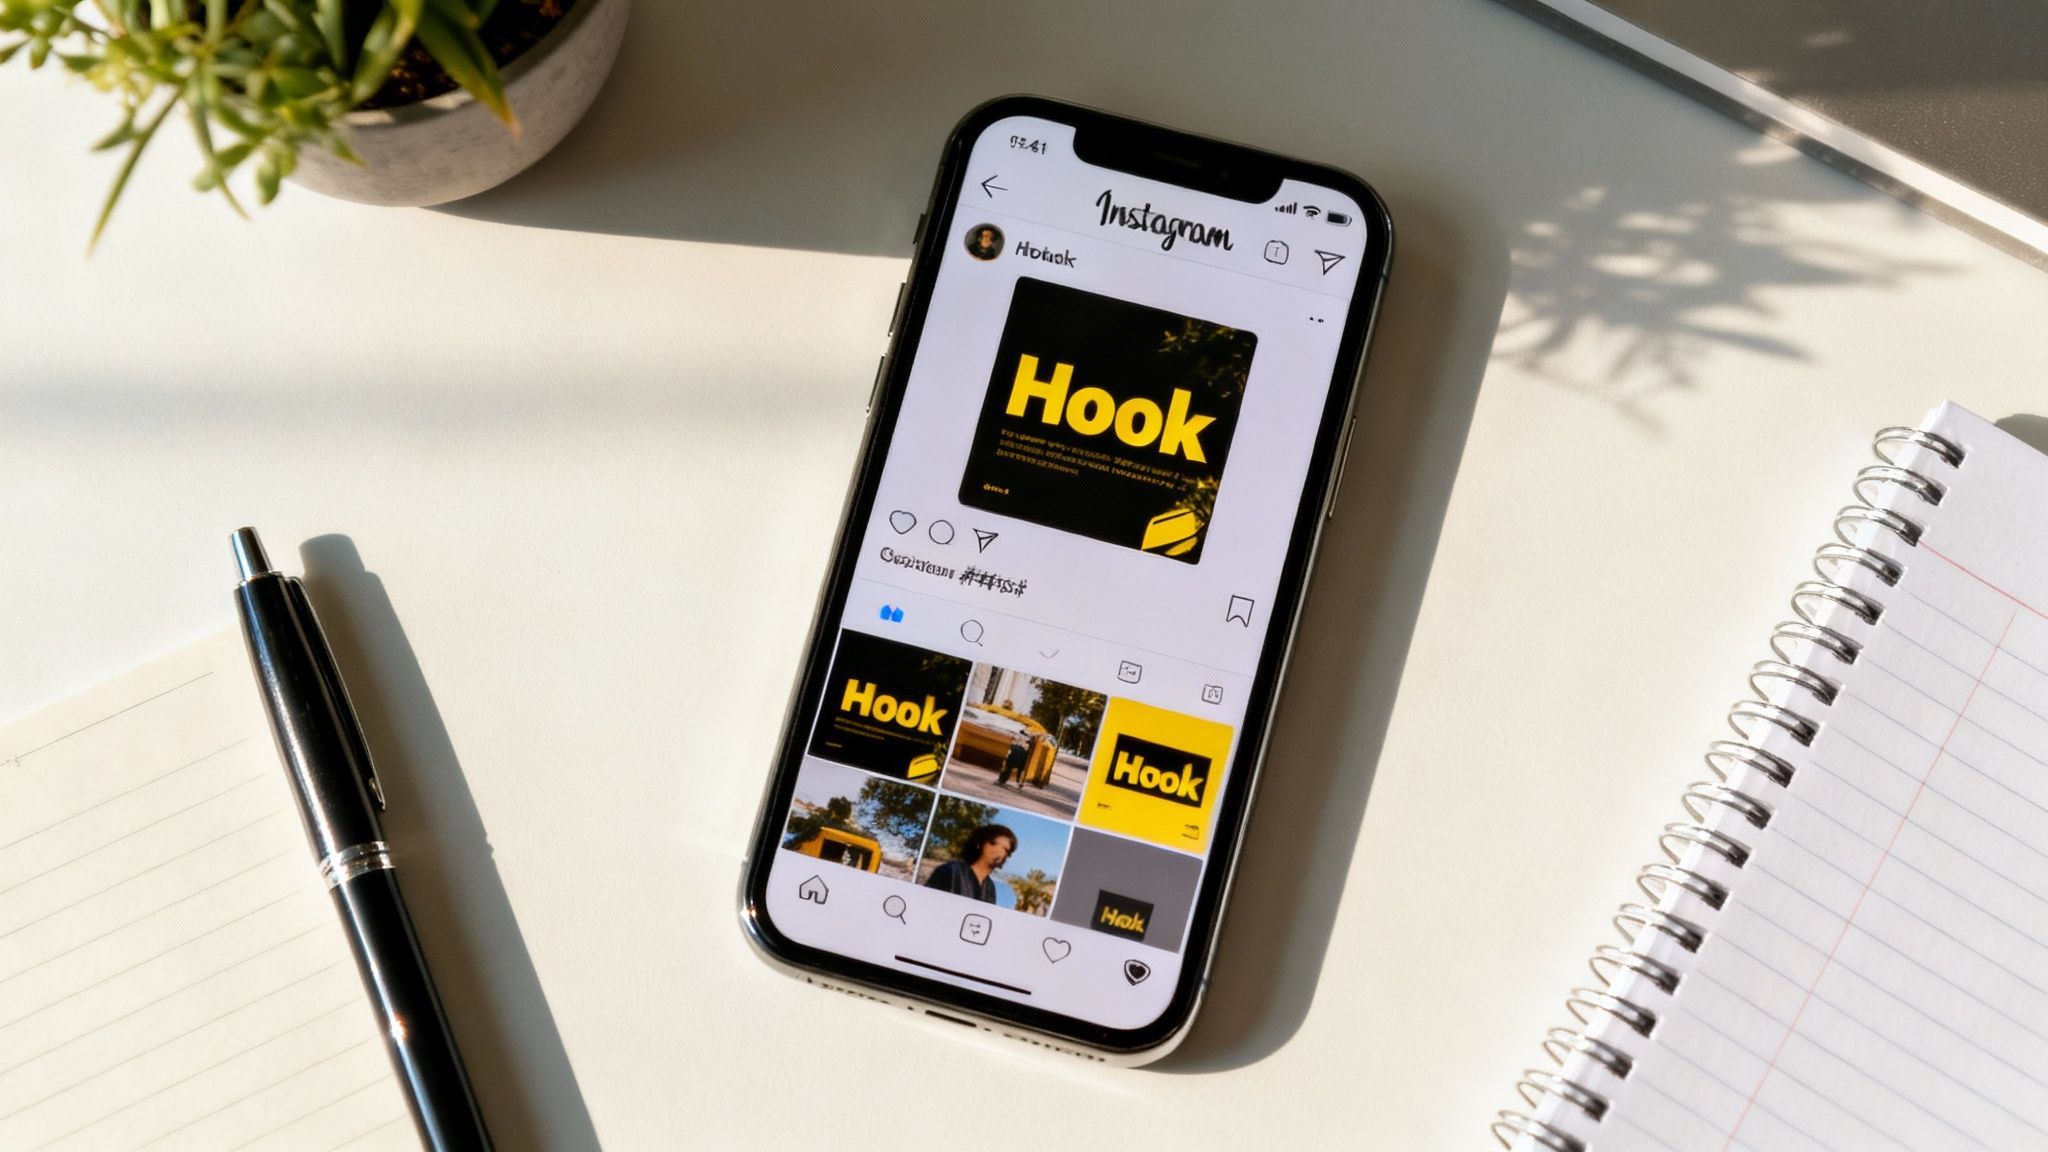
Getting your video clip ready is only half the battle. If you're serious about posting a YouTube video on Instagram, you have to nail the surrounding elements—the caption, hashtags, and cover image. These are the things that turn a decent clip into a high-performing post people actually save, share, and talk about.
Your caption is a secret weapon. It’s not just for describing what's in the video; it's your chance to start a real conversation. A simple but powerful framework I always come back to is hook, value, and call-to-action. Kick things off with a bold statement or a question, drop a key insight from your video, and then tell people exactly what to do next. Something like, "Comment 'YES' if you agree!" works wonders.
This simple structure turns passive scrollers into active community members, which is a core part of mastering Instagram Reels best practices. For brands, this isn't just about vanity metrics; it can directly impact the bottom line. In fact, brands in the US and Europe have reported 25% higher conversion rates when they tag products in repurposed YouTube clips on Reels, turning simple views into actual sales. This fascinating data comes from research by Opus.pro.
Choosing Your Hashtags and Cover Image
Think of hashtags as your post's discovery engine. They're what help you reach all the people who don't follow you... yet. Just don't make the mistake of slapping the same generic tags on everything.
A smart hashtag strategy involves mixing a few different types:
- Broad Tags: Think
#videomarketingor#contentcreation. These have massive volume, but you're competing with everyone. - Niche Tags: This is where you get specific, like
#youtubetipsforbeginners. It helps you connect with a much more targeted, and often more engaged, audience. - Community Tags: Use hashtags that are unique to your industry or community, like
#femalecreatorsor#smallbusinessowner.
Finally, never, ever underestimate the power of a custom cover image. This is the thumbnail people see on your profile grid and what catches their eye on the Explore page. A slick, well-designed cover with a clear title can dramatically boost your click-through rate. More importantly, it makes your entire profile look polished and professional, inviting people to stick around and see what else you've got.
To make sure all this hard work pays off, you'll want to integrate these tactics into broader strategies for growing your Instagram followers.
Know the Rules: Copyright and Cross-Platform Strategy
Before you even think about repurposing, let’s get the big legal stuff out of the way. The first rule is non-negotiable: only repurpose content you own. Grabbing someone else's YouTube video and slapping it on your Instagram is a surefire way to get a copyright strike, and you could even lose your accounts. Always, always start with your own original video files.
Next up is the audio, which is a surprisingly common tripwire. You know that awesome song you licensed for your YouTube video? Yeah, that license almost certainly doesn't cover you for Instagram.
Your safest bet is to strip the original audio from your YouTube clip entirely. Upload the silent video to Instagram, then dive into their massive licensed audio library and pick a trending sound. This not only keeps you out of copyright jail but can actually give your Reel a nice visibility boost.
Make the Platforms Work for Each Other
Okay, with the legalities handled, let's talk strategy. Your goal isn't just to dump a video on Instagram; it's to create a bridge that brings your audiences together. You want to turn your Instagram presence into a powerful funnel back to your main YouTube channel.
Here’s how to create that feedback loop:
- A Clear Call-to-Action in Your Caption: Don't just post the video and walk away. End your caption with a direct prompt. Something like, "The full tutorial is waiting for you at the link in my bio!" works wonders.
- The Power of the Story "Link" Sticker: This is your best friend. Use the "Link" sticker in your Instagram Stories to send followers straight to the full-length YouTube video with a single tap.
When you do this right, Instagram stops being just another place to post content. It becomes a strategic tool for driving real, engaged traffic right back to your YouTube channel.
Got Questions? Let's Clear Things Up
Even with the best game plan, a few questions always seem to pop up when you start repurposing YouTube videos for Instagram. Let's tackle the most common ones I hear so you can build a smarter, more effective workflow.
Can I Just Post My Full 10-Minute YouTube Video on Instagram?
Short answer: nope. You can't just upload a full-length YouTube video, and honestly, you wouldn't want to. Instagram is built for short, fast-paced content. Reels top out at 90 seconds, Stories are capped at 60-second clips, and even feed videos need to get to the point quickly.
The winning strategy here is to think of your Instagram post as a teaser or a highlight reel. Your real goal isn't just to post content—it's to hook viewers and give them a compelling reason to head over to your YouTube channel for the full story.
Does Instagram Really Care if My Video Has a YouTube Watermark?
While Instagram doesn't have an official rule that says "no watermarks," its algorithm is smart. It knows how to spot repurposed content, and it heavily favors videos that feel native to the platform. A big, obvious watermark screams "I made this for somewhere else," and that can seriously limit your reach.
Pro Tip: Always, always work from your original, clean video file. It's the one you had before you ever uploaded it to YouTube. This keeps your content looking professional and makes it feel like it was created just for your Instagram audience.
What’s the Best Way to Get My Video File From My Computer to My Phone?
Quality is everything. To keep your video looking sharp, first download the master file from your YouTube Studio directly to your computer. From there, use a cloud service to send it to your phone. My go-tos are Google Drive, Dropbox, or AirDrop if you're in the Apple ecosystem.
Whatever you do, please don't screen record your own video. It's a surefire way to kill the quality, resulting in a pixelated video and muffled audio that just looks amateur.
Can I Just Copy and Paste the Same Hashtags on Every Post?
That’s a hard no. Using the same block of hashtags over and over again is one of the fastest ways to get your content flagged as spammy by the algorithm. It's a bad look, and it will tank your visibility over time.
Instead, treat each clip as a unique piece of content. Do a little research and find a fresh mix of relevant hashtags that actually describe what’s happening in that specific video. This simple step helps you tap into new, highly targeted audiences with every single post you make.
Ready to stop the tedious manual work and start creating scroll-stopping shorts in minutes? ClipShort uses AI to find viral moments in your long-form content, add animated captions, and assemble engaging videos automatically. Turn your ideas into polished, high-performing videos without ever touching a complex editor. Try ClipShort for free and scale your content today!