How to Add a Voiceover on TikTok A Creator's Guide
Ever wonder how some TikToks just feel more personal and engaging? Often, the secret sauce is a simple voiceover.
Adding your voice is one of the easiest ways to add personality, context, and a layer of storytelling that can turn a good video into a great one. The actual process is straightforward: after you’ve recorded or uploaded your clip, just tap the "Voiceover" button on the editing screen. From there, you hit record and start narrating.
But why is this small step so powerful? Let's get into it.
Why Voiceovers Are Your Secret to TikTok Growth
In the whirlwind that is TikTok, a voiceover is way more than just an audio track. It's a strategic move to grab and hold attention, forging a real connection with your viewers.
Think about it. A simple narration can transform a basic clip into a hilarious story, a confusing DIY project into a super clear tutorial, or an everyday moment into a viral trend. When you add your voice, you're injecting your unique personality directly into your content, making it impossible to replicate.

That personal touch is what helps you stand out. Projections for 2025 show a staggering 16,000 new videos are uploaded to TikTok every single minute. You need every advantage you can get.
A well-placed voiceover can boost viewer retention and engagement by as much as 21% because it adds clarity and keeps people watching longer. For anyone aiming for that viral hit, it’s also smart to optimize your videos for platforms like TikTok, because file size and quality can definitely affect how your content performs.
Boosting Accessibility and Reach
It’s not just about engagement, either. Voiceovers make your content more accessible to a wider audience. They give context to visually impaired viewers and clear up what's happening on screen for everyone else, which is especially helpful for fast-paced or complex visuals. This blend of personality and accessibility makes voiceovers a must-have for any serious creator.
Key Takeaway: A great voiceover doesn't just describe what's happening—it elevates the entire video. It builds trust, clarifies your message, and gives your audience a reason to follow you instead of the thousands of other creators in your niche.
Getting this skill down is a huge step in your growth as a creator. Once you understand its power, you can start experimenting with different styles that fit your content goals. For more strategies to blow up your account, check out our guide on how to create viral TikTok videos.
Using the In-App TikTok Voiceover Tool
When you need to add a quick voiceover on the fly, TikTok's built-in tool is your best friend. It’s perfect for those spontaneous thoughts, quick-hit tutorials, or just adding a bit of context to a video you just shot. Honestly, it’s designed to be intuitive, so you can get your voice on a clip in seconds without ever leaving the app.
First things first, you need a video. Either record something new or just pull an existing clip from your camera roll. Once you have it on your editing screen, look over to the panel of icons on the right. Tap the little downward arrow to expand the full menu of editing tools.
From there, you’re looking for the “Voice” or "Audio editing" option—it usually has a microphone icon. Tapping that will take you straight into the voiceover recording studio.
Recording Your Narration
This is where you get to work. You'll see your video's timeline at the bottom of the screen. Simply drag the white marker to the precise spot where you want your voice to start. Getting this right is the key to making sure your words line up perfectly with what’s happening in the video.
When you're set, hit the big red Record button and start talking. You can lay down the whole narration in one take or break it up into smaller chunks by starting and stopping. I find recording in segments is a lifesaver if I need to catch my breath or glance at my notes.
One of the most important features here is a little checkbox: “Replace original sound with recording.” If your original video has some distracting background chatter or a sound you just don't want, ticking this box mutes it completely. Your voiceover will be the only thing left. But if you want a bit of that original audio to create some ambiance, just leave the box unchecked.
The image below shows you exactly what this recording interface looks like once you're in the editor.
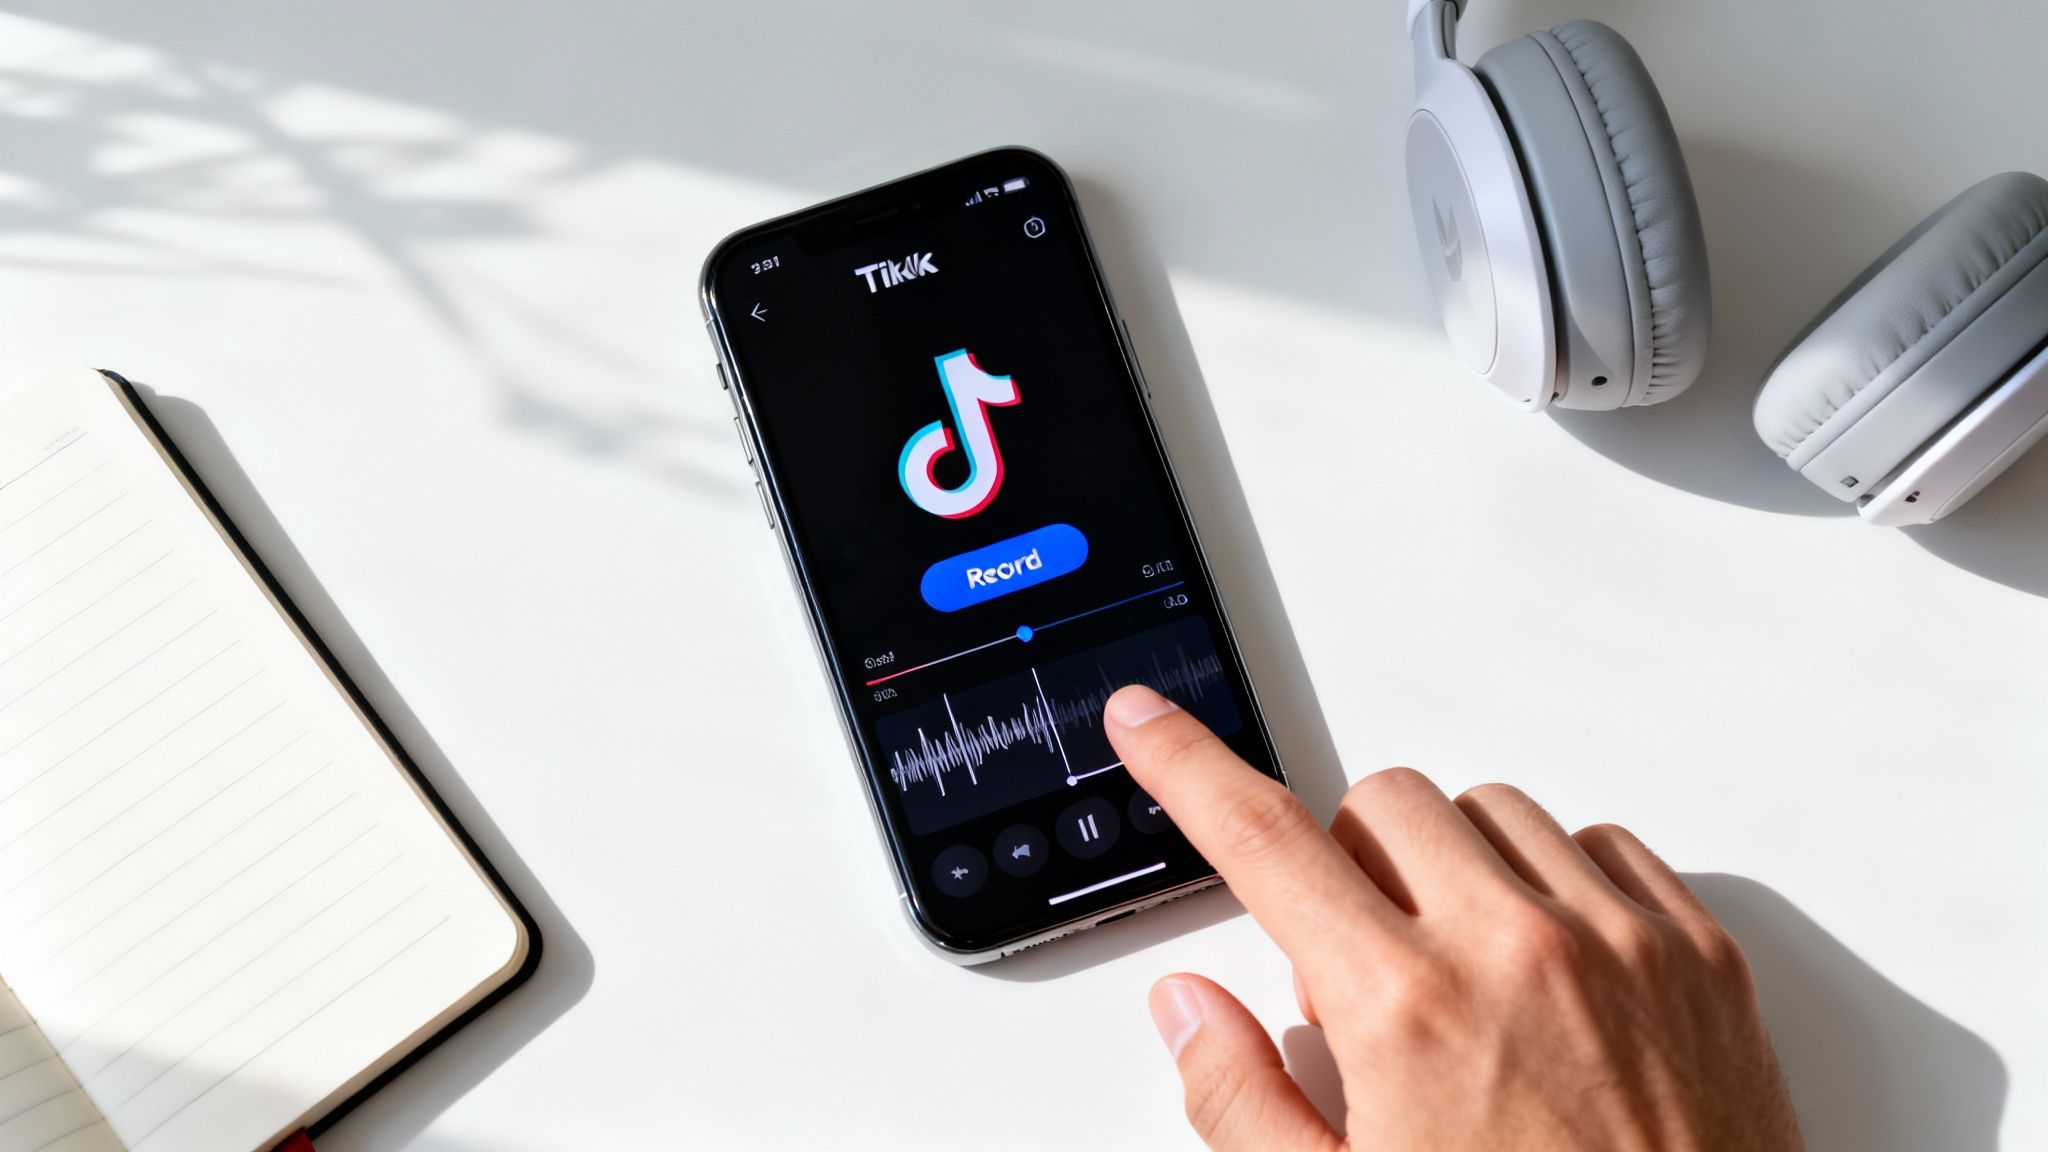
As you can see, the layout is super straightforward. TikTok makes these powerful tools accessible with just a couple of taps.
Pro Tips for a Clean Recording
A little bit of prep can make a huge difference in how your final audio sounds. The quality really comes down to your recording environment.
- Find a Quiet Space: Your phone's mic is surprisingly sensitive and will pick up everything. Try recording in a room with soft surfaces, like a closet full of clothes or a carpeted room, to kill echo and background noise.
- Use a Script: You don't need a full-blown screenplay, but even a few bullet points will keep you from fumbling over your words. It makes you sound way more confident.
- Speak Slightly Slower: It’s easy to rush when you’re recording. Pacing yourself just a little helps make sure your narration is clear and easy for people to follow.
My Personal Tip: Whatever you do, don't hold your phone right up against your mouth. It creates those harsh "p" and "b" sounds called "plosives." I find holding it about six inches away gives you a much cleaner, more professional sound.
Once you’re happy with how your recording sounds, just tap "Save" in the top right. Now you’re ready to move on to the final touches like adjusting volumes or adding captions before you send your masterpiece out into the world.
Unlocking TikTok's Text-to-Speech Voices
Let's be real—sometimes the best voice for your video isn't your own. TikTok’s legendary Text-to-Speech (TTS) feature is more than just a tool; it's a personality. It’s the secret sauce behind countless hilarious skits, anonymous "story time" confessions, and narrative styles that just grab you by the collar.
This AI voice can become a character in its own right, instantly setting a specific mood that taps right into the platform's biggest trends.
Getting started is surprisingly simple because it's built directly into the text tool. Once you've got your video recorded or uploaded and you're on the main editing screen, just tap the "Aa" (Text) icon. Go ahead and type out whatever you want the AI to say.
With your text on the screen, give it a quick tap to pull up the editing options. You're looking for an icon that looks like a person with soundwaves coming out of their mouth—that's your ticket to the TTS magic.
Choosing and Applying Your AI Voice
Tapping that icon opens up a whole menu of different AI voices. TikTok is always adding and tweaking these, but you'll usually find a solid mix of male, female, and quirky character-style voices. Remember the "Trickster" voice? It went completely viral for its high-pitched, almost mischievous delivery, making it perfect for funny reveals or surprising plot twists.
Just tap on any voice to hear a preview with your text. Feel free to cycle through them until you land on one that perfectly fits your video's vibe.
Once you’ve found "the one," hit "Done." TikTok instantly does the heavy lifting, generating the audio track and syncing it up with your clip.
Pro Tip: Want to jump on the "Reddit story" trend? This is how it's done. Find a wild story, copy and paste it into TikTok paragraph by paragraph using the text tool, and let the TTS voice do the narrating over some satisfying B-roll, like a video game clip or a peaceful nature scene.
Fine-Tuning Your TTS Narration
Now for the fun part: making it perfect. After you've applied the voice, you aren't stuck with the default timing. You can get super precise about when the narration starts and stops.
- First, tap the text clip on your screen.
- Then, choose "Set duration."
- You'll see a timeline at the bottom. Drag the sliders to control the exact moment the text (and the voiceover) appears and vanishes.
This kind of precision is everything for comedic timing. It's also critical for making sure the narration lines up flawlessly with whatever is happening on screen. You can stack multiple TTS clips in one video, creating a complete, flowing narrative without ever showing your face. It's a cornerstone of so many successful faceless content strategies.
For those who want to push their automated content creation even further, it's worth exploring a dedicated AI TikTok video maker. These tools can open up a world of new possibilities, letting you generate entire clips with custom AI voices and visuals, which seriously cuts down on the manual work. But for now, mastering TTS is an awesome first step into AI-assisted creativity.
Importing External Audio for Pro-Level Sound
While TikTok’s in-app tools are great for getting things done quickly, there comes a point when you want your audio to sound truly professional. Recording your voiceover outside of the app is the single biggest leap you can take to level up your sound quality.
This approach gives you ultimate control over every little detail of your narration. You simply record your audio using a different app or device, clean it up, and then import it into a video editor to sync with your clips. It’s a game-changer for professionalism, letting you kill background noise and do as many takes as you need to nail the delivery.
Recording Crystal-Clear Audio Externally
You really don't need a pro studio to get amazing results. Your smartphone is already a surprisingly powerful recording device.
Most phones come with a voice memo app that’s more than capable of capturing clean audio, especially if you know a few tricks. For an instant upgrade, find a quiet, furnished room—all that fabric and furniture will help absorb echo. Recording in a closet is a classic creator hack for a reason. The clothes act as a natural sound booth, giving you a crisp, deadened audio environment. Just speak clearly and hold your phone about six to eight inches from your mouth for a balanced sound.
Ready to take it a step further? Free software like Audacity offers powerful noise reduction and EQ tools. And if you're creating AI-driven content, platforms like ClipShort let you generate flawless, human-like voiceovers from a script in minutes. It’s the perfect alternative if you don't want to record your own voice.
Combining Your Audio and Video
Once you have that pristine audio file, you need to sync it up with your video. You can't directly import an external voiceover into TikTok's editor, but that's where user-friendly apps like CapCut (which is also owned by TikTok's parent company, ByteDance) come in handy.
The workflow is pretty straightforward:
- Import Your Footage: Open your video clip in CapCut.
- Add Your Audio: Tap "Audio," choose "Sounds," and import your pre-recorded voiceover file right from your phone.
- Sync and Edit: Now, just drag the audio track along the timeline until it lines up perfectly with what’s happening on screen. You can trim, split, and tweak the volume with total precision.
This external method is exactly how top creators produce those polished documentary-style TikToks, detailed tutorials, and viral storytime videos. It separates the visual performance from the vocal one, letting you perfect each element on its own for a much higher-quality result.
The flowchart below breaks down a similar in-app process, but the core lesson is the same: text, voice selection, and timing are everything.
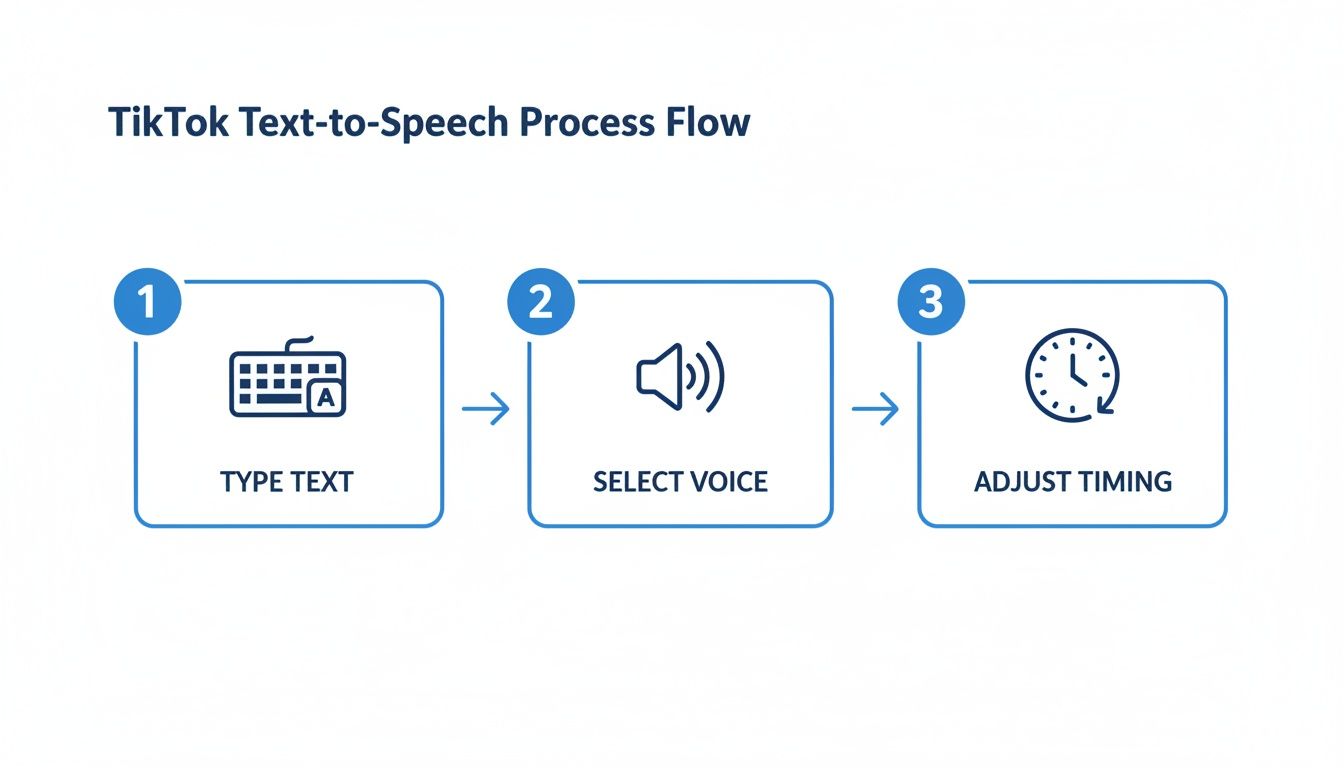
Whether you’re using text-to-speech or a pre-recorded track, precise control over timing is what makes it all click. Once your video and pro-level audio are perfectly synced in an editor like CapCut, you just export the final video and upload it straight to TikTok.
Comparing Voiceover Methods on TikTok
Feeling a bit overwhelmed by the options? Don't be. Each method has its place, and choosing the right one just depends on your goal for that specific video. This quick table breaks down when to use each technique.
| Method | Best For | Pros | Cons |
|---|---|---|---|
| In-App Voiceover | Spontaneous, reactive, or "in-the-moment" content that needs a quick, authentic feel. | Super fast and easy to use; no extra apps needed. Great for raw, unscripted narration. | Lower audio quality; limited editing control; difficult to fix mistakes without re-recording. |
| Text-to-Speech | Memes, faceless content, trend-driven videos, or when you don't want to use your own voice. | Anonymous and consistent; dozens of voices to choose from; excellent for short, punchy text. | Can sound robotic; limited emotional range; character limits per text box can be annoying. |
| External Audio | High-effort tutorials, storytelling, branded content, or any video where quality is paramount. | Unbeatable audio quality; complete editing control over timing, volume, and effects. | Slower workflow; requires a third-party app (like CapCut); more steps involved. |
Ultimately, the best creators mix and match. You might use the in-app tool for a quick daily update but switch to an external recording for a polished tutorial. Experiment and see what workflow feels right for you.
Perfecting Your Audio Mix and Timing
You’ve recorded the voiceover, but that’s really only half the job. The real magic happens when you start mixing. A video with a messy, unbalanced audio track just feels amateur, no matter how good your actual content is.
The goal is to make sure your voice cuts through clearly without totally silencing the original video sound or any background music you’ve added.
Once you’re in the TikTok editor, find the "Volume" button on the editing panel on the right. Tapping this brings up a simple mixer with two sliders. One is for the "Original sound" (your video's audio), and the other is for the "Added sound," which covers both your voiceover and any music you dropped in.
For most videos where you're narrating, you'll want to pull the Original sound way down, maybe to around 10-20%. This leaves just enough ambient noise to give the video some life but keeps your voice as the main event. Keep your Added sound (your voiceover) at 100% or even a little higher to make sure it’s crisp and easy to hear.
Nailing the Sync and Timing
Perfect timing is what separates a good voiceover from a truly great one. If your narration is off by even a split second, it can feel jarring and throw the whole video off.
When you're on the voiceover recording screen, you can actually drag the timeline to pinpoint the exact frame where you want to start talking. This is a game-changer for precision.
And don't feel like you have to record everything in one long take. It’s way easier to nail the timing on a quick five-second sentence that matches an on-screen action than it is to land a full minute of narration perfectly. If you mess up, just hit the undo button and re-record that little bit without losing the rest of your work.
Crucial Insight: The precision of your sync is often what makes a video feel professional. For complex projects, mastering how your audio and video tracks align is a fundamental skill. You can explore a deeper dive into how to sync sound and video in our detailed guide.
Adding Captions for Maximum Impact
Finally, whatever you do, don't skip the captions. So many people watch TikToks with the sound off, and captions are your only way to make sure your message still gets through.
Once your audio is locked in, just tap the "Captions" icon in the right-hand menu. TikTok will do the heavy lifting and automatically transcribe your voiceover.
This isn’t just an accessibility feature anymore—it's a core part of any good video strategy today. Voiceover use has absolutely exploded as TikTok's audience has grown. In fact, videos with trending sounds or voiceovers often see up to 66% higher engagement. A huge chunk of the platform’s 1.6 billion monthly active users are scrolling silently, making captions non-negotiable if you want to go viral.
And for creators who are ready to get really serious about their audio quality, it’s worth looking into the best podcast editing software. These tools give you advanced features to perfect your recordings before you even bring them into TikTok.
Your Top TikTok Voiceover Questions Answered
Even with the best tools, you’ll probably hit a few snags when you first start. It happens to everyone. So, let's walk through some of the most common issues creators run into when adding a voiceover on TikTok. This quick FAQ will give you clear, direct solutions for those frustrating little problems.
Can I Edit My Voiceover After Recording It?
This is probably the most frequent question I get, and the short answer is: not really. At least, not inside TikTok’s native editor.
Once you hit "Save" on your in-app voiceover, it's essentially locked into your video's audio track. You can't go back to trim a single word or fix a stumble. It's a one-and-done deal.
If you mess up, you have two real options:
- Hit Undo Immediately: If you catch a mistake right after you record a segment, tap the undo button (it looks like a back arrow). This will delete only the last piece you recorded so you can try again. This is exactly why recording in shorter chunks is a game-changer.
- Start from Scratch: If you notice the mistake later or you've already saved the whole voiceover, your only in-app choice is to scrap the entire thing and re-record from the beginning.
This limitation is the number one reason so many creators eventually switch to external editors like CapCut. Recording your audio separately gives you the freedom to edit, cut, and rearrange everything with total precision before it ever touches your final video.
Why Is My Voiceover Out of Sync with My Video?
Ah, the dreaded audio drift. It's a classic creator headache. You record the perfect narration, but on playback, it’s a half-second behind the action on screen. It’s maddening, but usually fixable.
Most of the time, this happens because of a slight processing lag in the app. This is especially common on older phones or if you're working with very long, high-resolution videos. Sometimes, even Bluetooth headphones can introduce a tiny delay between what you hear and what the app actually records.
Prevention is your best strategy here. Instead of recording one long take, break your voiceover into a few shorter segments. This gives the app less to process at once and makes it much easier to line up each audio piece with its matching video clip.
If you're still struggling, recording externally is your most reliable fix. It gives you complete manual control to perfectly sync your audio and video tracks.
Quick Tip: If your audio is just a tiny bit off, try trimming the very beginning of the video clip by a fraction of a second in the editor. Sometimes, that little adjustment is all you need to snap everything back into perfect alignment.
How Do I Make My Voice Sound Better on TikTok?
You don't need a professional studio to get great audio. A few simple tricks can make a massive difference in how clear and crisp you sound.
- Find Your "Studio": Your environment is everything. Record in a room with lots of soft surfaces, like a closet full of clothes or a carpeted bedroom. These surfaces absorb echo and kill background noise.
- Mic Placement Matters: Whatever you do, don't hold your phone right up to your mouth. This creates harsh "plosive" sounds—those popping "p" and "b" noises that make listeners cringe. A distance of about six inches is usually the sweet spot for a clean, balanced sound.
- Speak Clearly and Pace Yourself: It feels natural to rush when you know you're being recorded. Make a conscious effort to slow down your speech and enunciate clearly. It will make your narration so much easier for your audience to follow.
Can I Add a Voiceover to Only Part of My Video?
Absolutely! This is a fantastic technique for adding emphasis where it counts. You don't have to narrate your entire video from start to finish.
To add a voiceover to a specific clip, just drag the white playback marker on the editing timeline to the exact spot you want to start talking. Then, hit record.
When you're finished with that thought, stop recording. You can then move the marker to a completely different part of the video and record another piece, leaving silence or the original audio in between. This gives you precise control to narrate just the key moments.
Ready to skip the recording hassle altogether? With ClipShort, you can generate flawless, human-like AI voiceovers in over 50 languages. Just type your script, choose a voice, and let our AI create the perfect narration for your TikToks, Reels, and Shorts in minutes. Start creating professional voiceovers with ClipShort today!