How to Create Instagram Reels That Go Viral
Thinking about making Instagram Reels? It's pretty intuitive: come up with a concept, film your clips or upload existing ones, then hop into the editor to sprinkle in some music, text, and effects before hitting publish. That’s the basic flow from idea to a live video.
Why Instagram Reels Are a Must for Growth

Let's be real—standing out on Instagram today is a grind. The feed is saturated, and the organic reach for a standard photo post just isn't what it used to be. This is exactly where Reels come in. They’re your shortcut to getting seen. Think of them less as just another feature and more as a powerful growth engine for your account.
The Instagram algorithm is actively boosting Reels, a clear move to keep up with other short-form video apps. The numbers don't lie: Reels get a staggering 2.25 times more reach than single-photo posts. This special treatment means your content is way more likely to land on the Explore page, putting you in front of people who don't even follow you yet. If you want to dig deeper into this, check out our guide on how to build a social media presence.
The Big Shift to Short-Form Video
Audience behavior has changed for good. People crave quick, digestible, and entertaining videos. Reels tap right into this, giving you a dynamic way to tell a story, share a tip, or just connect with your audience in a matter of seconds.
This format is fantastic for building a genuine community. Brands and creators are using Reels to show off their personality, share behind-the-scenes content, and offer real value in a fun way. It’s a welcome break from the hyper-polished look that used to dominate Instagram, moving us toward content that feels more authentic and relatable.
Reels aren't just for viral dances. They are a versatile tool for storytelling, tutorials, product showcases, and building genuine connections that drive real business results.
The Real Impact on Your Numbers
This isn't just about good vibes; it has a tangible impact on your growth. Instagram Reels now account for about 35% of all screen time on the platform. That makes them a non-negotiable channel for grabbing attention.
By consistently putting out quality Reels, you can drive serious traffic to your website, grow your follower count, and see a real lift in your overall engagement. It’s clear that knowing how to create killer Instagram Reels is no longer optional—it's essential for anyone serious about growing their presence today.
Planning a Reel That Captures Attention
 A Reel that goes viral is rarely a happy accident. It almost always starts with a smart plan. Before you even think about hitting record, you need a solid concept that actually connects with your audience and makes sense for your niche. Honestly, this initial planning is what separates content that gets scrolled past from content that stops thumbs in their tracks.
Brainstorming doesn't have to be some huge, complicated process. Just start by scrolling through the Reels feed to see what’s trending. Look for popular audio clips, recurring video formats, or common challenges you could put your own spin on. The goal here isn't to copy, but to find a spark of inspiration you can make your own.
If you want to lay an even stronger foundation, it's worth checking out a comprehensive guide to UGC content creation for some killer principles that apply directly to planning effective Reels.
Scripting Your Hook and Outline
The first three seconds of your Reel are everything. Seriously. You need a powerful hook to grab attention immediately—otherwise, they're gone. This could be a bold question, a surprising statement, or a visually jarring opening shot. Your hook is the promise that the rest of the video will be worth their time.
Once you’ve nailed the hook, map out a simple outline. This isn’t a detailed movie script; we're talking a quick bullet-point list of your key talking points or the sequence of shots you need to get.
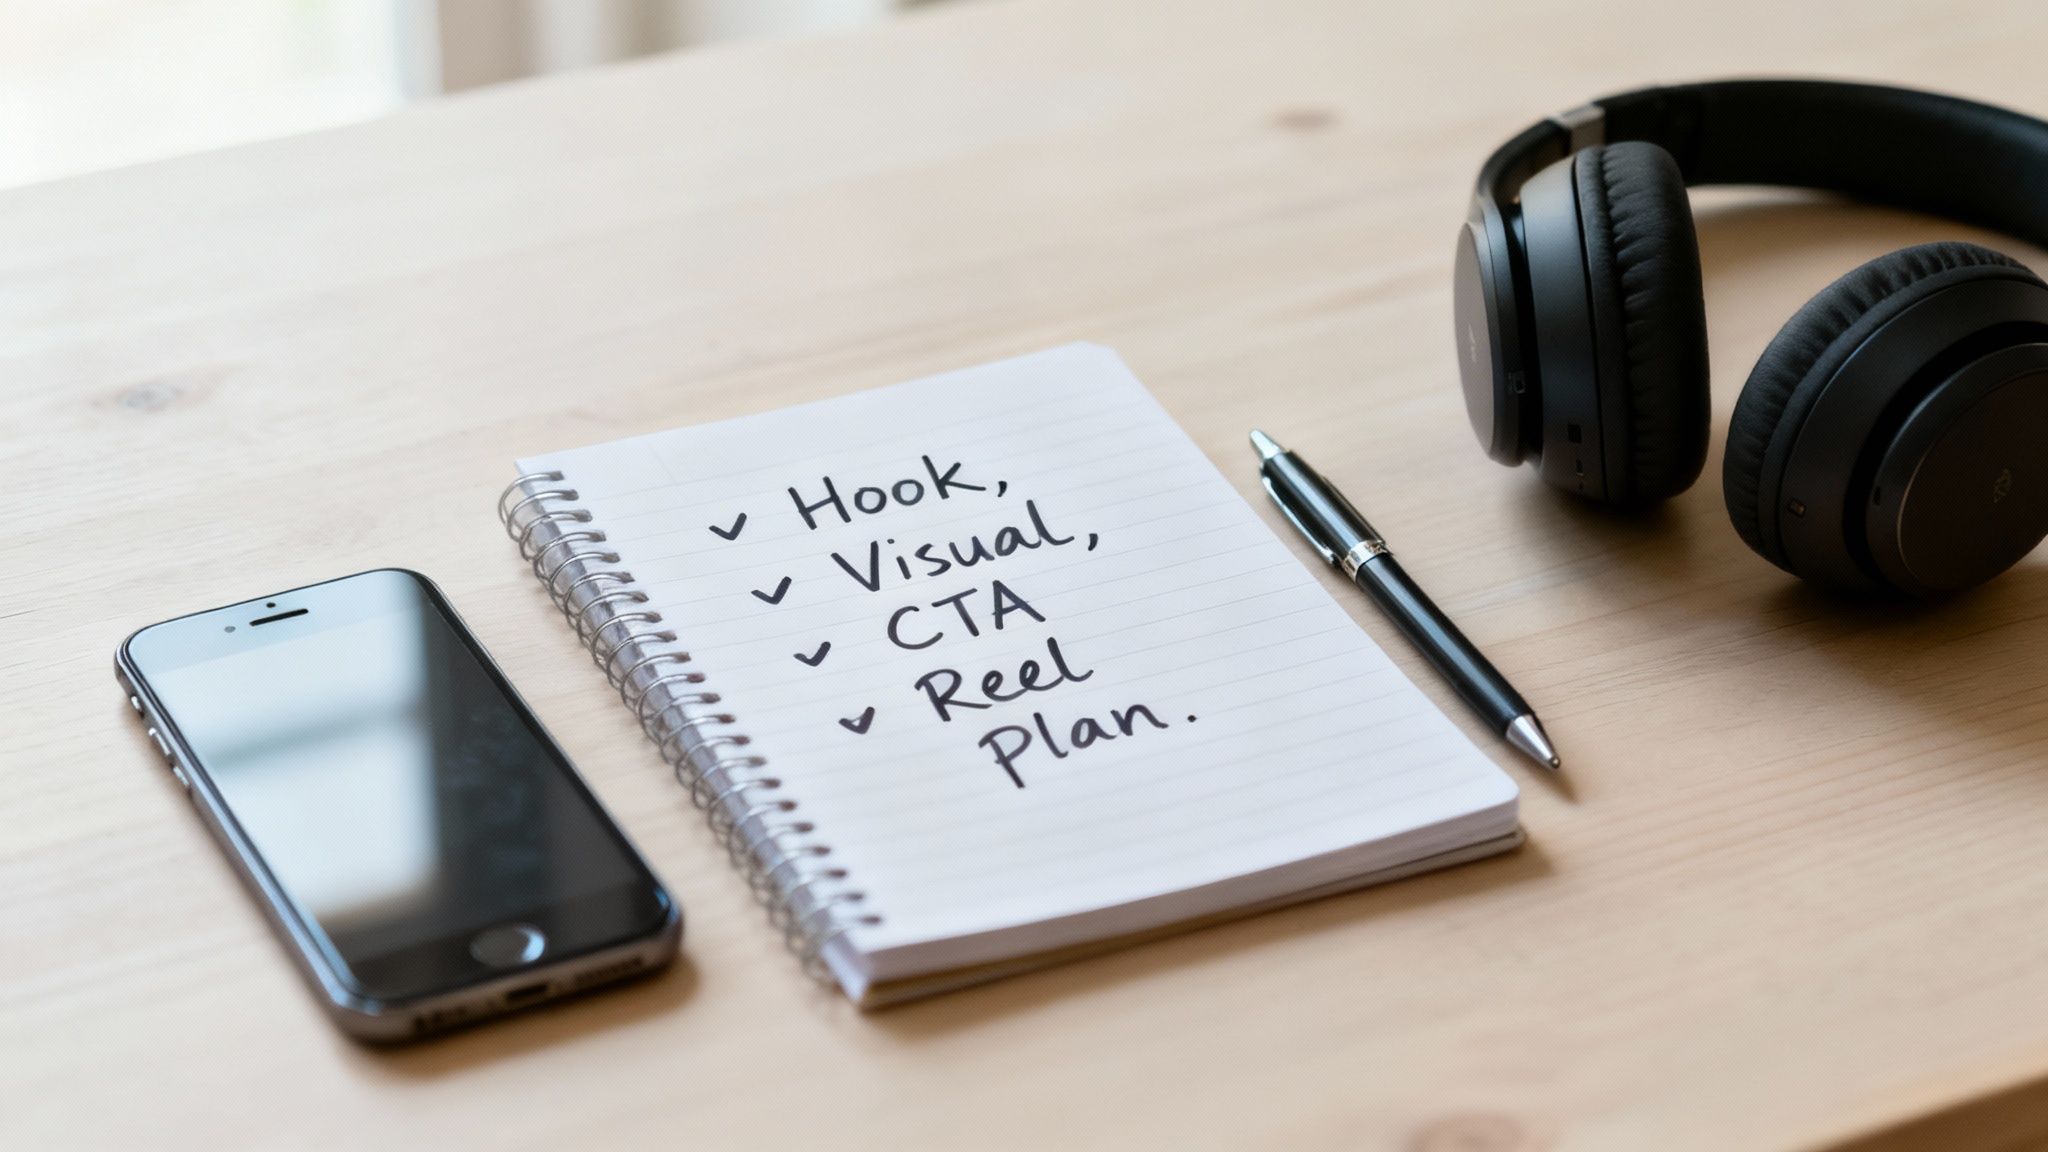
Planning isn't about killing spontaneity; it's about providing a clear structure. A simple outline ensures your message is concise, impactful, and keeps your audience engaged from the hook to the final call-to-action.
Let's say a fitness coach is creating a Reel about common workout mistakes. The plan might look something like this:
- Hook: Text on screen reads, "You're making this squat mistake..." while showing a visually incorrect (and maybe slightly exaggerated) squat.
- Point 1: Quickly demonstrate the wrong form—think knees caving in or leaning too far forward.
- Point 2: Immediately show the correct form with a simple text overlay explaining the fix, like "Keep your chest up!"
- Call-to-Action: End with something direct like, "Follow for more daily fitness tips!"
This simple plan makes sure the Reel is focused, easy to follow, and delivers real value in under 15 seconds. It's a perfect example of how a little prep helps you create Instagram Reels that actually perform.
A Practical Guide to Filming and Editing Reels
This is where the magic happens—turning your carefully planned concept into a real, living Reel. Let’s walk through the Instagram Reels editor together, focusing on the core features you’ll actually use to make great content. Forget the confusing jargon; we're all about practical steps so you can create polished Reels without ever needing another app.
Your first step is opening the Reels camera. You can get there from the main navigation bar or by swiping over to your Stories camera. Once you're in, you have two choices: record clips on the spot or upload footage you’ve already shot. This flexibility is great whether you’re capturing a spontaneous moment or working from a detailed shot list.
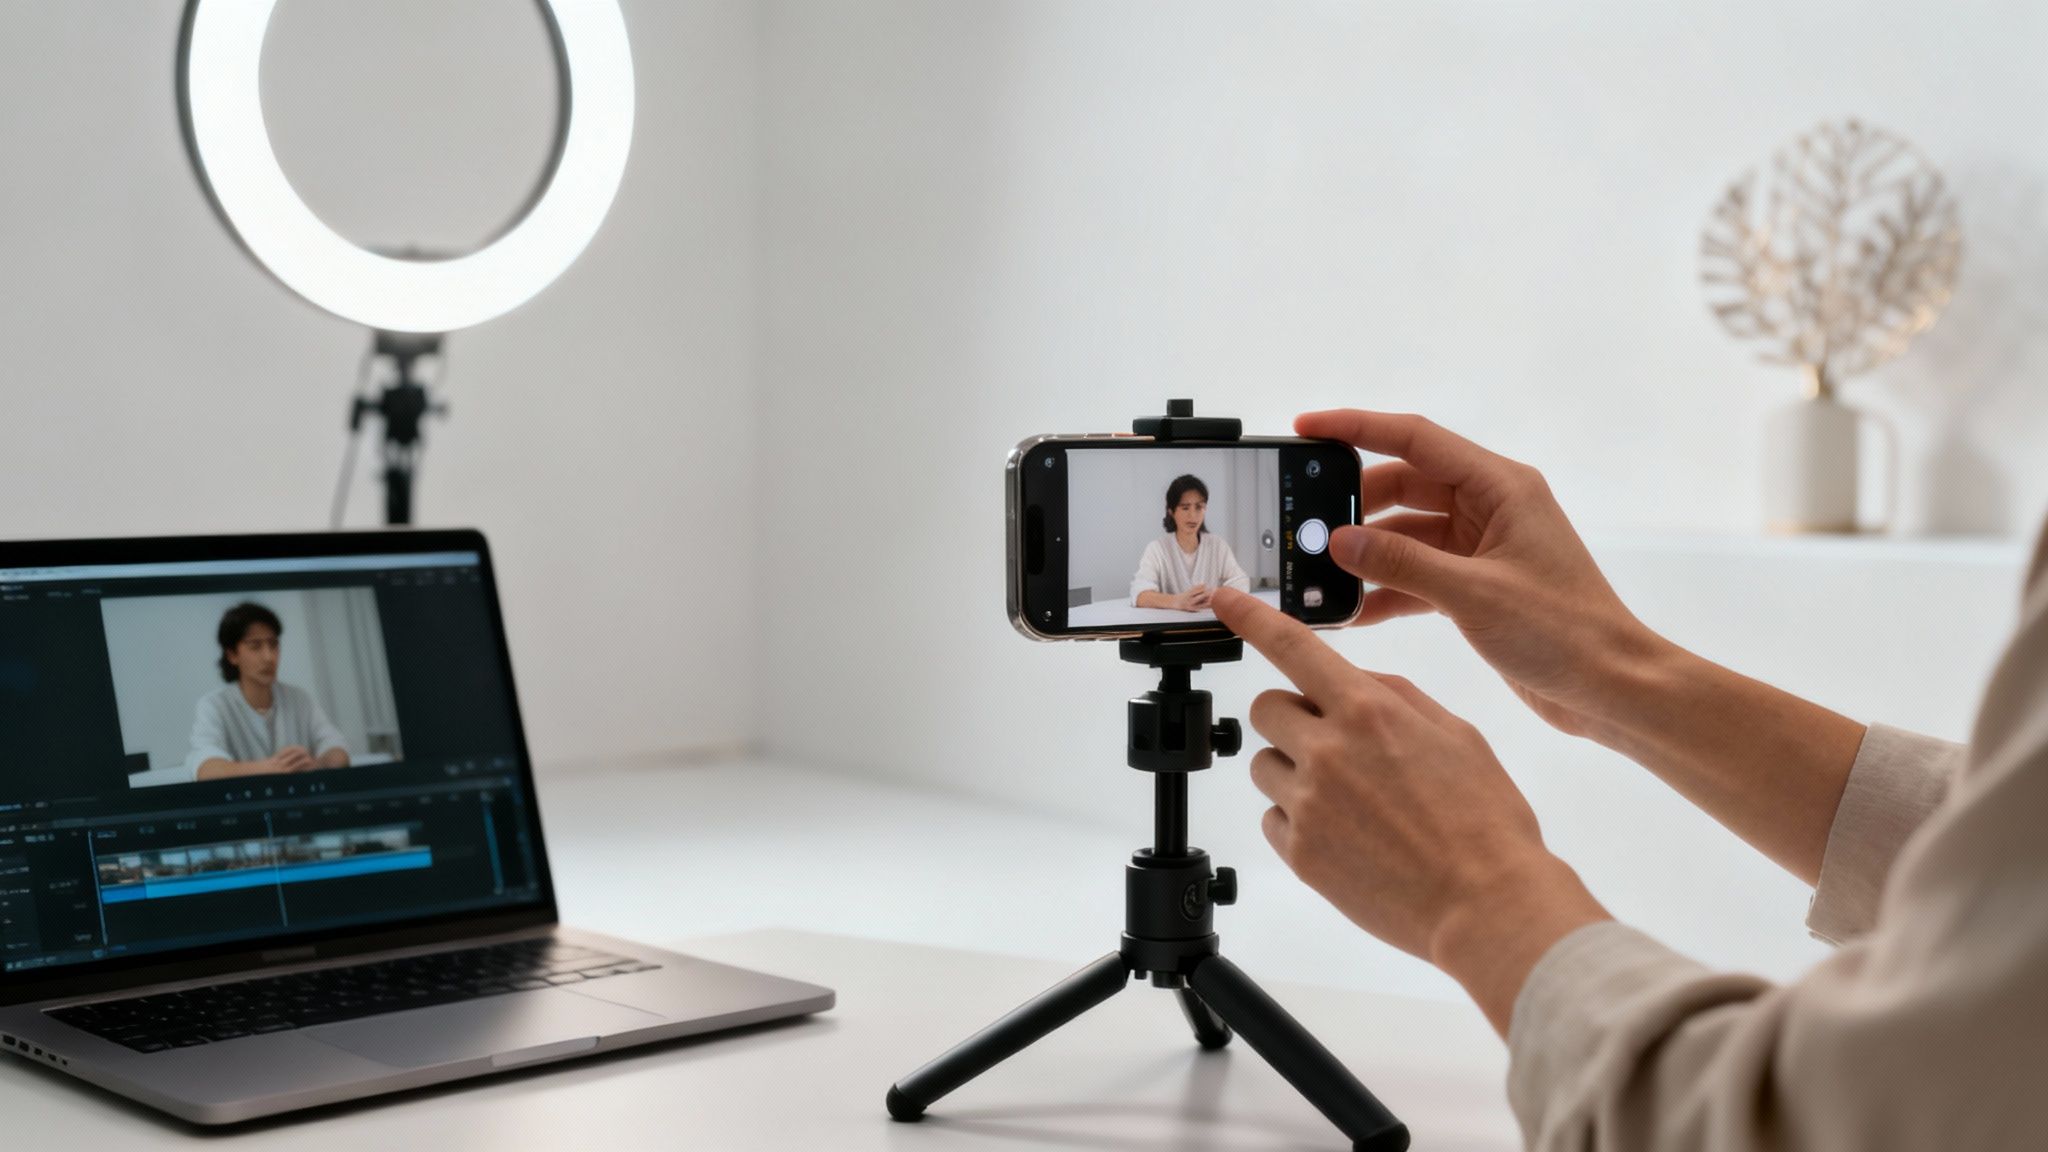
Mastering In-App Recording Tools
The timer and countdown features are lifesavers for solo creators. Seriously. They let you prop up your phone, hit record, and get into position before the filming starts. It’s a total game-changer for filming tutorials, workout clips, or those satisfying outfit-change transitions.
Another tool you’ll quickly come to love is the Align feature. It shows you a faint overlay of your last frame, making it super easy to line up your next shot for those buttery-smooth transitions.
Think about a classic "get ready with me" Reel:
- Film yourself in your robe.
- Stop recording.
- Use the Align tool to match your posture and position perfectly.
- Start recording again in your final outfit. Boom—a seamless transition.
It's a simple trick, but it adds a professional flair that hooks viewers and keeps them watching.
Don't overcomplicate things. Getting really good with just the timer and alignment tool will boost your video quality way more than trying to use every filter and effect Instagram throws at you.
Polishing Your Clips in the Editor
Once your clips are recorded, hit "Next" to jump into the editing screen. This is where you can trim the awkward bits off the beginning or end of each clip, drag them into the right order, and add the final touches.
For a deeper dive into the fundamentals of cutting and arranging clips, our guide on video editing for beginners is a great resource if you find the in-app tools a bit restrictive.
To help you navigate the editor, here’s a quick rundown of the most important tools you’ll find.
Essential Instagram Reels Editing Features
This table breaks down the key features inside the Reels editor. Think of it as your cheat sheet for creating polished videos quickly.
| Feature | Primary Function | Pro Tip for Usage |
|---|---|---|
| Audio | Add music or original sound to your video. | Use trending audio to boost visibility, but keep the volume low if you have a voiceover. |
| Text | Add on-screen captions or titles. | Animate text to appear and disappear in sync with your speech. This is crucial for viewers watching with no sound. |
| Trim/Split | Cut unwanted parts from your clips. | Trim the first and last half-second of each clip to create a faster, more dynamic pace. |
| Voiceover | Record your voice over the video clips. | Write a quick script beforehand. Speak clearly and slightly slower than you normally would for better clarity. |
| Filters | Apply pre-set color grades and effects. | Find one or two filters that match your brand's aesthetic and stick with them for a consistent look. |
| Stickers | Add interactive elements like polls or quizzes. | Use the "Captions" sticker to automatically generate subtitles. It saves a ton of time and improves accessibility. |
Mastering these few tools is all it takes to go from basic clips to a compelling, well-edited Reel.
Finally, adding audio and text is absolutely critical for grabbing—and holding—attention. A huge number of people watch Reels with the sound off, so well-timed on-screen text is your best bet for getting your message across. You can pull a trending song from Instagram’s library or record a voiceover to narrate your story. Use the text tool to make your words pop up and vanish in sync with your actions, ensuring your Reel is compelling with or without audio.
Getting Your Reel Seen: Captions, Hashtags, and Audio
https://www.youtube.com/embed/aJlLFBD2fLk
A slick video is great, but it's only half the job. Once you’ve nailed the edit, you need to make sure people actually see your work. This is where your caption, audio, and hashtags step in—they all work together to get your Reel in front of more eyeballs, well beyond your existing followers.
Your caption is more than just a quick description. It’s your opportunity to start a conversation, add extra value, and tell people what to do next. A solid caption hooks the reader, expands on what the Reel is about, and finishes with a clear call-to-action (CTA). Even something as simple as asking, "What’s one tip you’d add to this list?" can be a surprisingly effective way to get the comments rolling.
Building a Smart Hashtag Strategy
Hashtags are your best friend for getting discovered. A huge mistake I see people make is either using none at all or just throwing in super generic tags like #video or #instagram. A much better way is to use a strategic mix that balances broad reach with a specific audience.
I’ve had a lot of success with a simple formula:
- Broad Industry Tags (3-5): These are the big, popular tags in your field. If you're a fitness coach, think
#fitnessmotivationor#workouttips. - Niche-Specific Tags (3-5): Now, get more specific. What is your ideal follower actually searching for? Our fitness coach might use something like
#kettlebellworkoutor#postpartumfitness. - Unique/Branded Tags (1-2): These are tags just for you or a specific series you're running, like
#ClipShortTips.
Don't just copy and paste the same block of hashtags on every single post. You have to tailor them to what that specific Reel is about. This signals to the algorithm exactly who it should show your content to, which seriously improves your odds of reaching people who will actually care.
This balanced approach helps your Reel get seen by a wider crowd while also attracting viewers who are genuinely into your specific topic. The potential here is huge. The average engagement rate on Reels is around 1.23%, and nearly 2 billion users interact with them every month. If you want a piece of that action, you have to optimize every part of your post. You can dig into more Reels statistics on adamconnell.me.
The Surprising Power of Trending Audio
Finally, don't sleep on the audio. Using a trending sound can give your Reel an immediate boost from the algorithm because Instagram actively pushes content that uses popular audio clips.
As you're scrolling through your own feed, keep an eye out for sounds with that little upward-pointing arrow next to them—that's your cue that a sound is trending. Save those sounds! Even if you use them as quiet background music underneath your voiceover, it can make a massive difference in your visibility. It's a simple trick, but it's incredibly powerful when you're figuring out how to create Instagram Reels that get results.
Promoting Your Reel for Maximum Impact
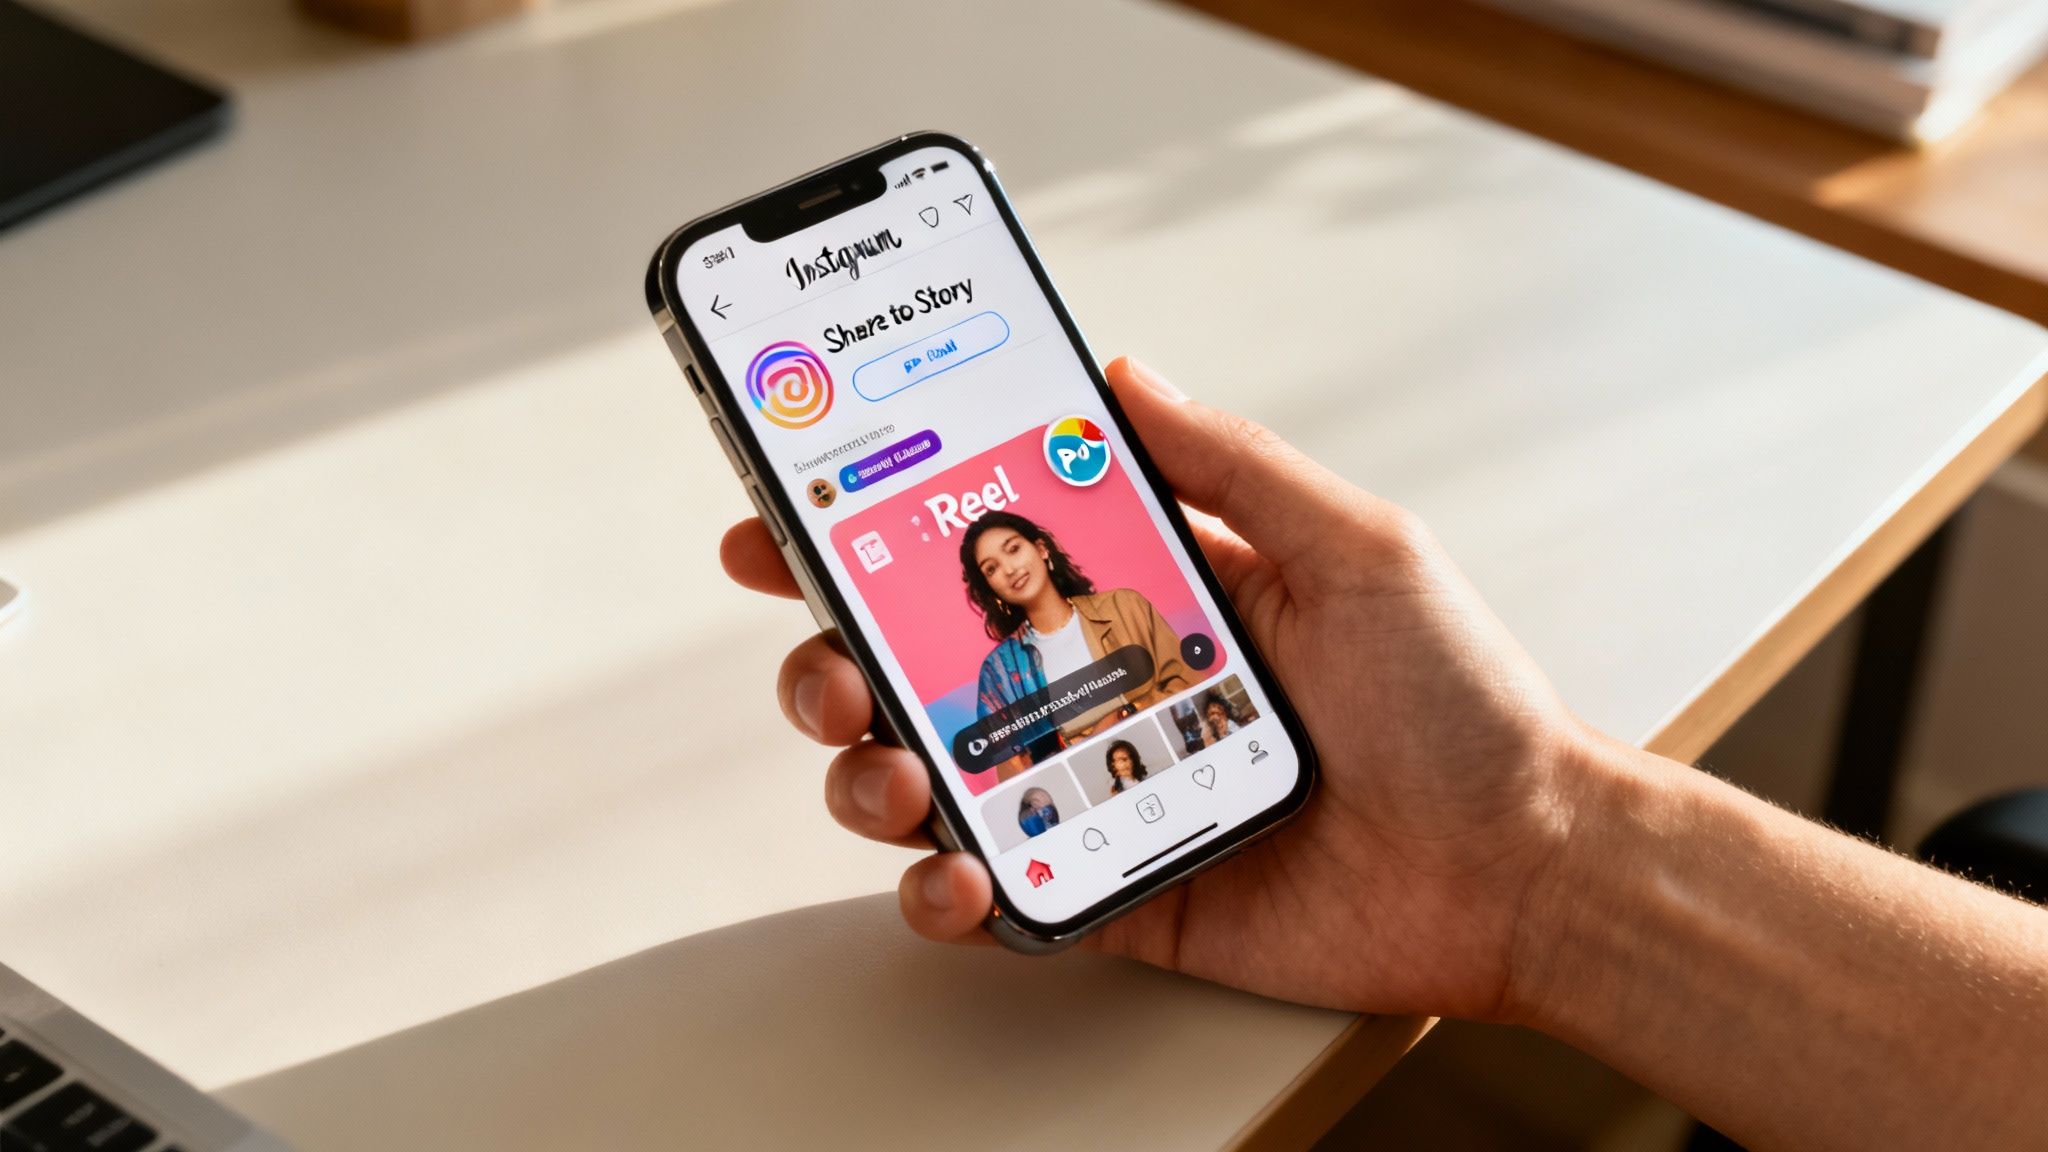
Hitting "Share" isn't the finish line—it's the starting gun. So many creators just post their Reel and hope for the best, but a little proactive promotion can be the difference between a few hundred views and a few thousand.
Your first move, always, should be sharing the Reel to your Instagram Story. This is a dead-simple way to notify your most engaged followers that you have fresh content. Don't just post the plain video, though. Add an interactive sticker like a poll or quiz that relates to your Reel's topic. This early burst of interaction is a powerful signal to the algorithm that your content is worth pushing out.
Your Post-Publish Checklist
A little effort in the first hour can completely change your Reel's trajectory. Think of it as giving your content a running start. Here’s what I always do:
- Select a Striking Cover Photo: Your cover is what people see on your profile grid and the Reels tab. It has to be compelling. Choose a clear, high-quality, and intriguing frame from your video that makes people need to click.
- Tag Collaborators and Relevant Accounts: Did you feature another person, a brand, or a specific location? Tag them. This is a free way to expand your reach by tapping into their audiences, too.
- Time Your Post for Peak Activity: To get your Reel in front of the most eyeballs, you need to know what is the best time to post a Reel. Dive into your Instagram Insights to see when your followers are actually online and active, then post accordingly.
A great Reel that's poorly promoted will always underperform. That first hour after you publish is your golden window to build momentum and signal value to the Instagram algorithm.
And remember, promotion isn't a one-and-done deal. You can get so much more mileage out of your hard work by exploring different content repurposing strategies. A successful Reel can easily become a TikTok, a YouTube Short, or even a static post later on.
A Few Common Questions About Making Instagram Reels
Even with the best tools, you're bound to have questions as you get the hang of creating Instagram Reels. Let's walk through some of the most common ones I hear, so you can clear up any confusion and start posting with confidence.
What’s the Best Length for an Instagram Reel?
Instagram lets you create Reels up to 90 seconds long, but don't feel like you need to use all that time. From what I’ve seen, the real sweet spot for grabbing—and holding—attention is somewhere between 7 and 15 seconds.
This quick, punchy format is perfect for delivering a single, powerful message. Plus, it naturally encourages people to watch it again, and those re-watches are a huge signal to the algorithm that your content is a winner.
Can I Use Copyrighted Music in My Reels?
This is a big one, and the answer depends on your account type. If you have a personal or creator account, you get access to Instagram's giant music library, full of popular, copyrighted songs. Business accounts, however, have a more limited selection of royalty-free audio to keep everyone out of trouble with licensing.
Your safest bet, no matter what, is to pull audio directly from the Instagram Reels audio tab. This guarantees you're playing by the rules and lets you jump on trending sounds to give your video a serious reach boost.
How Do I Find Trending Audio?
Finding what’s hot right now is actually pretty simple. While you're scrolling through your Reels feed, keep an eye out for a small, upward-pointing arrow right next to the audio track's name. That little arrow is your clue that a sound is currently popular.
Just tap the sound, and you can save it to use in your own videos later. It's a great way to build up a library of potential winners.
Should I Add My Reel to My Main Profile Grid?
Absolutely, yes. For that crucial initial burst of visibility, you should always share your new Reel to your main feed. This is the best way to make sure your existing followers actually see it.
And don't worry about messing up your carefully curated grid aesthetic. You can always remove the Reel from your grid later on. It won’t be deleted—it will just live permanently in your dedicated Reels tab.
Ready to create stunning, faceless Reels in just a few minutes? ClipShort uses AI to turn your ideas into viral-worthy videos with lifelike voiceovers, dynamic visuals, and automated captions. Give it a try and see just how easy content creation can be: https://www.clipshort.co