video editing for beginners: Quick Start Guide
Video editing isn't about fancy gear; it's about telling a story with the tools you already have. You don't need a Hollywood-level camera or mind-boggling software to get started. It really just boils down to learning how to sequence clips, make clean cuts, and build a narrative you're excited to share.
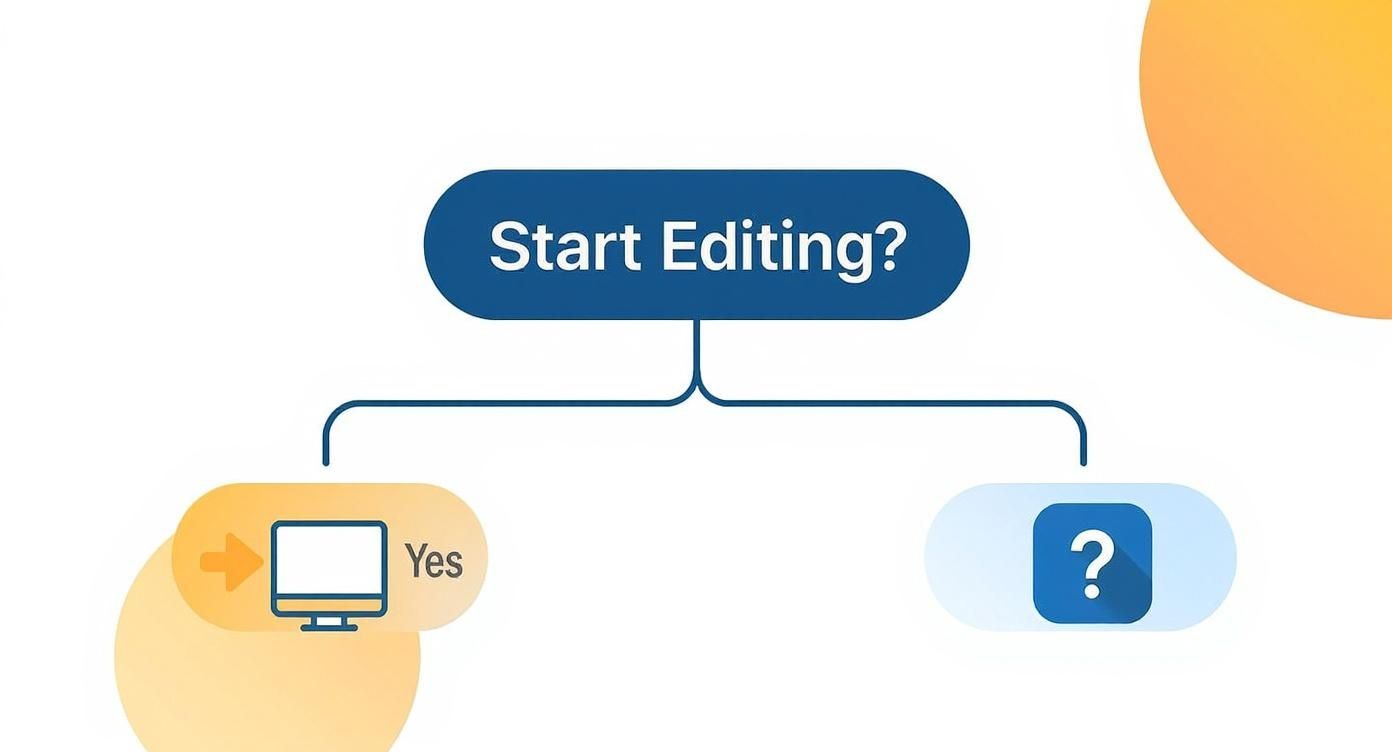
Your First Steps in Video Editing
Jumping into video editing can feel intimidating, but it’s far more about creative storytelling than it is about technical mastery. This is your starting point, designed to break down the core ideas that turn a folder of random clips into a story that actually connects with people. Don't worry about the confusing jargon or endless menus you might have seen in professional tutorials.
The whole process rests on a handful of simple building blocks. We'll begin with the timeline—think of it as the digital canvas where your story takes shape. You'll quickly see how every cut, transition, and sound works together to create something smooth and watchable.
Getting a Feel for the Editing Workflow
Before you even launch an editing app, it helps to have a mental map of the process. This isn't a rigid set of rules, but more of a natural progression that will keep you from feeling stuck.
A typical project flows something like this:
- Organization: This is all about importing your raw footage and arranging it so you can find the perfect shot when you need it. A little organization upfront saves a ton of time later.
- The Rough Cut: Here, you'll lay out your best clips on the timeline to create a basic story sequence. Don't aim for perfection yet; just get the main story beats in order.
- Refining and Pacing: Now you'll trim your clips, add in some extra B-roll footage, and fine-tune the timing to keep things interesting. If you're making something quick and snappy, you can learn more about how to create a short video that grabs attention right away.
- The Final Polish: This is the fun part! Add music, some simple text or graphics, and maybe a little color correction to give your video that professional sheen.
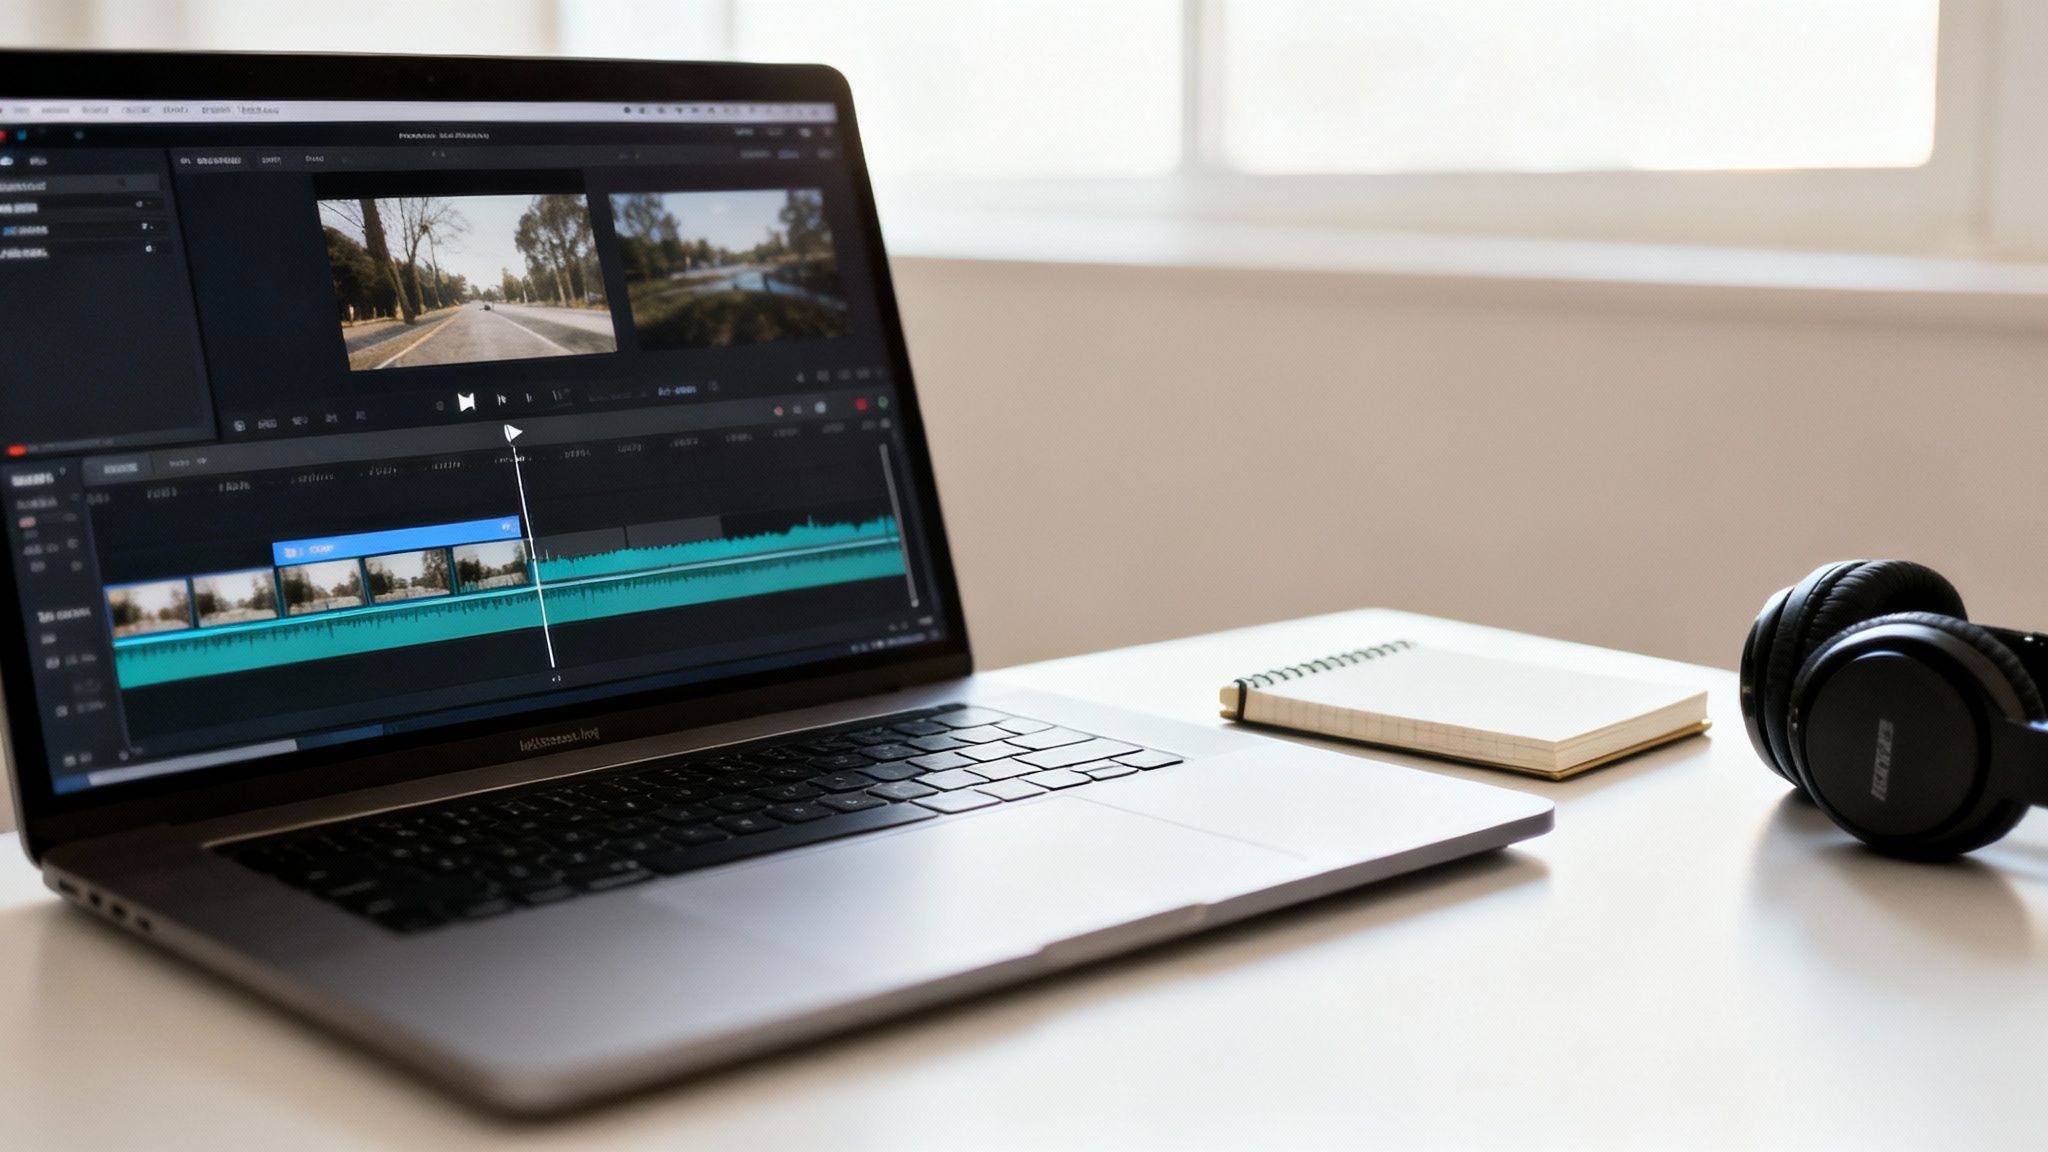
Is a Super-Powerful Computer Really Necessary?
It’s a common misconception that you need a beast of a machine to edit video. While a powerful computer certainly helps with demanding 4K footage, the laptop or even the smartphone you’re using right now is probably more than enough for beginner projects. Modern software has become incredibly efficient.
The real secret is to focus on your story first and the technology second. A great story edited on an average laptop will always beat a boring video cut on a top-of-the-line workstation. Your creativity is the most powerful asset you have.
The demand for great video has made editing tools more accessible than ever. The global video editing software market was valued at $2.29 billion in 2024 and is expected to hit $3.73 billion by 2033. This boom is driven by social media creators and businesses who need content that connects, making this the perfect time to jump in and learn. You can dive deeper into these trends over on Straits Research.
Choosing Your First Video Editing Software
https://www.youtube.com/embed/1To8rUm2do8
Picking the right software can feel like the first big hurdle, but it doesn't have to be. Honestly, the "best" tool isn't about having the most features; it's about finding one that feels intuitive to you and helps you get your ideas out of your head and onto the screen.
Don't get lost comparing endless lists of technical specs. The key is to think about what you actually need right now. What’s your budget? How much time can you spend learning? And what kind of videos are you excited to make? The perfect app for a 30-second TikTok is very different from what you'd use for a 20-minute documentary.
Free vs. Paid Software: What’s The Real Difference?
So, do you need to shell out cash right away? Absolutely not. I can't stress this enough: today's free editing software is incredibly powerful. You can create polished, professional-looking videos for YouTube, social media, or personal projects without spending a single dollar.
Paid programs definitely have their place. They usually offer things like advanced color grading, better support for third-party plugins, and premium customer service. But as a beginner, you probably won't touch those features for a while. My advice is always to start free. Master the fundamentals first, and only think about upgrading when you feel the free tool is genuinely holding you back.
This simple chart is a great way to look at it:
As you can see, the only things you truly need to start are a computer and the drive to create something.
Top Beginner-Friendly Editing Tools
To help you get started, I’ve put together a few of my favorite recommendations. These tools hit that sweet spot between being powerful enough to grow with and simple enough that you won't feel totally lost on day one.
Choosing the right video editing software is a personal journey, but a good comparison can make the process much easier. This table breaks down some of the most popular, beginner-friendly options to help you see how they stack up against each other.
Beginner-Friendly Video Editing Software Comparison
| Software | Price | Best For | Key Features |
|---|---|---|---|
| DaVinci Resolve | Free (with paid Studio version) | Aspiring filmmakers and anyone serious about color correction. | Professional-grade color tools, advanced audio post-production (Fairlight), and a robust free version. |
| CapCut | Free | Quick, trendy videos for TikTok, Instagram Reels, and YouTube Shorts. | Auto-captions, trending effects and filters, and a super intuitive mobile-first interface. |
| iMovie | Free (on Apple devices) | Mac users looking for a simple, no-fuss introduction to editing. | Simple drag-and-drop timeline, pre-made themes and templates, and seamless integration with the Apple ecosystem. |
Ultimately, the best way to choose is to try them out. Download one or two of the free options and spend an afternoon playing around. See which one "clicks" for you.
The goal is to find a tool that makes you feel creative, not confused. The best software is the one that gets out of your way and lets you focus on telling your story.
If you want to dig even deeper, you can find a comprehensive video production software comparison that explores even more options. Just remember, don't let the search for the "perfect" tool stop you from starting. Just pick one and get editing
Mastering the Core Editing Workflow
Alright, you've chosen your software. Now for the fun part—actually putting your video together. The core editing workflow is where you transform a folder of raw, disconnected clips into a polished, compelling story. It's less about the flashy effects and more about making smart, deliberate choices that shape what your audience sees and feels.
Before you get lost in the creative side of things, a little organization goes a long, long way. Trust me on this. Spending just five minutes setting up your project properly will save you hours of headaches later.
Setting Up for Success
Think of your video project like a digital workshop. You wouldn't just throw all your tools and materials in a pile on the floor, right? You'd organize them so you can grab what you need without a second thought. Video editing is no different.
Most editing software uses "bins," which are basically just folders inside your project. Create a few dedicated bins to keep things tidy:
- A-Roll: This is all your primary footage. If you're filming someone talking, this is them on camera. It’s the main subject, the core of your story.
- B-Roll: These are your supporting shots—the cutaways, close-ups, and scenic clips that add context and visual flavor.
- Audio: A dedicated spot for music, sound effects, and any voiceovers you recorded separately.
- Graphics: Keep your logos, title cards, and any other on-screen visuals here.
This simple habit is a total game-changer. It means you can stay in the creative flow instead of constantly hunting for that one perfect clip you know you shot.
Making Your First Cuts on the Timeline
Your timeline is your canvas. The first step is to drag your main A-roll clips onto it and arrange them in the right sequence. The goal here is to build a "rough cut"—a very basic assembly of your story's main beats. Don't stress about getting the timing perfect just yet; just get the story in order.
Now, let's get down to the two most essential actions in editing: cutting and trimming.
A cut is exactly what it sounds like. Using the "blade" or "razor" tool, you can slice a clip into two separate pieces. This is perfect for removing mistakes. For instance, if you flubbed a line in the middle of a great take, you’d make a cut right before the mistake and another right after, then just delete that bad section.
A trim, on the other hand, is when you shorten the beginning or end of a clip. Let's say your clip has five seconds of you fumbling with the camera before you start talking. You can simply grab the edge of that clip on the timeline and drag it inward to trim off that unwanted part. Easy.
Pro Tip: If you take one thing away from this, it's this: learn the keyboard shortcuts for cutting and trimming. Pros barely touch their mouse for these basic edits. Mastering shortcuts like 'B' for the blade tool in DaVinci Resolve or 'C' in Premiere Pro can boost your editing speed by 50% or more.
With your rough cut assembled, it's time to layer in your B-roll. Drag a B-roll clip onto a separate video track above your A-roll. This will cover the main footage while letting the original audio play underneath. This is the secret to making videos look professional and keeping your viewers from getting bored. It’s a powerful way to show your audience what the speaker is talking about, not just tell them.
For those looking to streamline this process, especially from a pre-written script, an automated script to video generator can offer a fascinating shortcut. And if you're aiming for content that pops on social media, diving into platform-specific Tiktok video editing tips will give you an edge.
Adding Polish with Audio and Graphics
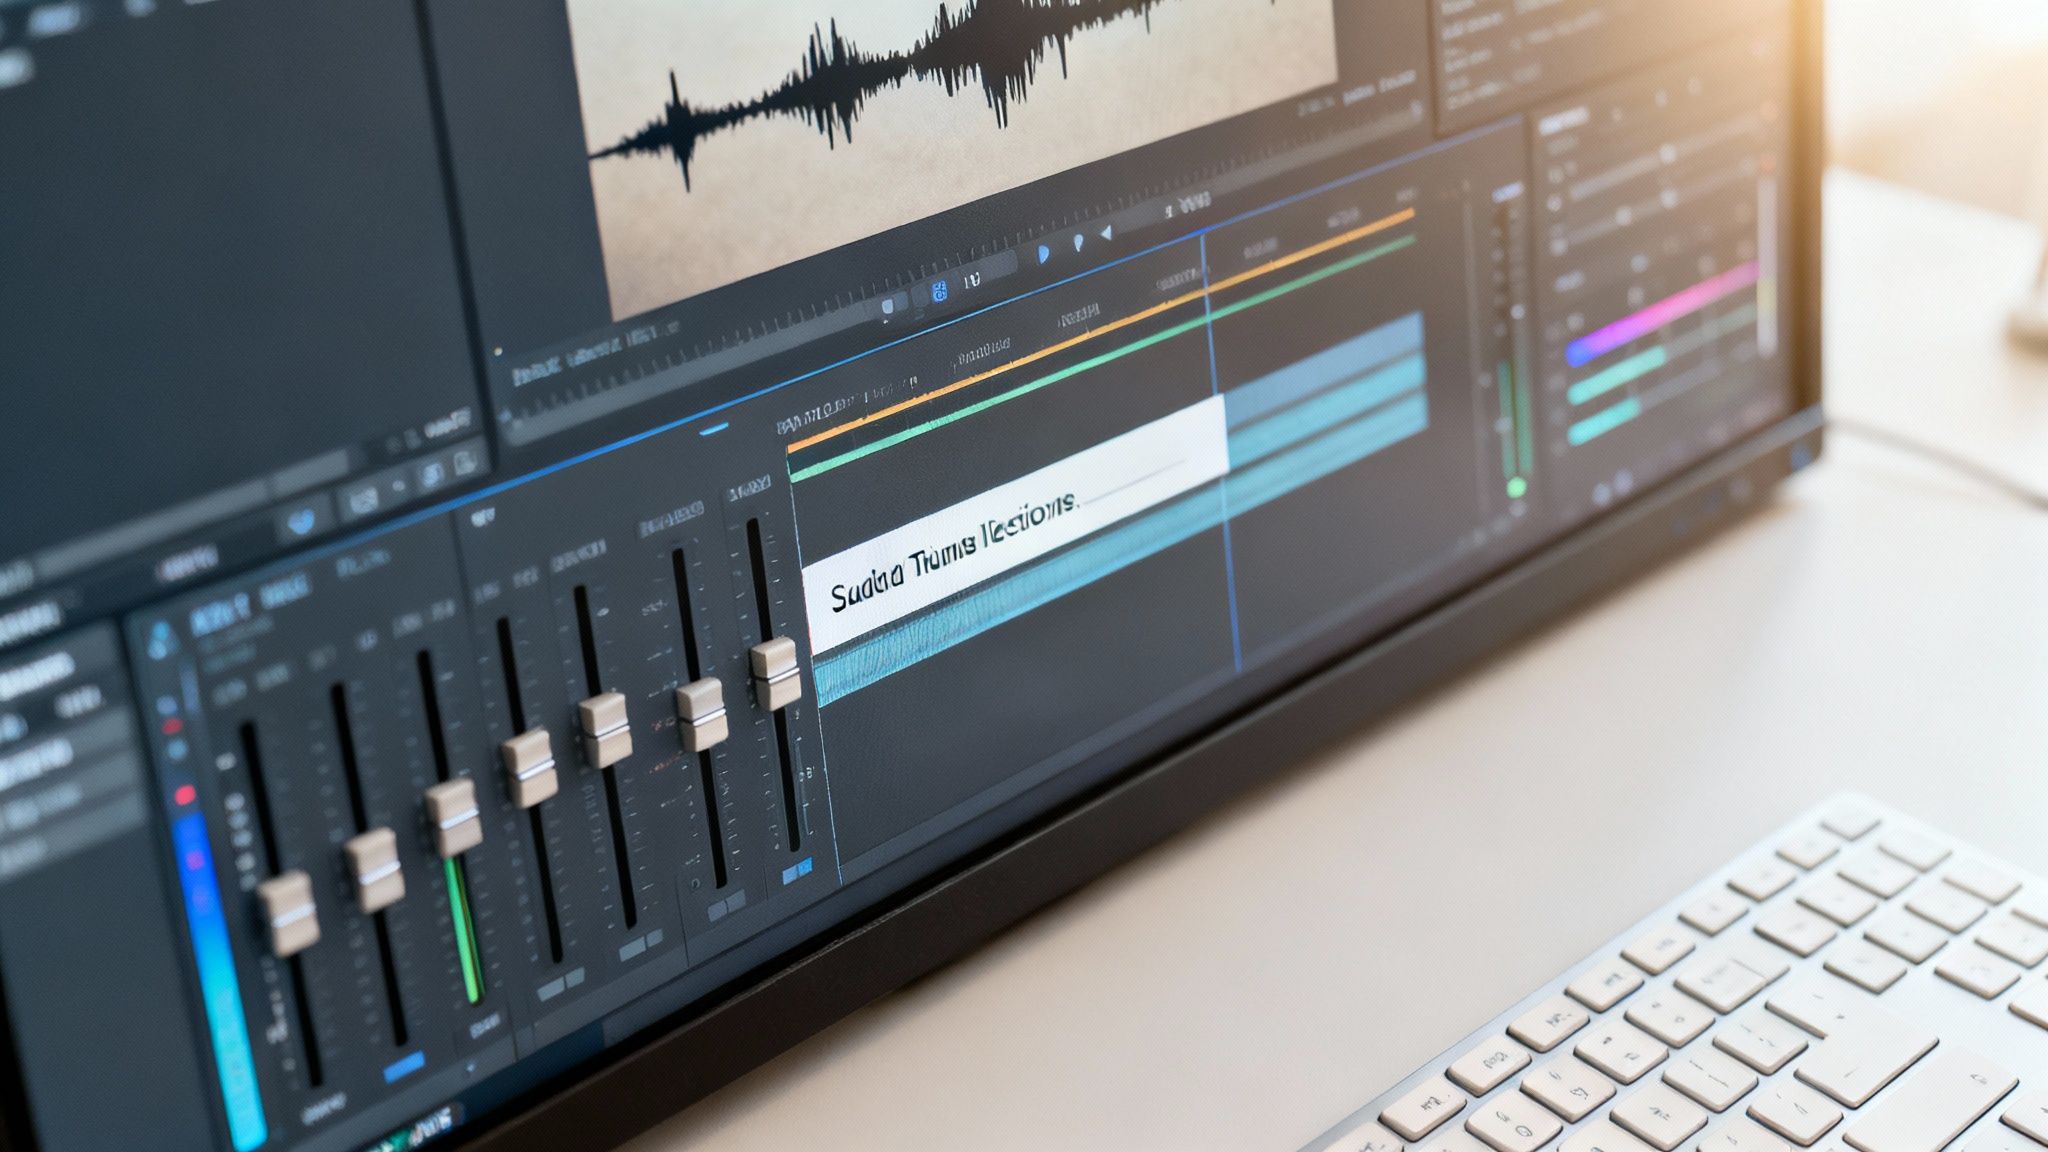
A video with solid cuts is a great start, but it’s the final layers of audio, graphics, and color that really make it sing. These finishing touches are what separate an amateur project from something that looks and feels truly professional. They create an experience that pulls your audience in and keeps them watching.
Think of it this way: a video's audio is its heartbeat. I've seen countless projects with stunning visuals fall flat because of bad sound. It's often the first thing a viewer notices, and it's one of the quickest ways to make them click away.
Mastering Your Sound Design
The absolute first priority with sound is making sure your main audio—whether it's dialogue, a voiceover, or an interview—is clean and easy to understand. Almost any editing software has built-in tools for noise reduction. Even a small tweak can work wonders, removing distracting hums from things like air conditioners or computer fans.
With your primary audio clean, you can start layering in other elements like music. The golden rule here is balance. The music is there to set a mood, not to fight with the person speaking. I usually set my music volume to around -18dB to -24dB when dialogue is present, then bump it up a bit in the gaps to add some energy.
And don't overlook sound effects (SFX). A simple "whoosh" transition or a subtle "click" when a graphic appears on screen adds a layer of professionalism and makes the whole video feel more alive.
The goal of audio mixing isn't to make everything loud, but to make everything clear. Each sound element should have its own space, guiding the viewer's attention without creating a cluttered, messy soundscape.
Adding Clean and Simple Graphics
Graphics are your secret weapon for giving the audience context. You don't need fancy, flying animations to look pro. In fact, clean titles and lower thirds are often more effective.
When you're working with text, stick to these core ideas:
- Readability is king: Pick a simple, sans-serif font. Make sure the text color stands out from the background—a subtle drop shadow or outline can really help it pop.
- Less is more: Don't plaster text all over the screen. Use it strategically to introduce a speaker, call out a key takeaway, or display a call to action. A good rule is to leave it on screen just long enough for someone to comfortably read it twice.
- Be consistent: Sticking to the same fonts and color palette throughout your video gives it a cohesive, branded feel that looks intentional and professional.
Bringing Your Footage to Life with Color
Color correction can seem intimidating, but the basics are surprisingly straightforward. Your first goal is to make the footage look natural, like it did in real life. Your second goal is to use color to create a specific mood. Start by playing with the simple sliders for brightness, contrast, and saturation.
For instance, giving the saturation a little boost can make a dull landscape shot feel vibrant and engaging. Or, for a more dramatic interview, you could try lowering the brightness while pushing up the contrast. These small adjustments can completely change the emotional impact of a shot.
Getting these details right is more important than ever. After all, roughly 85% of businesses now depend on video to connect with their audience. You can dig deeper into these video marketing trends and why they matter at Triple A Review.
Exporting Your Video for Any Platform
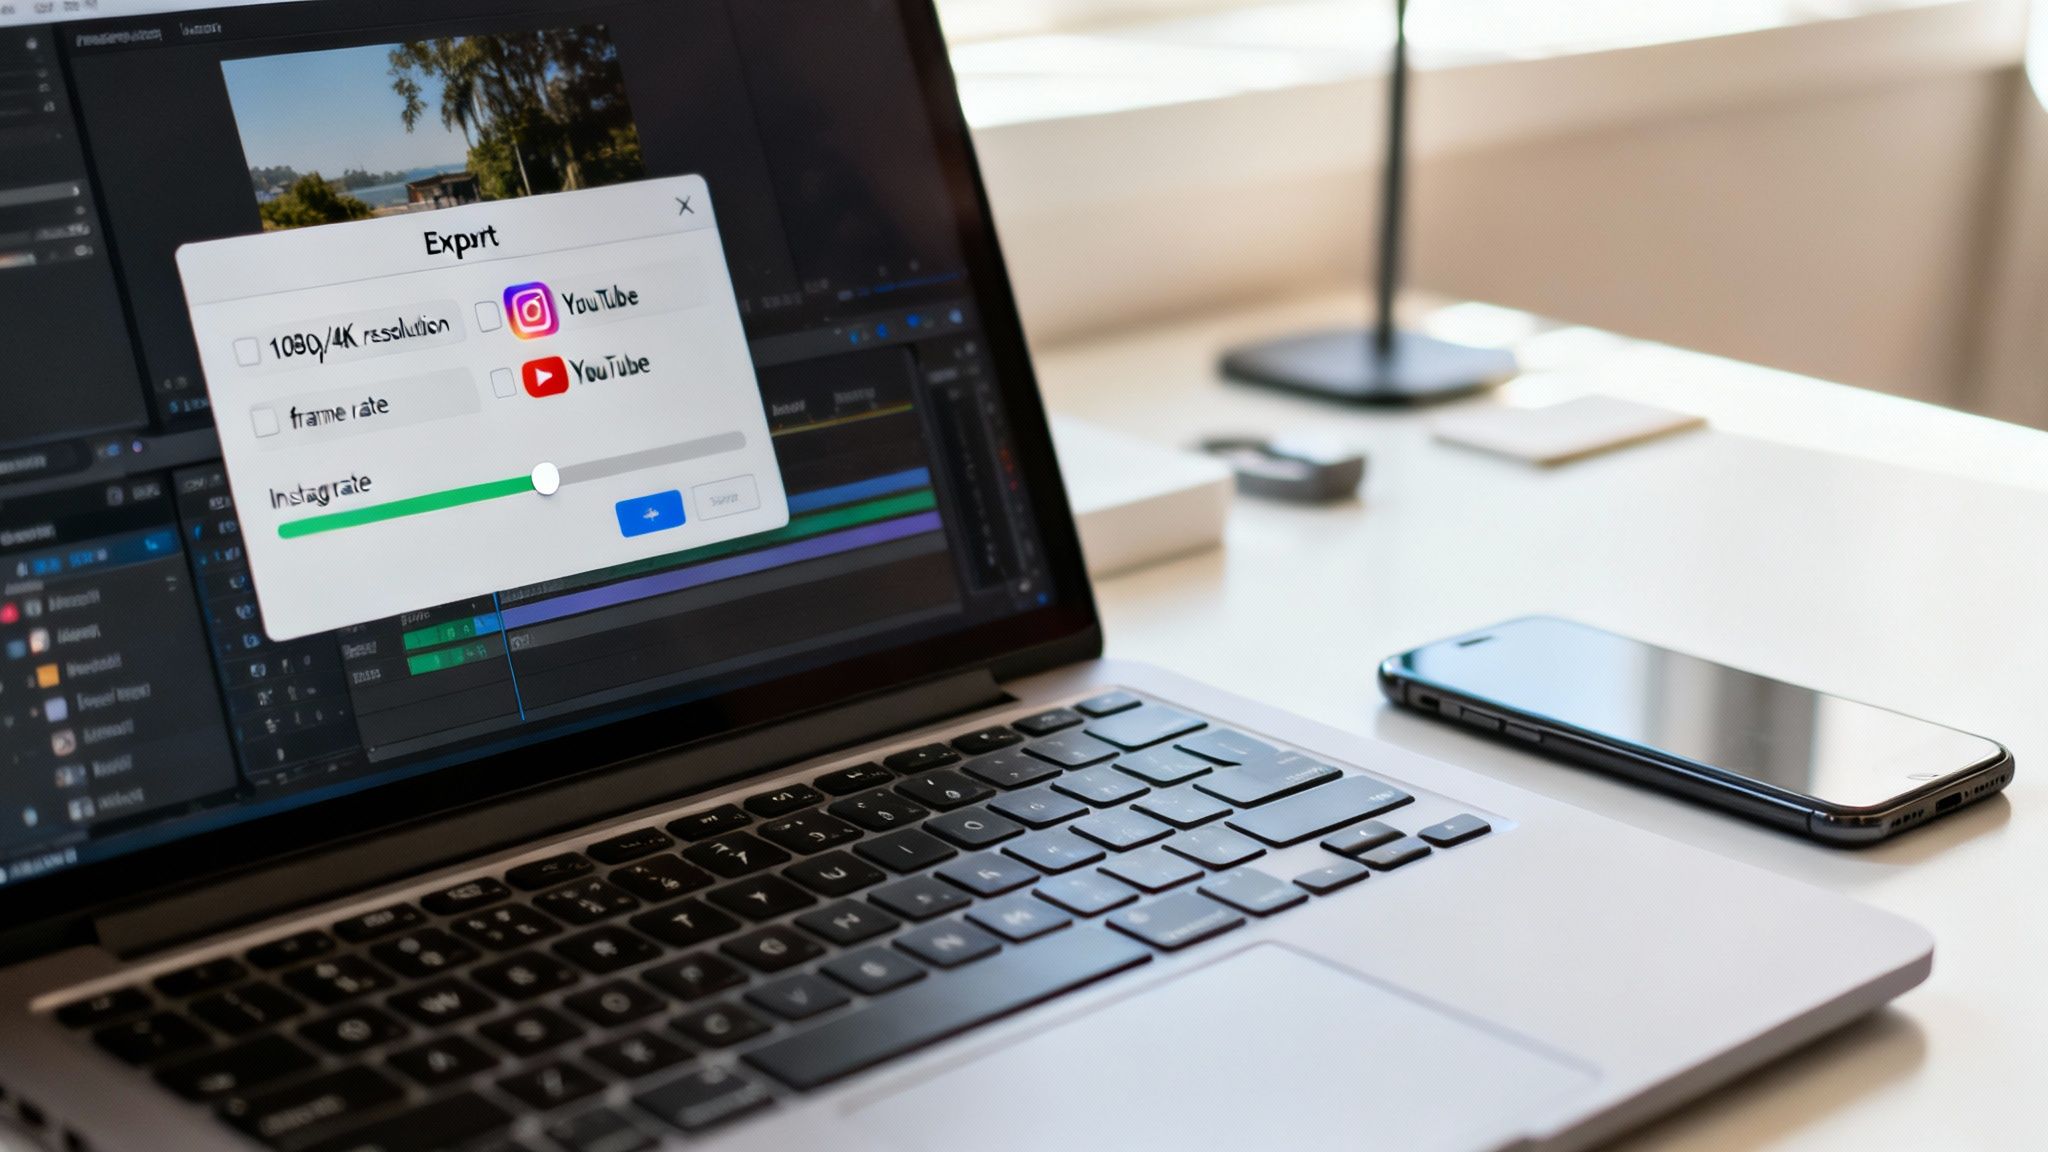
You’ve made it through the entire creative process, and your masterpiece is finally ready to meet the world. But that last step—exporting—is just as crucial as the very first cut you made. If you get this part wrong, you could end up with a pixelated mess or a file so huge it takes half a day to upload.
Think of exporting as carefully packaging your video for delivery. Different platforms like YouTube, Instagram, and TikTok all have their own specific "packaging" requirements. The goal here is to dial in the right settings so your video looks fantastic everywhere it goes, without creating a file that’s bigger than it needs to be.
Decoding Common Export Settings
When you hit that "Export" button, you’re usually greeted with a menu full of confusing technical terms. Don't sweat it. For the most part, you only need to get a handle on a few key settings to get a great result every time.
Honestly, when you're just starting out, using a built-in preset is your safest bet.
These are the main settings you'll run into:
- Resolution: This is all about the size and sharpness of your video. For most things you'll post online, 1080p (1920x1080 pixels) is the gold standard. It strikes a perfect balance between high quality and a manageable file size. Sure, 4K is sharper, but the files are massive.
- Frame Rate (fps): This tells you how many individual images flash on the screen every second. The most common rates are 24fps if you're going for a more cinematic, film-like feel, or 30fps for standard, smooth web video. Just stick with whatever frame rate you originally filmed in.
- Bitrate: This one's a little more abstract, but it basically controls how much data is packed into each second of video. A higher bitrate means better quality but also a bigger file. The good news? Most software presets, like "YouTube 1080p," will handle this for you perfectly.
The biggest mistake I see beginners make is cranking every single setting to the maximum. They think "max settings" equals "max quality." It usually just creates a gigantic file that the platform will compress heavily anyway, sometimes resulting in worse quality than a more reasonably optimized export.
Platform-Specific Export Recommendations
Every social media platform has its own preferences for video. Choosing the right settings from the get-go ensures your hard work looks crisp and professional when people see it.
For a standard horizontal YouTube video, you can't go wrong with 1080p resolution at 30fps in an MP4 format. But if you’re creating vertical content for Shorts, Reels, or TikTok, the game changes. For anyone diving into that world, our guide on how to make viral YouTube Shorts has a ton of specific strategies.
Here’s a quick cheat sheet for vertical video:
| Platform | Recommended Resolution | Aspect Ratio | Common Format |
|---|---|---|---|
| TikTok | 1080x1920 | 9:16 | MP4 |
| Instagram Reels | 1080x1920 | 9:16 | MP4 |
| YouTube Shorts | 1080x1920 | 9:16 | MP4 |
By simply selecting the right preset in your software—like "TikTok" or "Instagram Reel"—you're making sure your video looks exactly how you intended when it finally gets in front of your audience.
Common Questions from New Video Editors
Once you’ve put a few projects together, you’ll inevitably hit those practical snags that tutorials don't always mention. Let's tackle some of the most common questions that pop up right after you’ve nailed down the basics. Getting these sorted out early will save you a ton of headaches down the road.
Do I Need to Pay for Editing Software?
A lot of newcomers think they need to drop a bunch of cash on software to get started. The answer is a hard no. In fact, you absolutely should start for free.
You can get incredible results with free tools. DaVinci Resolve has a free version so powerful that many professionals use it for their work. Other great options are CapCut for both desktop and mobile, or iMovie if you're in the Apple ecosystem. Don't even consider paying for software until you hit a wall where the free version is truly holding back your creative vision.
What Should I Focus on Learning First?
With all the flashy effects and complicated tools, it's easy to get overwhelmed. So where do you start? The single most important skill to master is working with the timeline. Everything in video editing is built on your ability to make clean, precise cuts.
Before you dive into anything else, get really good at these three things:
- Trimming Clips: Get fast at shaving off the unwanted bits from the start and end of your shots.
- Cutting Out Mistakes: Learn how to use the blade or razor tool to slice out awkward pauses, flubbed lines, or entire bad takes from the middle of a clip.
- Building a Sequence: Practice arranging your clips in the right order to tell a story that makes sense and flows naturally.
Once you’re comfortable with these fundamental actions, everything else—adding B-roll, playing with color, and mixing audio—will feel a whole lot easier. This is the bedrock of video storytelling.
Why Is My Exported Video File So Big?
This is a classic. "I just exported my five-minute video, and it's 10 GB! What did I do wrong?" Almost every single time, the culprit is one setting: bitrate.
Bitrate is simply the amount of data your software uses to describe each second of video. A higher bitrate equals higher quality but also a massive file. For platforms like YouTube or Instagram, you don't need a sky-high bitrate.
The easiest fix is to use the built-in export presets. Look for options like "YouTube 1080p" or "Web HD." These settings are already configured with an ideal bitrate that gives you a great-looking video with a file size that won't take all day to upload. It’s the perfect balance of quality and convenience.
Ready to create stunning short-form videos without the steep learning curve? With ClipShort, you can turn your ideas into viral-ready TikToks, Reels, and Shorts in minutes using powerful AI. Automate your content creation and start growing your audience today at https://www.clipshort.co.