A Guide to Vertical Video Dimensions
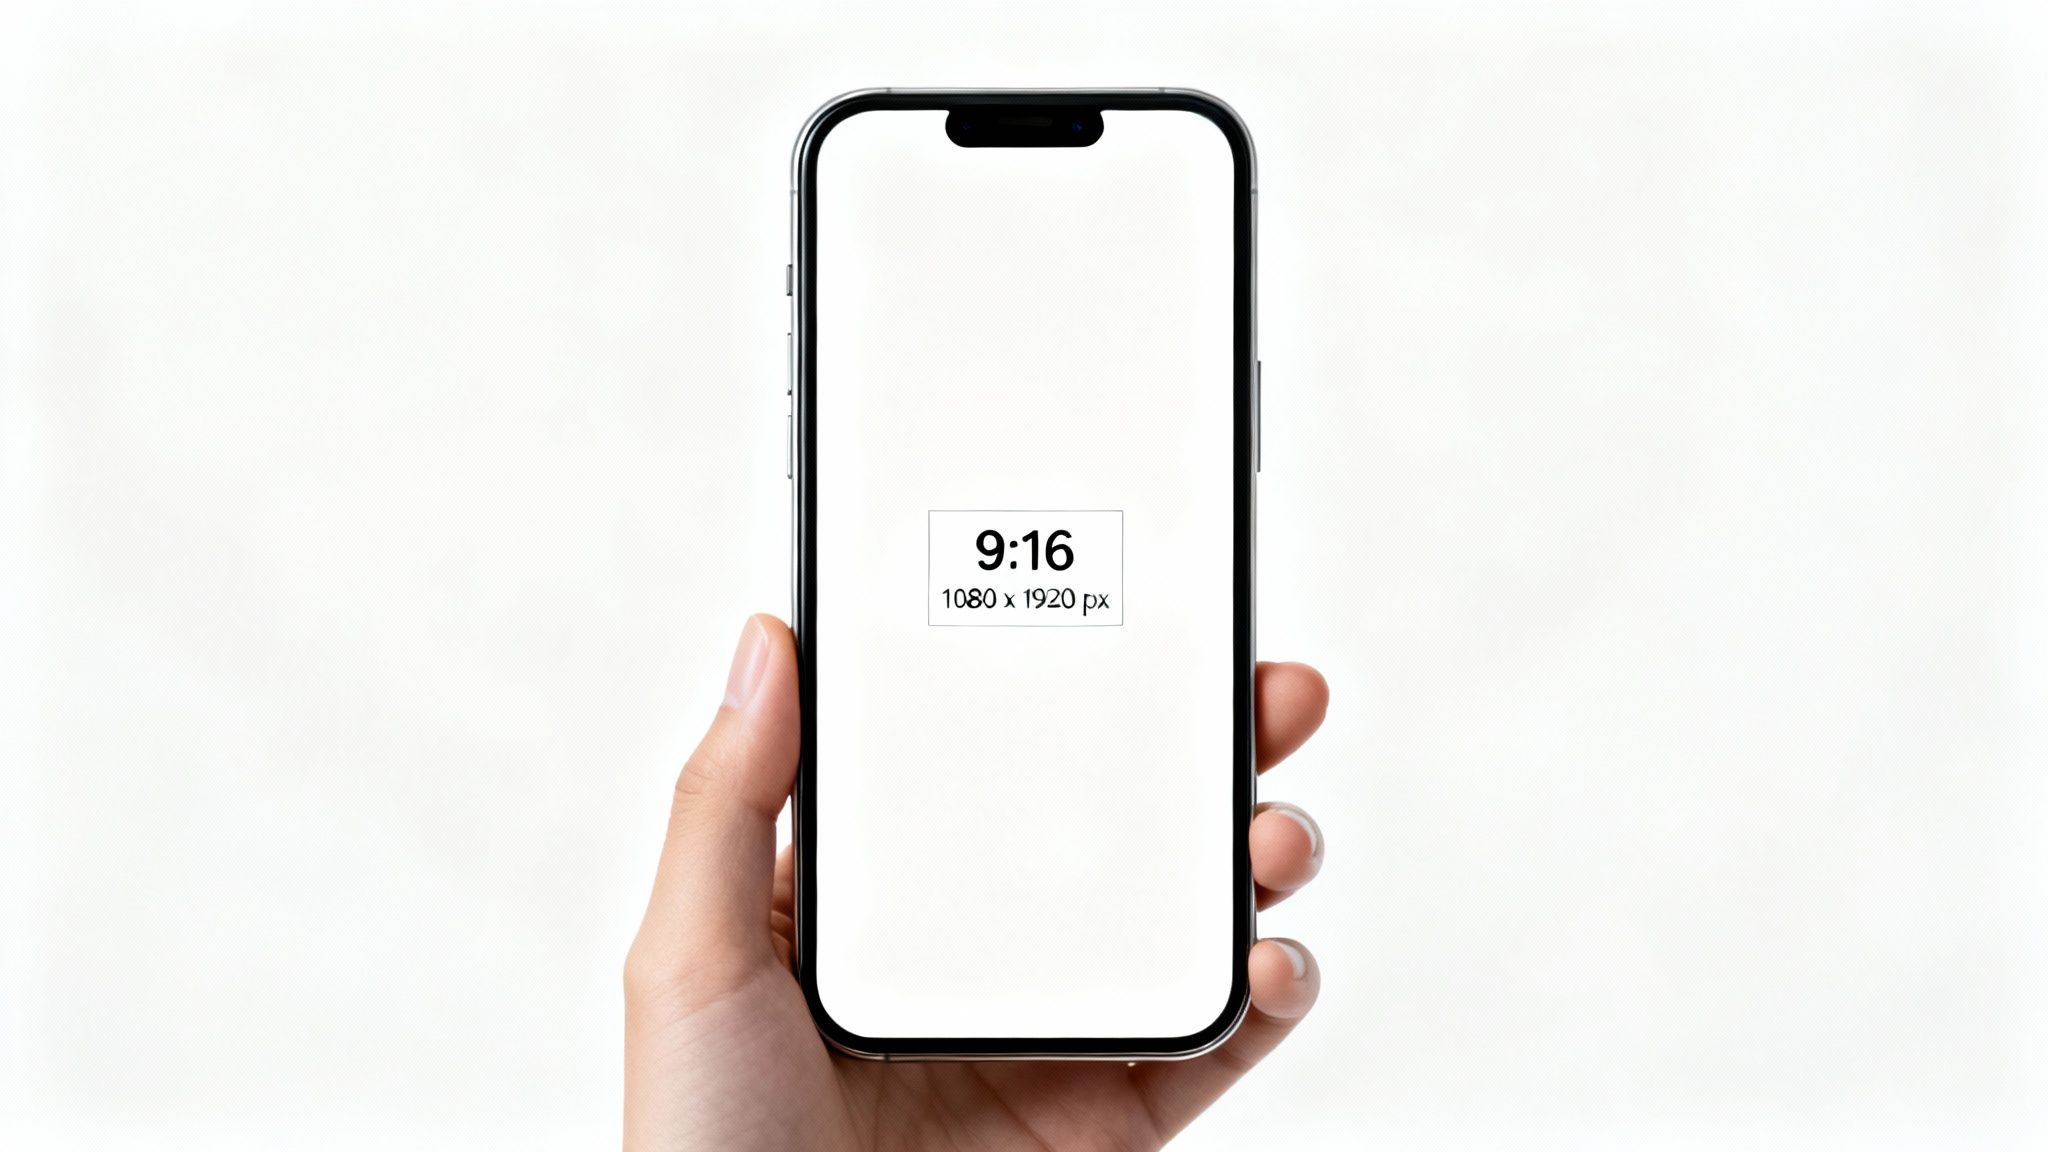
When it comes to vertical video, there’s one standard that rules them all: the 9:16 aspect ratio, which almost always means 1080x1920 pixels. This is the native format for full-screen viewing on smartphones, making it the undisputed champion for platforms like TikTok, Instagram Reels, and YouTube Shorts.
Understanding Core Vertical Video Dimensions
The rise of vertical video completely changed the game for content creation. This wasn't some random industry shift; it was driven by one simple, undeniable fact: people hold their phones vertically. The 9:16 aspect ratio perfectly matches the shape of a smartphone screen, creating an immersive, edge-to-edge experience that grabs a viewer's full attention.
This mobile-first approach is no longer just a trend—it’s the baseline for any serious social media or marketing strategy. The 1080x1920 pixel resolution has become the gold standard, delivering a crisp, high-definition picture on just about any modern phone. This whole movement makes sense when you consider that a whopping 94% of smartphone users hold their devices upright. If you want to learn more about why this format is so crucial, onestream.live has a great breakdown.
Key Concepts Explained
To really nail your vertical videos, you need to get comfortable with the core terms that define their structure. Think of these as the fundamental building blocks for creating content that looks sharp and performs great.
- Aspect Ratio (9:16): This is just the proportional relationship between the video's width and its height. For vertical video, the height is way taller than the width, giving it that signature tall, skinny frame.
- Resolution (1080x1920 pixels): This measures the tiny dots (pixels) that make up the image—1080 pixels wide by 1920 pixels tall. More pixels mean a clearer, more detailed picture.
- Orientation (Portrait): This is the official term for the vertical layout, as opposed to the horizontal "landscape" orientation you see on TVs and most computer monitors.
Getting these dimensions right from the start ensures your content feels native to the platforms where your audience lives. It's the first and most important step toward producing videos that stop the scroll.
For those who need the specs at a glance, here’s a quick-reference table summarizing the key dimensions.
Quick Reference for Vertical Video Dimensions
This table provides a simple summary of the most common vertical video specifications for easy look-up.
| Attribute | Standard Specification | Common Use |
|---|---|---|
| Aspect Ratio | 9:16 | The universal standard for full-screen mobile video. |
| Resolution | 1080x1920 pixels | The most common HD format for TikTok, Reels, and Shorts. |
| Orientation | Portrait | The vertical layout designed for smartphone screens. |
Keep these numbers handy, as they are the foundation for nearly all the content you’ll create for today’s top social platforms.
Why Vertical Video Drives Higher Engagement
The explosion of vertical video isn't just a passing trend. It's a direct reflection of how we all naturally use our phones. People hold their phones upright, so content formatted in a 9:16 aspect ratio simply feels right. It delivers an immersive, full-screen experience that pulls you in and gets rid of all the distractions.
When a video takes over the whole screen, it has your complete attention. There's nowhere else for your eyes to wander. This creates a much more personal and focused viewing session, which is exactly why the performance metrics are so much stronger. Horizontal videos, on the other hand, force you to turn your phone—a small action, but it's a barrier that most people just won't bother to cross.
The Data Behind Vertical Success
The numbers don't lie; they paint a pretty clear picture of the performance gap between vertical and horizontal video. The results are striking. Studies show that a whopping 90% of vertical videos get watched all the way through. Compare that to just 40-50% for horizontal videos.
On top of that, branded content campaigns see vertical videos reach 58% more people than their widescreen counterparts. It makes sense when you learn that fewer than 30% of users will even bother to rotate their phones for a horizontal video. And those who do? They only watch about 14% of it.
Vertical video isn't just a format; it’s a strategy. By aligning your content with how people actually use their devices, you remove friction and significantly boost the likelihood of your message being seen and absorbed.
To really nail this, you need to add clear, well-timed text. A huge number of people watch videos with the sound off, so understanding how to caption videos effectively is absolutely essential if you want your message to land. This simple step makes your content more accessible and pushes engagement even higher, completing the formula for a high-performing vertical video.
Platform-Specific Video Dimension Requirements
While a 9:16 aspect ratio and 1080x1920 pixels have become the go-to standard for vertical video, every social media platform plays by its own set of rules. Getting the details right for each one—from dimensions and file size to video length—is the key to avoiding frustrating upload errors, ugly compression, or awkward crops that just scream "unprofessional."
Nailing these specs ensures your video looks its best and performs optimally on every single channel.
TikTok Vertical Video Specifications
TikTok is the platform that really made vertical video a non-negotiable format. To succeed here, your content needs to feel like it belongs in the app's immersive, full-screen world.
- Recommended Dimensions: Stick to 1080 x 1920 pixels. This is your best bet for keeping the video quality sharp and crisp.
- Aspect Ratio: 9:16. Sure, TikTok lets you upload 1:1 or 16:9, but the algorithm heavily favors the native 9:16 format, and it’s what users expect to see.
- Max File Size: 287.6 MB for iOS and a much smaller 72 MB for Android. Keep an eye on your file sizes to make sure your uploads are quick and painless.
- Max Length: You can upload videos up to 60 minutes long, but don't feel pressured to use it all. The real sweet spot for engagement on TikTok is still a snappy 9 to 15 seconds.
Instagram Reels and Stories Dimensions
Instagram uses vertical video for both its Reels and Stories features. Luckily, their specs are almost identical, which makes it incredibly easy to create a piece of content and post it in both places.
- Recommended Dimensions: Always use 1080 x 1920 pixels. This guarantees your video will fill the entire screen with no distracting black bars.
- Aspect Ratio: 9:16 is mandatory if you want that full-screen, professional look.
- Max File Size: 4 GB. Instagram is pretty generous here, so you have plenty of room to upload high-quality files.
- Max Length: Reels can now be up to 90 seconds, but individual Stories are still capped at 60 seconds each.
If you want to dive even deeper, our comprehensive guide on social media video sizes has more comparisons and tips to help you out.
YouTube Shorts Dimensions
YouTube Shorts is Google’s answer to the short-form video craze, and it follows the same vertical-first playbook as its competitors. To make sure your video actually gets categorized as a "Short" instead of a regular YouTube video, you have to follow their guidelines precisely.
When you're dealing with a platform as complex as YouTube, understanding the technical side can make a huge difference. For a deeper dive, these YouTube integration insights can be a great help for more advanced setups.
- Recommended Dimensions: 1080 x 1920 pixels is the standard for Shorts to display properly.
- Aspect Ratio: 9:16 is the ideal format. While YouTube will also classify a square (1:1) video as a Short, the vertical ratio provides a much better viewing experience on mobile.
- Max File Size: A massive 256 GB. You'll likely never need this much space for a short-form video, but it's good to know the limit is high.
- Max Length: The hard limit is 60 seconds. Anything even a second longer will be treated as a standard, long-form YouTube video.
Pro Tip: Always, always double-check your export settings before you hit render. One small mistake in resolution or aspect ratio can cause a platform to automatically compress or crop your video in ways you never intended, instantly tanking its quality.
Vertical Video Specifications Across Major Platforms
To make things easier, here's a quick side-by-side look at what each of the big players requires. Having this table handy can save you a ton of time and prevent headaches down the road.
| Platform | Recommended Dimensions (Pixels) | Aspect Ratio | Max File Size | Max Length |
|---|---|---|---|---|
| TikTok | 1080 x 1920 | 9:16 | 287.6 MB (iOS) / 72 MB (Android) | 60 minutes (upload) |
| Instagram Reels | 1080 x 1920 | 9:16 | 4 GB | 90 seconds |
| YouTube Shorts | 1080 x 1920 | 9:16 | 256 GB | 60 seconds |
| Facebook Stories | 1080 x 1920 | 9:16 | 4 GB | 60 seconds |
As you can see, while 1080x1920 and 9:16 are the common thread, the limits on file size and video length vary quite a bit. Always keep your target platform in mind from the very beginning of your editing process.
Optimizing Composition with Platform Safe Zones
Nailing your vertical video dimensions is a great start, but it's only half the battle. What truly makes or breaks your content is how you frame your shot within those dimensions. Why? Because every single vertical video platform—TikTok, Reels, Shorts—slaps its user interface (UI) right on top of your video.
We’re talking about usernames, captions, like buttons, and comment icons. The parts of the screen that are clear of all that clutter are called safe zones. Getting this wrong is one of the most common mistakes I see, and it can instantly make your content look amateurish. Imagine spending hours on a video only to have your key message or a crucial product shot completely hidden by the "Share" button. It’s frustrating for viewers and tanks your video's impact, often causing them to scroll right past.
Understanding the No-Go Areas
It helps to think of the screen in three parts: a big safe area in the middle, and two "danger zones" at the top and bottom. The exact pixel count can shift a bit from app to app, but a solid rule of thumb is to keep all your important visual information packed into the center 70-80% of the screen.
Before you even start thinking about framing, you have to get the basics right. This image breaks down the core specs you need to lock in first.
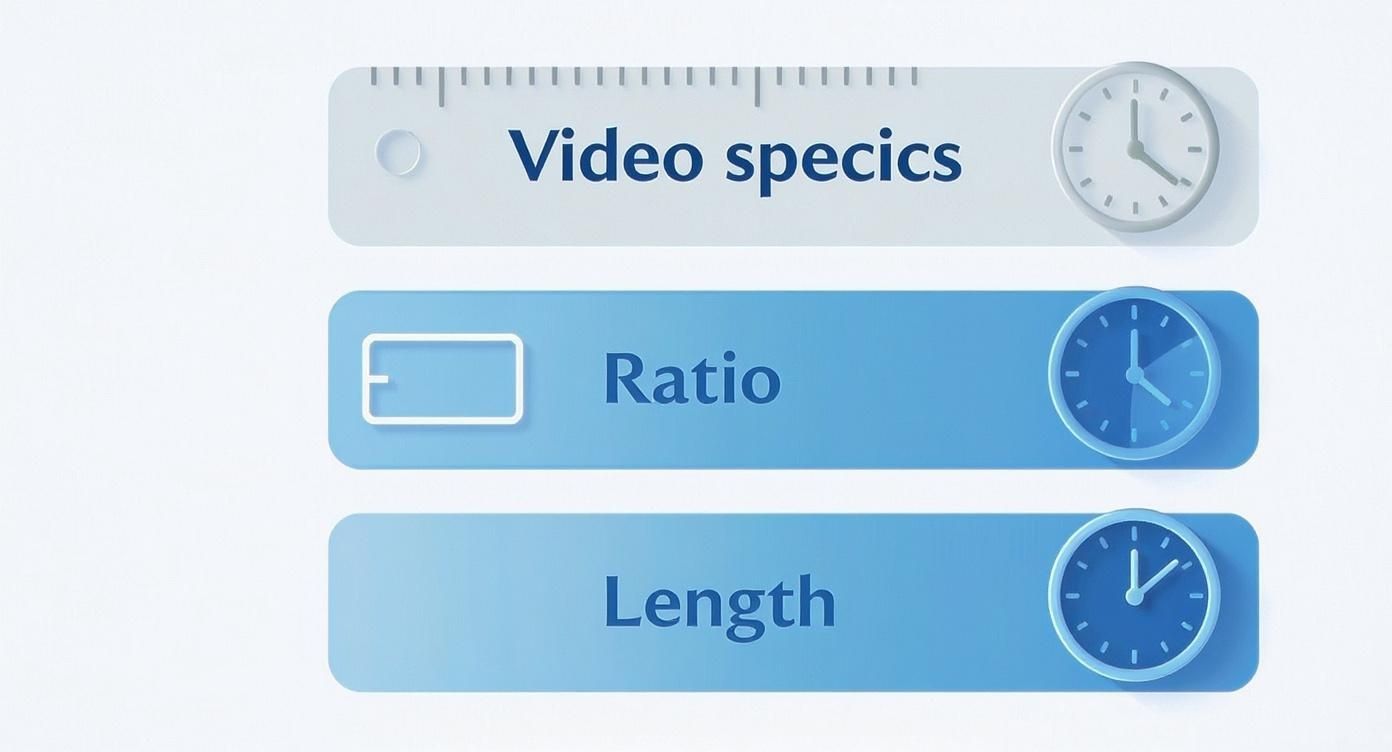
Getting these foundational specs—dimensions, ratio, and length—correct from the beginning is your first step to a clean, successful upload. Once that's set, you can focus on avoiding the UI minefield.
Here are the areas you need to be most careful about:
- The Bottom Section: This is prime real estate for the UI and the most crowded part of the screen. It's where you'll find the video description, the creator's username, audio details, and all the engagement buttons (like, comment, share). Whatever you do, don't put subtitles or important logos down here.
- The Right Edge: This vertical strip is typically where platforms stack engagement icons. It’s less of a problem than the bottom, but it can still easily cover up action happening on the right side of your video.
- The Top Edge: This area is generally much safer, but it's not totally off-limits. Platforms sometimes use it for notifications or special banners, so it's always smart to leave a little breathing room.
Practical Tips for Framing Your Shots
To make sure your message always lands, you have to treat the safe zone as your real canvas. Whether you're filming or already in the edit, get in the habit of mentally blocking off the bottom 20% of the frame and a small margin on the right. Better yet, find an overlay guide for your editing software.
When you compose your shots with the platform's UI in mind from the very start, you're protecting your video's clarity and effectiveness. A well-framed video guarantees that every single viewer gets the full experience you intended, no matter what device they're on.
Honestly, this proactive approach to composition is what separates amateur content from the stuff that looks truly professional. It ensures your call-to-action, subtitles, and key visuals are always in plain sight, doing the work you need them to do.
Best Export Settings for Crisp Vertical Video
You've poured all your effort into creating a fantastic vertical video, but there's one final hurdle: the export. This is where you lock in all that hard work, turning your project into a crisp, professional-looking file ready for upload. Mess up the settings here, and you could end up with blurry visuals, massive file sizes, or compatibility issues that sabotage your content before anyone even sees it.
To nail the export, you just need to get a handle on a few key technical settings. These values tell your editing software how to package everything up, striking the perfect balance between visual clarity and a file size that won't take forever to upload.
Essential Video Codec and Format
For just about every social media platform out there, the hands-down winner is the H.264 (AVC) codec inside an MP4 container. It's the universal standard for a very good reason.
- Codec (H.264): Think of this as the language used to compress your video. H.264 gives you an amazing sweet spot between high quality and efficient file sizes, so your video looks sharp without being a pain to upload.
- Format (MP4): This is the box that holds your compressed video, audio, and all the other data together. MP4 works everywhere, from TikTok and Instagram Reels to YouTube Shorts.
Sticking to this combo takes all the guesswork out of the equation. It guarantees the platform's algorithms will recognize your video and process it without a hitch.
Bitrate Settings for Optimal Quality
Bitrate is all about how much data your video uses per second, and it has a direct line to your final visual quality. If you set it too low, you'll get a pixelated mess. Set it too high, and you're just creating an unnecessarily huge file with no real visual benefit.
For a standard 1080x1920p vertical video, aim for a variable bitrate (VBR) somewhere between 10-15 Mbps (megabits per second). That’s more than enough data to keep everything looking sharp and detailed without making your file unnecessarily large. While some platforms like YouTube can handle more, this range is a solid, safe bet for cross-platform consistency. For a deeper dive, our guide to YouTube Shorts editing has some more targeted advice.
Pro Tip: Always choose VBR (Variable Bitrate) over CBR (Constant Bitrate). VBR is smarter—it assigns more data to complex, fast-moving scenes and less to simple, static ones. This optimizes your file size without sacrificing quality where it really counts.
Frame Rate and Audio Recommendations
A couple of other settings will round out your perfect export preset.
- Frame Rate (FPS): For most social media content, 30 frames per second (fps) is the go-to standard for smooth motion. If you're working with super fast-paced content like sports or gaming clips, bumping it up to 60 fps can deliver a hyper-smooth look, but be ready for a larger file size.
- Audio Format: You can't go wrong with the AAC codec for audio. Set the sample rate to 48 kHz and the bitrate between 192-320 kbps. This will give you rich, clear sound without adding much bulk to your final video file.
Adapting Horizontal Video to a Vertical Format

Let's be honest, creating vertical content from scratch for every single post isn't always realistic. Repurposing your existing horizontal (16:9) videos is a fantastic way to keep your content calendar full. But there's a catch.
Simply slapping a 9:16 crop onto your widescreen footage is a recipe for disaster. It almost always chops out key subjects, completely wrecking your original composition and making the video feel awkward and amateurish.
The trick is to reframe the story, not just the shot. You have to make deliberate choices to guide the viewer’s eye inside this new, taller canvas. Many modern editing tools now offer features like "Auto Reframe," which uses AI to track the action and automatically keep your subject centered. It’s a huge time-saver that can intelligently pan and scan across your footage, creating a dynamic vertical version for you.
Creative Techniques for Filling Vertical Space
What happens when Auto Reframe doesn't quite nail it, or you want something a bit more stylized? You’ve got a few other great options to fill that empty space above and below your horizontal clip. These methods make your repurposed content look intentional and professionally designed for a vertical feed.
- Blurred Background (Pillarboxing): This is a classic for a reason. You place your original 16:9 clip in the middle and then use a scaled-up, blurred version of that same video as the background. It’s simple, clean, and fills the screen without distracting from the main event.
- Split-Screen Layout: Get creative by dividing the 9:16 frame into different zones. You could stack two horizontal clips on top of each other or feature your main clip alongside some supporting B-roll or graphics in a separate panel.
- Adding Text and Graphics: Use that extra real estate to your advantage. Add a catchy headline at the top, pop on some captions at the bottom, or even include a progress bar. This not only fills the frame but also boosts engagement, especially for the huge chunk of your audience watching with the sound off.
Repurposing isn't just about resizing; it's about reimagining. A successful horizontal-to-vertical adaptation maintains the core message while presenting it in a format that feels native to the vertical scroll.
By using these methods, you turn a cropping problem into a creative opportunity. For a deeper dive into making the most of your existing assets, check out our complete guide on content repurposing strategies.
Common Questions About Vertical Video Dimensions
Getting the hang of vertical video often brings up a ton of questions, especially when you're trying to nail down a smooth workflow. Here are some straight answers to the most common ones we hear, designed to help you troubleshoot and keep your content looking sharp.
Do I Have to Use 1080x1920 Pixels?
While 1080x1920 pixels is definitely the gold standard for vertical video, it’s not your only choice. Most platforms, including TikTok and YouTube Shorts, will happily accept a lower HD resolution of 720x1280 pixels.
That said, I almost always recommend sticking to 1080p. It’s what ensures your video looks crisp and professional on modern phone screens. Uploading at a lower resolution can leave your visuals looking soft or just a bit underwhelming, which might be enough to make a viewer scroll right past.
Can I Upload a 4K Vertical Video?
You can absolutely film and edit in 4K—in fact, it can give you more flexibility in post-production. However, no major social platform currently supports 4K uploads for short-form vertical clips. If you upload a 4K file, the platform will just automatically compress it and downsize it to 1080p anyway.
To save yourself the upload time and avoid any weird compression artifacts, it's a much better practice to export your final cut directly at 1080x1920 pixels. This gives you way more control over the final look than just letting the platform’s algorithm handle the downscaling for you.
Why Does My Video Look Blurry After Uploading?
This is easily one of the most frustrating problems. A blurry or pixelated video usually comes down to two culprits: the platform’s heavy compression or your own export settings. Every platform compresses video files to save server space and make sure videos play smoothly for everyone.
To fight back against quality loss, here’s what to do:
- Check your bitrate: This is the big one. Exporting with a bitrate that’s too low will destroy your quality. For 1080p footage, aim for a sweet spot between 10-15 Mbps.
- Use a stable connection: Uploading over a spotty Wi-Fi connection can trigger platforms to apply even heavier compression. Always try to upload using a fast, stable internet source.
- Stick to H.264: Make sure you're exporting with the H.264 codec inside an MP4 file. It's the most widely accepted and efficient format for just about every social app out there.
What Is the Difference Between 9:16 and 16:9?
It’s all about the ratio of the video’s width to its height. A 9:16 aspect ratio simply means the video is 9 units wide for every 16 units tall. This creates that classic "portrait" look that's perfect for full-screen viewing on phones.
On the other hand, a 16:9 aspect ratio is the standard for horizontal or "landscape" video—think TVs and traditional YouTube videos. It's 16 units wide for every 9 units tall. Mixing these two up is a super common mistake that leads to those awkward videos with black bars on the sides.
Ready to create stunning vertical videos without the hassle of complex editing? ClipShort uses AI to turn your ideas into viral-ready TikToks, Reels, and Shorts in minutes. Generate scripts, add lifelike voiceovers, and customize everything with animated captions and music to stop the scroll. Start creating faster with ClipShort today!