Post YouTube Video on Instagram The Smart Way
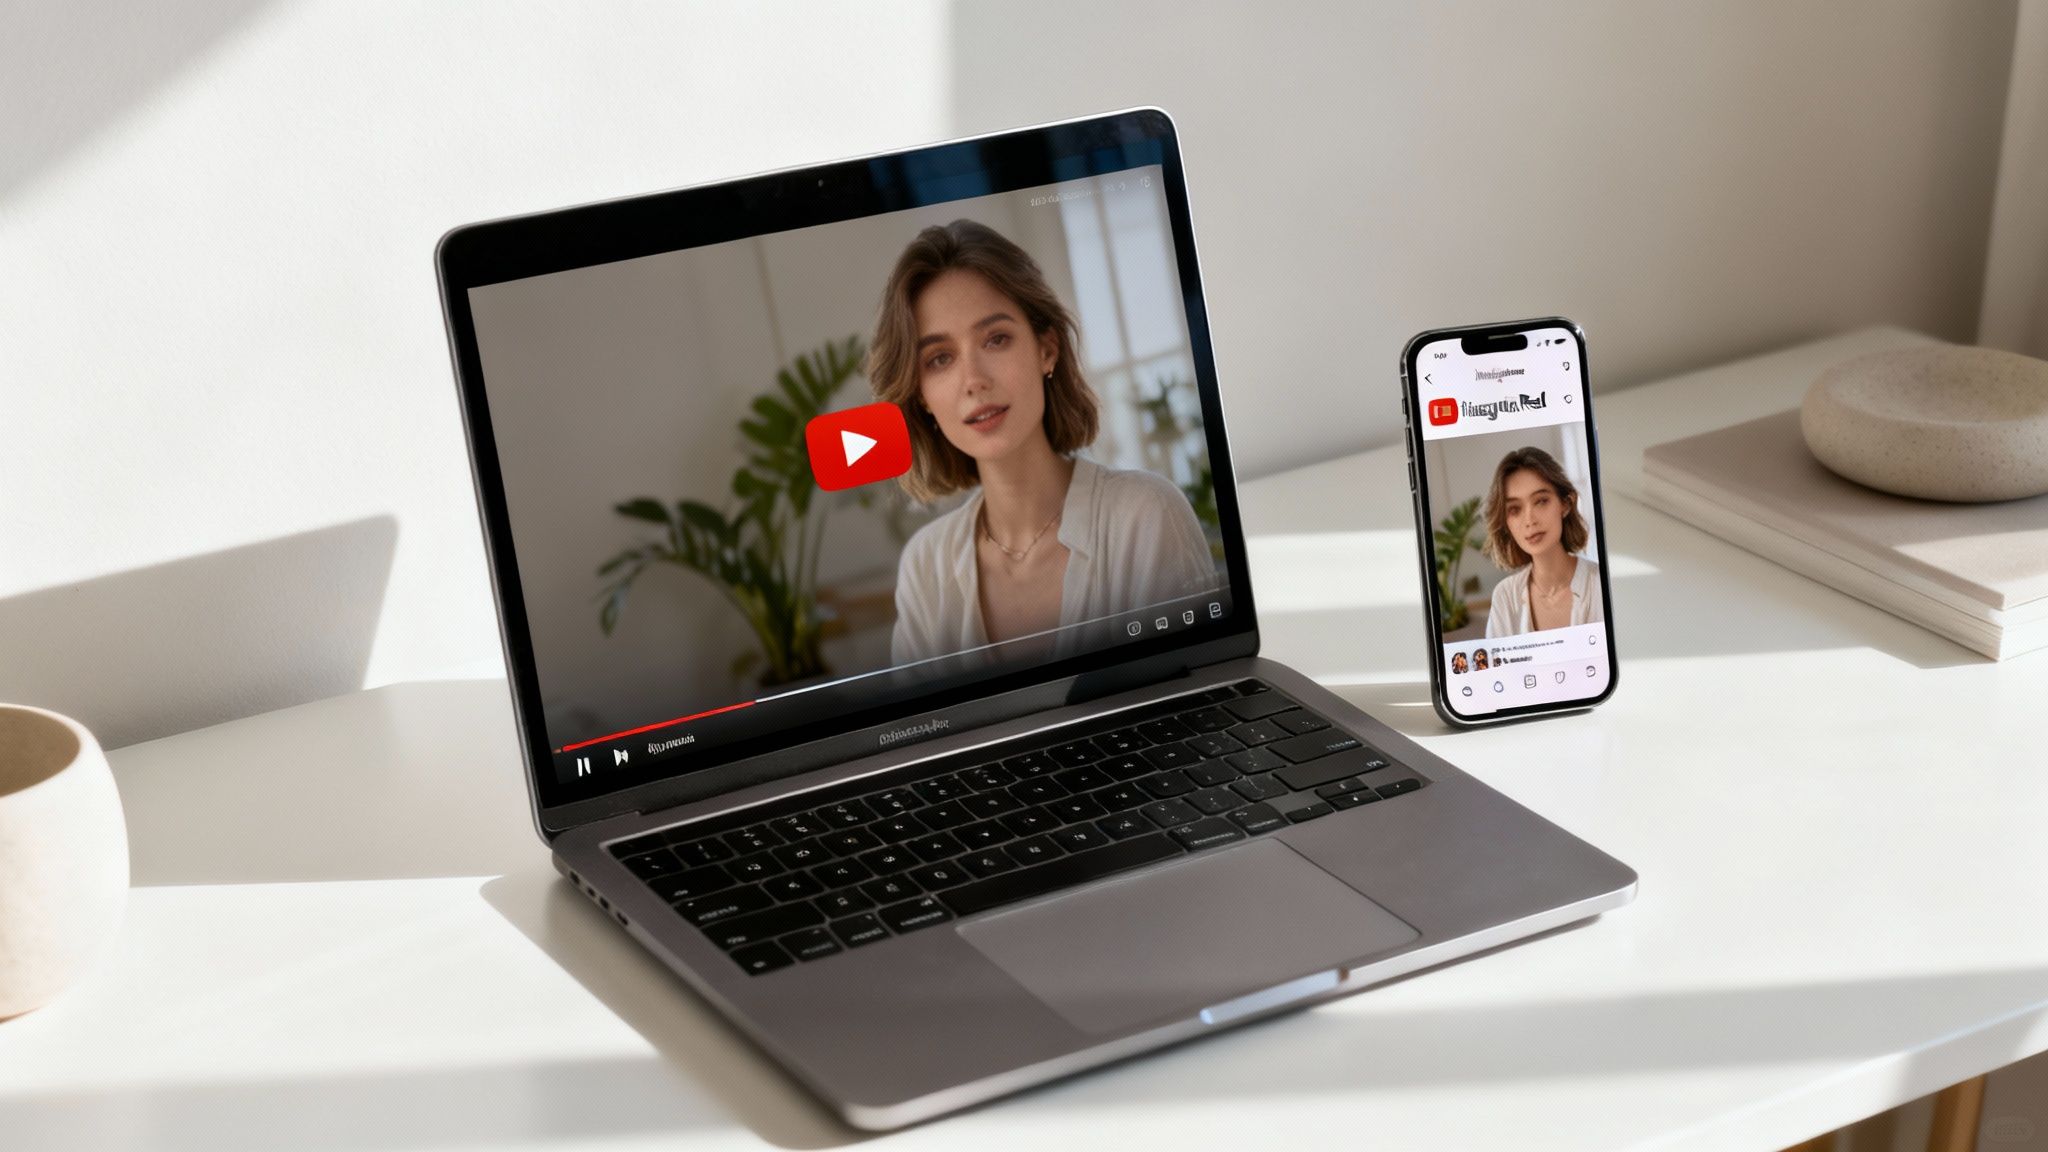
Thinking of posting a YouTube video on Instagram? It’s not just about downloading and re-uploading. You’ll want to reformat your clip for that vertical 9:16 aspect ratio, trim it down to a seriously compelling highlight, and then share it as a Reel, Story, or feed post.
Done right, this turns your long-form content into a powerful engine for Instagram growth. It creates a cohesive brand presence that grabs attention and builds a loyal following across both platforms.
Why Bother Repurposing YouTube Videos for Instagram?
Before we get into the "how," let's talk about the "why." This strategy is a perfect example of a smart cross-platform content strategy because it gets the most out of every video you create. Instead of starting from scratch, you're breathing new life into assets you've already poured your time and effort into.
This approach is brilliant for connecting with different slices of your audience right where they hang out. Your dedicated YouTube subscribers who love a deep dive might not be the same people scrolling through Instagram Reels. By creating short, punchy clips, you’re introducing your brand to a whole new crowd.
YouTube vs Instagram Video At a Glance
Here’s a quick comparison of the key video specs for each platform to help you plan your repurposing strategy.
| Feature | YouTube (Long-Form) | Instagram Reels | Instagram Stories | Instagram Feed |
|---|---|---|---|---|
| Aspect Ratio | 16:9 (Horizontal) | 9:16 (Vertical) | 9:16 (Vertical) | 1:1, 4:5, 1.91:1, or 9:16 |
| Duration | Up to 12 hours | Up to 90 seconds | Up to 60 seconds | Up to 60 minutes |
| Audience | Viewers seeking in-depth, educational content | Fast-paced, trend-driven | Ephemeral, behind-the-scenes | Curated, polished content |
| Goal | Build authority, long-term engagement, ad revenue | Reach new audiences, go viral | Foster community, drive DMs | Showcase brand, conversions |
This table makes it clear: what works on YouTube won't just copy-paste over to Instagram. Each format has its own rules of engagement.
Tap Into Instagram’s Massive Audience
Instagram Reels have absolutely exploded, becoming a huge discovery tool for creators. With over 2 billion monthly active users, the platform offers an insane amount of potential for your videos to get seen.
We're seeing creators trim their longer YouTube videos into sharp, attention-grabbing Reels to tap into Instagram's younger, trend-focused audience. This way, they can keep their deep-dive crowd on YouTube happy while finding a totally new one on Instagram.
This isn't just cross-posting—it's building a multi-dimensional community. You're creating more ways for people to find you, reinforcing your message and making your brand far more memorable.
Build a Cohesive and Stronger Brand
When followers see you on both YouTube and Instagram, it cements your authority and builds trust. Each platform starts to play a unique role in your marketing:
- Instagram Reels and Stories are your top-of-funnel magnets. They grab new eyeballs with quick, entertaining, or educational snippets.
- Your YouTube channel is the destination for anyone who wants more. It's where interested viewers go to watch the full tutorial, in-depth review, or detailed vlog.
This synergy pushes traffic back and forth, creating a self-sustaining ecosystem where each platform helps the other grow. Our guide on https://www.clipshort.co/en/blog/content-repurposing-strategies dives even deeper into ideas for getting more mileage from your work. This approach ensures your hard work keeps paying off long after you hit "publish" on that original video.
Alright, let's get that YouTube video prepped for its Instagram debut.
Before you can slice and dice your content, you need the actual video file. The whole process starts with getting your hands on a high-quality version of your YouTube video, and you've got a couple of ways to do it.
Getting Your Source Video File
The best-case scenario? You still have the original project file from your editing software, like Adobe Premiere Pro or DaVinci Resolve. Exporting straight from the source gives you the cleanest, highest-resolution video possible. This is the pro move because it gives you maximum flexibility for cropping and reformatting later without butchering the visual quality.
If that original file is long gone (it happens to the best of us), you can just download the video directly from your own YouTube Studio account. It's fast and easy, but just know that the file you get is compressed. The quality might take a slight hit, but for most social media clips, it's perfectly fine.
Finding the Golden Nuggets in Your Content
Got the file? Great. Now the real work begins. You can’t just dump a 15-minute video on Instagram and call it a day—that’s a surefire way to get scrolled past. Your mission is to find the "golden nuggets"—those short, punchy moments that can stand on their own as a Reel or Story.
Think of it like this: you're mining your long-form video for the best parts. A great clip for Instagram needs to check a few boxes:
- It tells a mini-story. Even a 30-second clip needs a clear beginning, middle, and end to feel complete.
- It delivers instant value. Whether it’s a shocking stat, a quick how-to, or a laugh-out-loud moment, it has to hook the viewer in the first 3 seconds.
- It sparks curiosity. A killer clip makes people wonder, "What else do they know?" or "Where can I find the full story?" This is how you drive traffic back to your YouTube channel.
For instance, say you made a 20-minute video on "10 Tips for Better Sleep." Don't just chop off the first 60 seconds. Instead, pull out the single most surprising tip—maybe it's a specific breathing exercise or a weird food to avoid—and build an entire Reel around just that one idea.
The goal isn't to summarize your YouTube video. It’s about isolating a single, powerful moment that makes a fast-scrolling Instagram user slam on the brakes, watch, and feel like they just learned something awesome.
This selective approach is what makes your content feel like it belongs on Instagram. It’s how you turn one big piece of content into multiple high-impact assets that grab attention and bring new followers into your world.
How to Reformat Videos for a Vertical World
Okay, so you've got your YouTube video downloaded. That's the easy part. The real work begins when you need to make that horizontal, widescreen content feel at home in a world that scrolls up and down.
Let's be honest, nothing screams "I'm a lazy repost" more than a 16:9 video crammed into an Instagram Reel. It just looks awkward, with massive black bars, and immediately tells viewers this content wasn't made for them.
To get this right, you have to reformat. That means truly transforming your video into the native aspect ratios that win on Instagram. For Reels and Stories, you're looking at a vertical 9:16 frame. For in-feed posts, a 1:1 square or a 4:5 vertical is usually your best bet. If you want a deep dive into the nitty-gritty of sizes for every platform, our complete guide on social media video sizes has you covered.
Choosing Your Reformatting Tools
You've got plenty of options here, from simple apps on your phone to heavy-duty desktop software. It really just depends on how much control you want.
- User-Friendly Mobile Apps: I often recommend tools like CapCut or InShot for quick edits on the go. You can import your downloaded video, pick a 9:16 or 1:1 canvas, and just pinch and zoom to get your main subject framed perfectly. It's fast and effective.
- Advanced Desktop Software: For those who want pixel-perfect control, something like Adobe Premiere Pro is the way to go. You can create a new vertical sequence, drop your horizontal footage in, and then get creative with filling the empty space—maybe with a blurred version of the video or some slick graphics.
No matter which tool you pick, the goal is always the same: make sure the most important part of your video is front and center in the new vertical frame.
You can really boil down the whole prep process into a simple workflow.
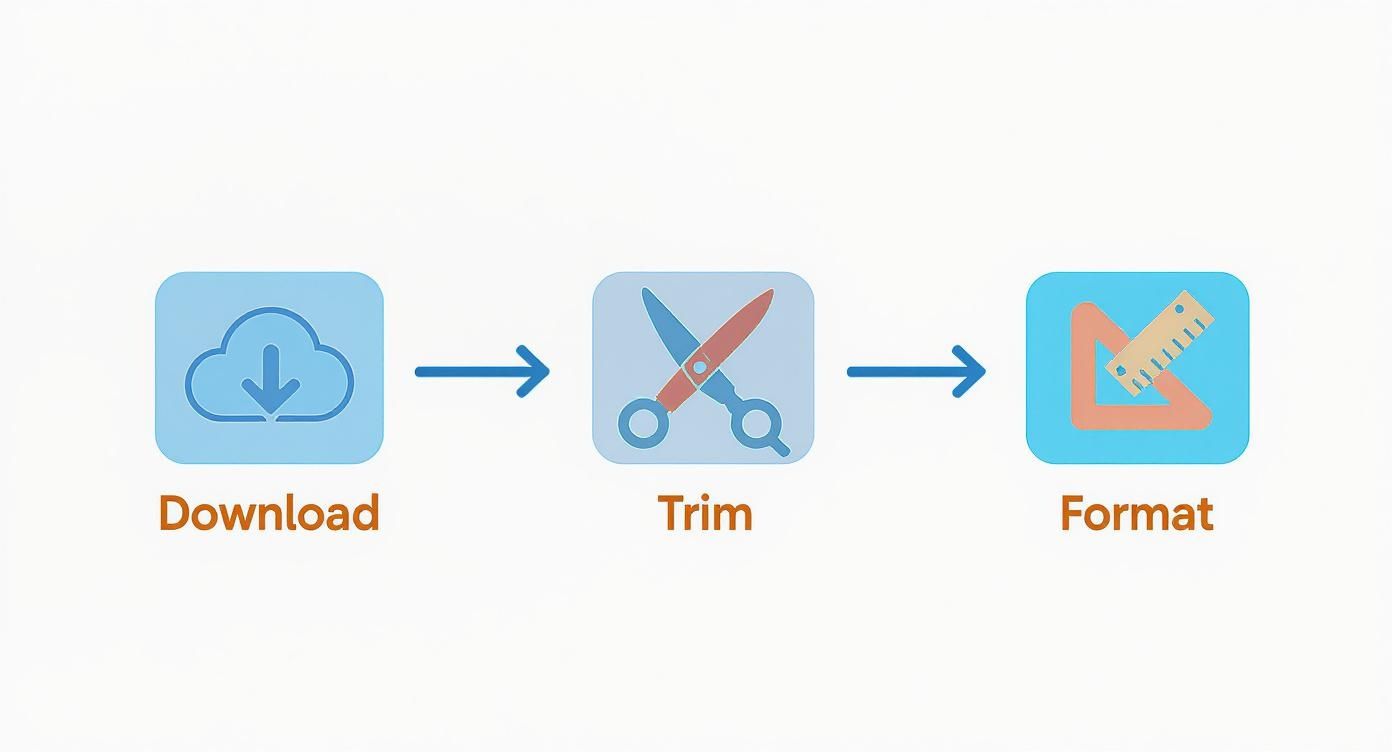
This little breakdown makes it easy to visualize the journey from a sprawling YouTube video to a punchy, perfectly-formatted Instagram clip.
The Art of the Trim
Beyond just resizing, you have to be absolutely ruthless with your trimming. It's not enough to just chop off the beginning and end. Knowing the perfect Instagram Reel length is key, but it’s more about mindset. You're creating a completely self-contained, high-impact micro-story that has to hook someone in the first three seconds and deliver its punchline before they even think about scrolling on.
When you get this right, the payoff is huge. Seriously. Short-form videos like Reels can boost profile visits by up to 22%. Accounts that lean into them often see follower growth rates up to 67% higher than those that don't. You're essentially opening up brand new pathways for people to find and follow you.
Think of your YouTube video as a block of marble. Your job is to chip away everything that isn't absolutely essential until you're left with a perfectly sculpted, attention-grabbing piece for Instagram.
This means finding that one golden nugget—the single most compelling point, the funniest line, or the most shocking reveal—and building your entire Reel around it. This approach respects the viewer's time and makes your content feel like it was born for the fast-paced feed, not just visiting from another platform.
Making Your Video Look Native to Instagram
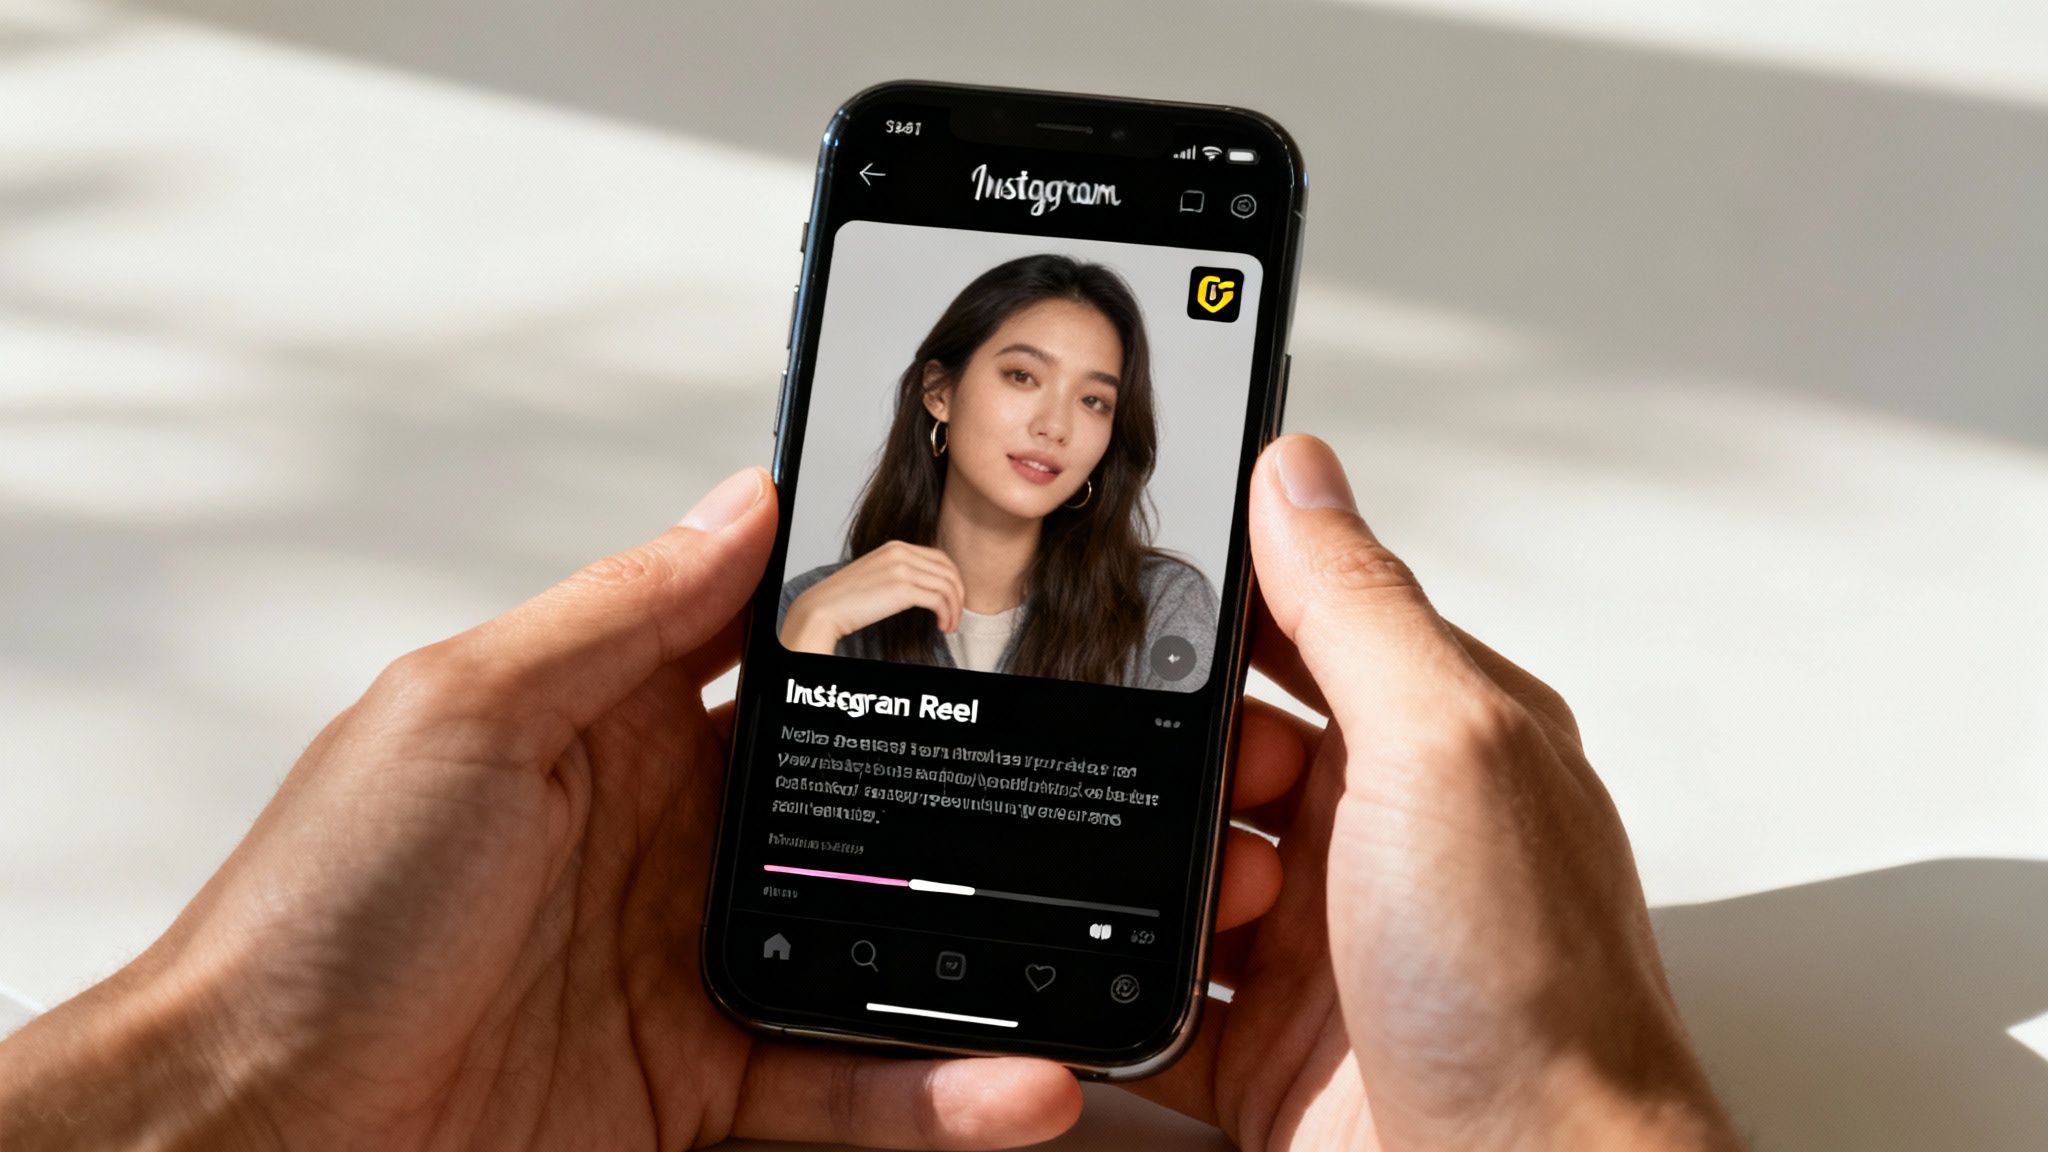
Simply resizing your video is just the start. If you want to successfully post a YouTube video on Instagram, your content needs to feel like it belongs on the platform—not like it's just a visitor. This means adding the creative flair and specific touches that Instagram users know and expect. Get this right, and you'll see a real difference in your engagement and watch time.
A massive piece of this puzzle is making your video work for everyone, especially for people scrolling with their sound off. Just think about how often you watch videos in public without your headphones in. Your audience is doing the exact same thing, which is where captions become your ultimate ace in the hole.
Why Captions Are a Must-Have
Let's be clear: adding subtitles isn't just a nice little extra; it's absolutely essential for grabbing and holding someone's attention in a silent-first world. When a user scrolls past your video, bold, easy-to-read text gives them instant context and a solid reason to stop their thumb and watch.
Thankfully, most video editing apps, from CapCut to Adobe Premiere Pro, have auto-captioning features that do most of the heavy lifting. Once the AI has done its thing, it’s your job to give them a quick polish.
- Check for accuracy. AI can be a little quirky, so give them a quick proofread to catch any weirdly translated words or misspelled names.
- Make them pop. Choose a clear, sans-serif font. Then, add a solid background or a stroke to the text so it stands out no matter what's happening in the video behind it.
- Keep them short and sweet. Break longer sentences into smaller, bite-sized chunks. This makes them way easier to scan on a small phone screen.
This small bit of effort ensures your message gets across, whether the volume is cranked up or completely off.
Adding Layers to Keep People Watching
Beyond captions, a few other visual tricks can keep viewers glued to their screens. These native-style additions make your repurposed clip feel more dynamic and give it a professional edge.
One of the simplest yet most effective tools is a progress bar. It’s just a thin line that crawls across the screen as the video plays, giving the viewer a visual cue of how much time is left. It's a subtle psychological nudge that encourages people to stick around to the very end, which is a massive win for your video’s watch time.
Text overlays are another fantastic way to add context or hammer home your key points. You can use them for a catchy title at the beginning or to emphasize a critical piece of advice.
Think of these elements as signposts for your viewer. They guide the eye, provide clarity, and create a more engaging experience that feels custom-made for the Instagram feed.
Dealing with Music and Copyright
Music is the final piece of the puzzle, but it’s also a potential minefield. Using the original copyrighted music from your YouTube video on Instagram is a surefire way to get your content muted or even taken down. The best practice is to always remove any commercial music before you upload.
So what's the alternative? Tap into Instagram’s huge library of licensed music right inside the Reels editor.
Using trending audio can give your video an instant algorithmic boost. Instagram is far more likely to show your content to people who have already engaged with that specific sound. It also means you’re 100% compliant with copyright rules, so you can post without worrying.
For a deeper dive into the creative side, check out our guide on how to create Instagram Reels that truly stop the scroll. Combining these native elements—captions, overlays, and platform-native audio—is what turns a basic repost into a high-performing piece of content.
Even the most polished video can't save a weak caption.
Think about it: your video does the showing, but your caption does the selling. It’s where you build a real connection, give your clip context, and tell people exactly what you want them to do next. When you post a YouTube video on Instagram, the text you write is just as critical as the footage itself.
The very first line of your caption has one job and one job only: stop the scroll. You need a hook that’s impossible to ignore. This could be a bold question, a surprising statistic, or a statement so relatable that your viewer can't help but nod along.
For instance, forget the generic "Check out my new video." Instead, try something like, "You're probably making this one huge mistake with your morning coffee..." See the difference? That little bit of mystery sparks instant curiosity and gets them invested in watching for the answer.
The Anatomy of a High-Performing Caption
A truly great caption is more than just a clever hook. It needs to give just enough information to make sense of the video, but not so much that you spoil the punchline. It’s like a mini-story that sits alongside your visual content.
Here’s a simple structure I always come back to for captions that actually get results:
- The Hook: A powerful opening line that grabs attention immediately.
- The Context: A quick sentence explaining what the video is about or why it's valuable. What will they learn or see?
- The CTA (Call-to-Action): A clear, direct instruction telling your audience what to do next.
That CTA is absolutely crucial. What’s the goal? Do you want them to share their own experiences in the comments? Save the post for later? Or, most importantly, head to the link in your bio to watch the full YouTube video?
Be direct. A strong CTA sounds like, "Drop your biggest takeaway in the comments!" or "Tap the link in my bio to see the full breakdown." Don't leave them guessing.
Demystifying Your Hashtag Strategy
Hashtags are your golden ticket to reaching people who don’t follow you yet. But here's a common mistake: just slapping on the most popular tags is a fast track to getting lost in a sea of content. The real magic happens when you use a strategic mix that balances wide reach with laser-focused relevance.
A smart hashtag strategy isn't about using the biggest tags; it's about using the right tags. Your goal is to show up in the feeds of people who are genuinely interested in your niche.
I find it helpful to think about hashtags in a few different buckets to make sure I’m covering all my bases.
- Broad Industry Tags (High Volume): These are the big ones, like
#videomarketingor#contentcreator. You only need 1-2 of these to cast a wide net. - Niche-Specific Tags (Medium Volume): This is where you get more targeted. Think
#youtubetipsor#instagramgrowthhacks. These bring in a more qualified audience. - Content-Specific Tags (Low Volume): These describe the exact topic of your video, like
#videocaptiontips. This is where you’ll find your most dedicated and engaged viewers.
Honestly, using a smart mix of 5 to 10 relevant hashtags is way more effective than spamming your post with 30 generic ones. This targeted approach helps the Instagram algorithm figure out exactly who your video is for, making sure your repurposed YouTube content lands in front of the right eyeballs every time.
Tackling the Common Questions About Repurposing
Even with a solid game plan, you're going to hit a few snags when you first start turning your YouTube videos into Instagram content. It just happens. Let’s walk through some of the most common questions and clear them up so you can keep moving forward.
One of the first things people ask is about length. Can you just dump your 10-minute YouTube masterpiece onto your Instagram feed and call it a day? The short answer? Absolutely not. Instagram is a different beast entirely.
Can I Post a Full YouTube Video on Instagram?
Nope, you can't post an entire YouTube video directly to most spots on Instagram. The platform is built for quick, bite-sized content, and trying to shoehorn a long-form video into that world just doesn’t fly.
Here’s a quick reality check on the time limits:
- Instagram Reels are your main weapon, and they top out at 90 seconds.
- Instagram Stories disappear after 24 hours and each clip is capped at 60 seconds.
- Feed Videos can go a bit longer, but honestly, Reels are what the algorithm is rewarding with reach right now.
The winning strategy is to pull out a powerful, self-contained teaser or highlight clip. Think of it as the trailer for your main event. Use that short video to get people hooked, then drive them to your YouTube channel with a clear CTA in your caption. Something like, "Watch the full breakdown via the link in my bio!" works wonders.
How Do I Avoid Music Copyright Nightmares?
Music copyright is a massive headache you want to avoid at all costs. The smartest and safest way to handle this is to strip out any copyrighted audio from your YouTube clip before you even think about uploading it to Instagram.
Once you have a silent clip, just bring it into the Reels or Stories editor. From there, you can add a track directly from Instagram’s own licensed music library. This is a huge win for a few reasons. It sidesteps any legal drama, and more importantly, using trending audio can give your video a serious algorithmic boost. If your original video already has music, you better be sure it’s from a royalty-free source.
Think of it this way: using Instagram’s music library isn’t a limitation—it’s a strategic tool. It makes your content feel more native to the platform while keeping your account safe and sound.
What Is the Best Format for Maximum Views?
Right now, it's not even a contest. Instagram Reels consistently deliver the most organic reach. The algorithm is practically begging for them, pushing them out to new audiences on the Explore page and the main Reels feed.
If you want the best results, you need to play by their rules. Always format your clip to a vertical 9:16 aspect ratio. Add big, bold captions that are easy to read on a phone (since most people watch with the sound off). And, as we just covered, use trending audio from inside the app.
Taking these steps makes your video feel like it was born on Instagram, not just dropped in from another platform. That native feel is exactly what the algorithm is looking for, and it's the key to getting your content in front of as many new faces as possible.
Ready to stop the manual grind of cutting and editing? ClipShort uses AI to automatically find the most viral moments in your videos and turns them into dozens of perfectly formatted, ready-to-post clips. Start creating scroll-stopping short-form content in minutes at https://www.clipshort.co.