How to Post YouTube Video on Instagram: Easy Guide
Posting your YouTube video on Instagram is a fantastic way to get more eyes on your content and connect with a completely different crowd. The basic idea is to download your video, trim and resize it for Instagram's formats, and then share it as a Reel, Story, or Feed post to guide people back to your main channel.
Why Bother Posting YouTube Videos on Instagram
Wondering how to post a YouTube video on Instagram might feel like adding another task to your plate, but trust me, it’s one of the smartest things you can do as a creator. Think about it: your long-form YouTube videos are full of golden nuggets, and Instagram is the perfect place to show off those highlights.
You’re not creating more work by repurposing your content; you’re making your existing work work harder for you.
This strategy helps you connect with two totally different audiences. Your YouTube subscribers might be ready for a 15-minute deep dive, but the average Instagram user is looking for quick, punchy clips while they scroll. A killer highlight reel or a single powerful takeaway on Instagram can stop them in their tracks and introduce them to what you do.
Bridge Two Platforms Seamlessly
The real goal here is to build a content ecosystem where your platforms support each other. A Reel that goes viral can send a wave of new subscribers to your YouTube channel. At the same time, a popular YouTube video gives you a treasure trove of clips to use on Instagram for weeks.
It’s a win-win relationship that boosts your visibility across the board.
This simple process shows how you can repurpose your content to drive traffic and grow your audience in a really effective way.
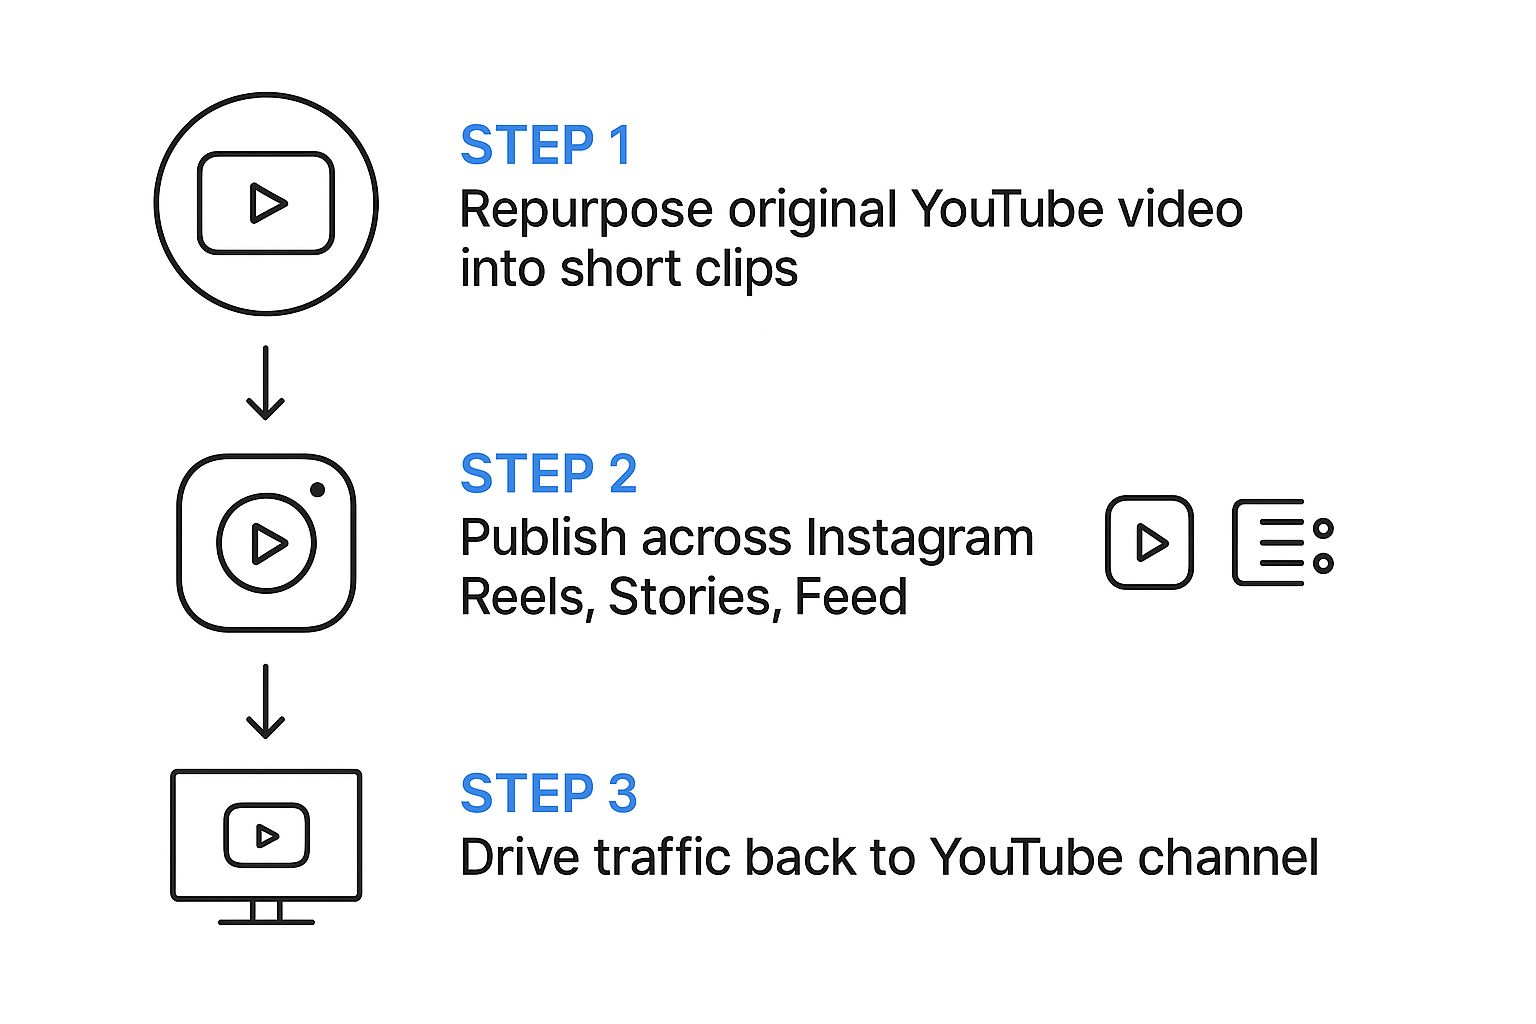
The main point is that you're not just reposting. You're building a funnel to turn casual Instagram viewers into loyal YouTube subscribers.
Maximize Your Content's Impact
Repurposing is all about being efficient. Instead of having one video that lives and dies on a single platform, you're creating multiple pieces of content from it. Instagram is perfect for short-form video, which is absolutely dominating social media right now. In fact, Reels now account for over 50% of user engagement time on Instagram, making it a non-negotiable format if you want to get discovered. You can dive deeper into these kinds of Instagram stats over on Buffer.
By turning one YouTube video into several high-impact Reels, Stories, and posts, you dramatically increase its lifespan and return on investment without starting from scratch.
This approach is very similar to how creators learn how to grow on YouTube Shorts by breaking down their longer videos. You're using the same core idea to fuel multiple pieces of content that grab attention.
Getting Your YouTube Video Ready for Its Instagram Close-Up
So you've got a killer YouTube video and you want to share a clip on Instagram. Great idea. But you can't just drop a landscape video into a vertical feed and expect it to work. It looks clunky, screams "repurposed content," and gets scrolled past in a heartbeat.
The trick is to make your clip look like it was born on Instagram. That means grabbing the original video file and giving it a proper Instagram-native makeover.

First things first, you need the video file. If you have the original sitting on your hard drive, you're golden. If not, you'll need to download it from your own YouTube channel. A quick word of caution: only ever download your own content to steer clear of any copyright headaches.
With the video file secured, it's time to play director. Open it up in a video editor and start trimming. Instagram is all about speed, so you need to find the most powerful, engaging, or valuable snippet of your video. Cut the long intros and get straight to the good stuff.
Resizing and Reframing for Instagram's Formats
Now for the most important part: resizing. Your YouTube video is almost certainly a widescreen 16:9 aspect ratio. That’s perfect for TVs and computer monitors, but it’s a dealbreaker on a vertical platform like Instagram.
You have a few choices depending on where you want to post:
- Reels & Stories: These demand a vertical 9:16 format. It fills the entire phone screen and is the most immersive option.
- Feed Posts: You can go with a classic square 1:1 or, my personal preference, a slightly taller 4:5 ratio, which takes up a little more screen real estate in the feed.
Don't let the numbers scare you. Pretty much any video editor these days, from professional software like Adobe Premiere Pro and DaVinci Resolve to user-friendly mobile apps like CapCut or InShot, has built-in presets for this.
You just select "Instagram Reel" or "Instagram Post," and the canvas changes. Your job is then to reframe the shot, making sure the most important action is centered in the new vertical frame. It’s a simple drag-and-drop process that makes a world of difference.
My Pro Tip: Decide where your clip will live on Instagram before you start editing. A clip framed perfectly for a 9:16 Reel will have its sides awkwardly chopped off if you then try to cram it into a 1:1 square. Plan first, edit once.
Instagram Video Format Cheat Sheet
To make things even easier, here's a quick reference table. Use this to double-check that your repurposed YouTube clips are perfectly optimized for Instagram's technical requirements. Getting these specs right ensures your video looks crisp and performs at its best.
| Placement | Best Aspect Ratio | Recommended Resolution | Maximum Length |
|---|---|---|---|
| Reels | 9:16 | 1080 x 1920 pixels | 90 seconds |
| Feed Video | 4:5 | 1080 x 1350 pixels | 60 minutes |
| Stories | 9:16 | 1080 x 1920 pixels | 60 seconds |
| Carousel | 1:1 or 4:5 | 1080 x 1080 or 1080 x 1350 | 60 seconds per slide |
Nailing the format is a fundamental skill for any creator looking to grow on multiple platforms. The core principles—grabbing attention fast and optimizing for vertical viewing—are universal. In fact, it's the same strategy you'd use when learning how to make viral YouTube Shorts. Master it once, and you can apply it everywhere.
Choosing the Right Instagram Format for Your Clip
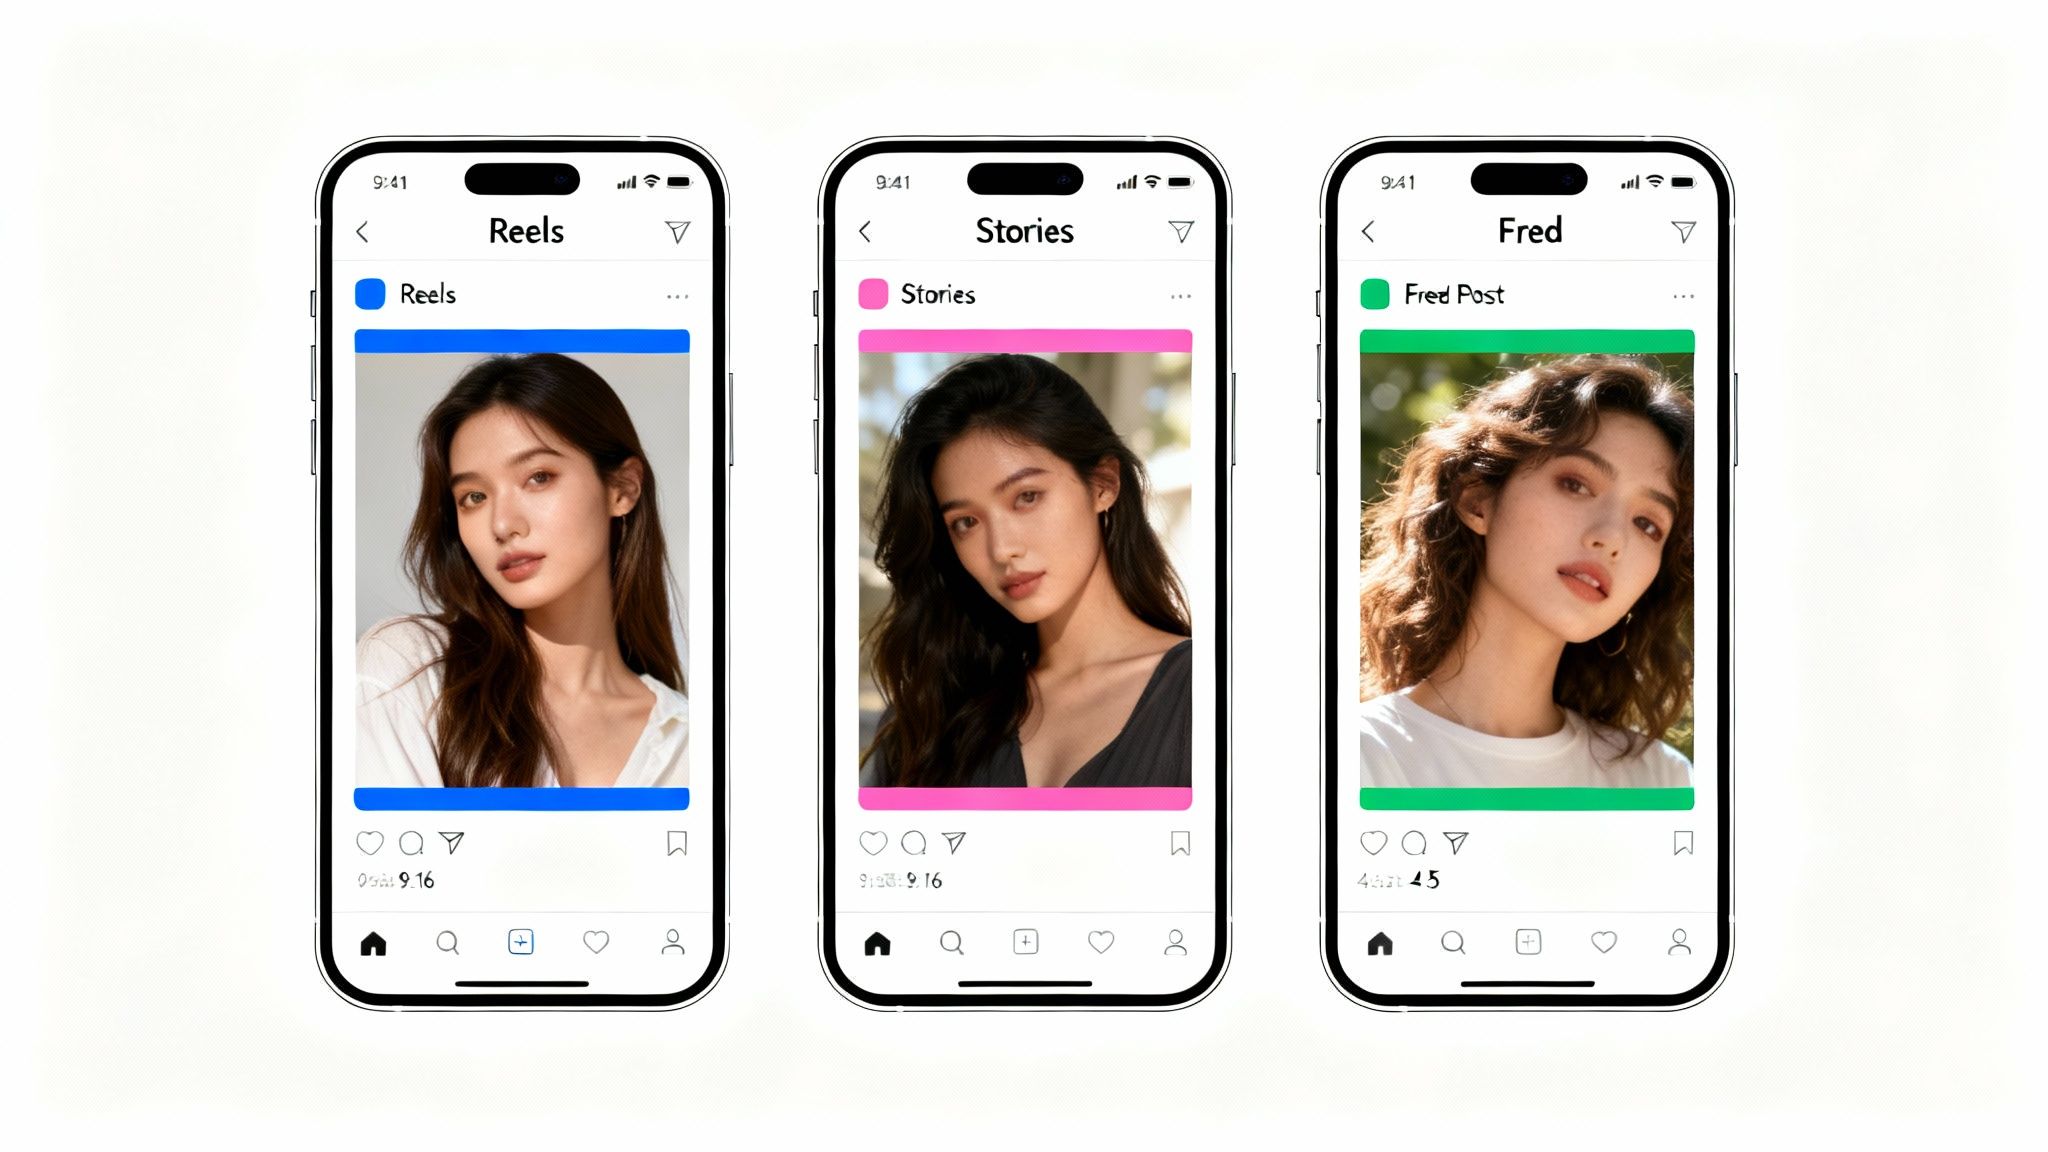
So, you’ve got your perfectly resized YouTube clip ready to go. Now comes the real strategy: where on Instagram should it live? Don't just throw it everywhere and hope for the best. Picking the right spot can be the difference between a viral hit and a total flop.
Each format—Reels, Stories, and your main Feed—has its own personality and audience. To get the most out of your hard work, you need to match your clip's style and purpose to the right format.
The Power of Instagram Reels for Discovery
If you want to reach people who don't already follow you, Reels are your best bet. Think of them as your discovery engine. The algorithm is built to push short, engaging clips to new audiences based on their interests, giving you a shot at going viral.
A clip from your YouTube video is perfect for a Reel if it's:
- High-impact and entertaining.
- A quick, valuable tutorial or tip.
- A surprising fact or a funny outtake.
Keep it under 90 seconds. The goal here is broad appeal. A fantastic Reel acts as a powerful teaser that can drive a ton of new eyes back to your YouTube channel.
Using Stories for Teasers and Engagement
Stories are for your current fans. They’re casual, personal, and disappear after 24 hours, which makes them feel urgent and exclusive. This is the place to build hype and have conversations with your community.
For example, pull a 15-second cliffhanger from an upcoming YouTube video and post it to your Story. Add an interactive sticker like a poll ("What do you think happens next?") or a question box to get people talking. It’s a fantastic way to nurture the audience you already have.
The explosion of short-form video has completely rewired how people watch content. When you post a YouTube video on Instagram, you're competing in a world of short attention spans. Your clips need to be concise and visually punchy. You can dig deeper into these evolving social media trends on OnlySocial.io.
Feed Posts as a Permanent Content Hub
Think of your main Instagram grid as your portfolio. Feed posts are permanent, so this is where you showcase your most polished, high-value content—the clips you want new visitors to see when they land on your profile.
Use your feed for highlights that perfectly summarize a key takeaway from a longer YouTube video. A well-produced, one-minute clip with a thoughtful caption can become an evergreen piece of content, attracting and educating your audience for months to come.
How to Optimize Your Post for Maximum Reach
Okay, your video is edited, formatted, and finally uploaded to Instagram. Nice work. But don't hit "Share" just yet—the real work is about to begin. Getting your video seen by the right people isn't about luck; it's about giving the Instagram algorithm every possible signal that your content is worth watching.
It all starts with a magnetic caption. That first line is prime real estate, and its only job is to stop someone mid-scroll. You can do this by asking a provocative question, dropping a bold opinion, or teasing the best part of the video. Hook them immediately.
Once you have their attention, add a little context and then, most importantly, tell them what to do next with a clear call-to-action (CTA). Since Instagram doesn't allow clickable links in feed captions, you have to get creative. Try something direct like, "Full tutorial in my bio link!" or "Catch the complete story on my YouTube channel—link in bio."
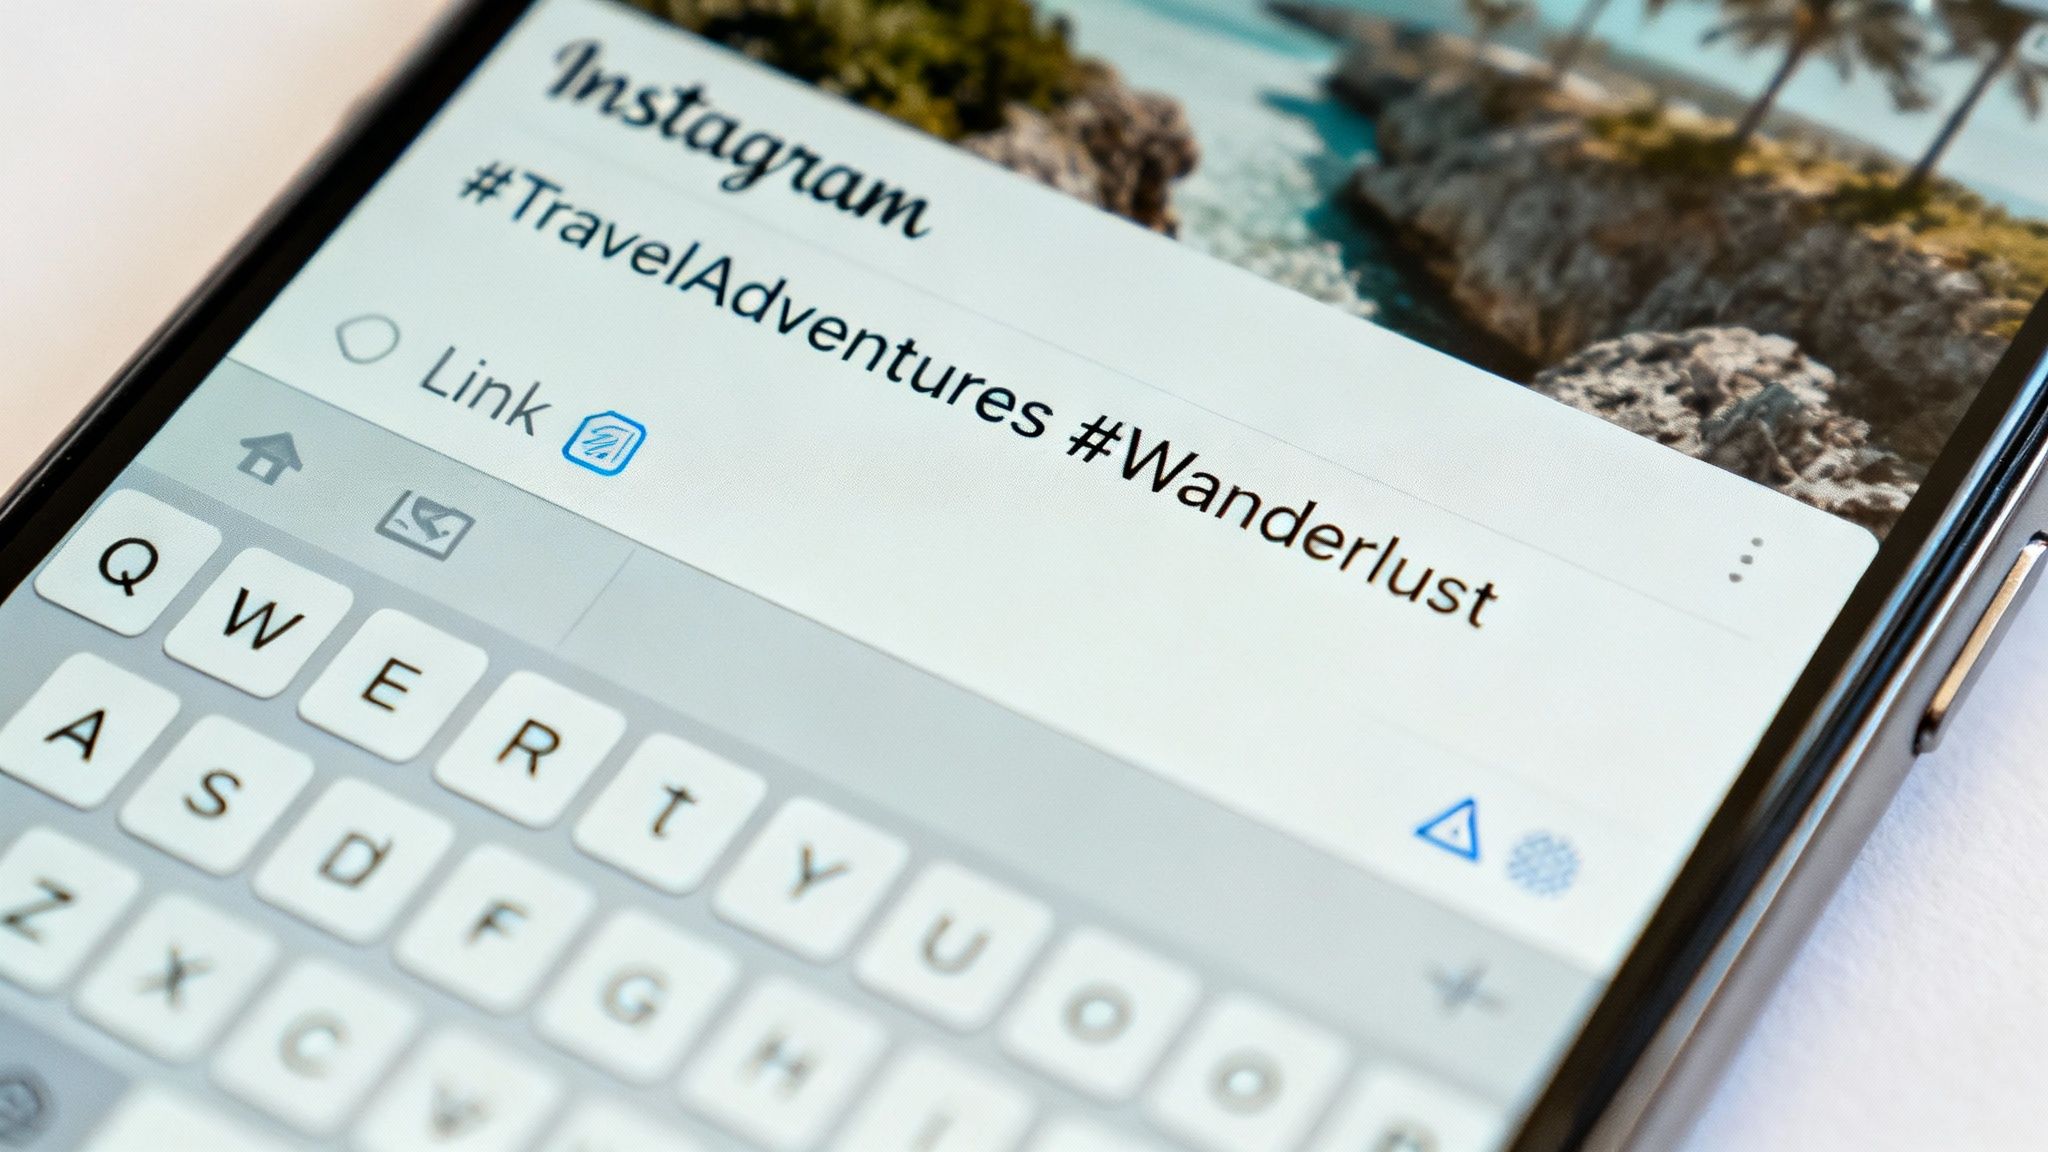
Crafting a Smart Hashtag Strategy
Hashtags aren't just an afterthought; they're your primary tool for discovery. Instead of just slapping on a few generic ones, you need a layered strategy that combines different types of tags to get in front of multiple audiences.
A solid approach I always use includes:
- Broad, Popular Tags: Start with 2-3 high-volume hashtags like
#contentcreatoror#videomarketing. These give you a shot at some initial, broad exposure. - Niche-Specific Tags: Next, add 3-5 tags that are super relevant to your video's topic. Think
#editingtipsor#cameragear. This is how you attract your ideal, most engaged viewers. - Branded Hashtags: Finally, include your own unique tag for your brand or a content series, like
#ClipShortTutorials. This helps build a community and makes your content library easy to find.
Mixing these types casts a wide net but also makes sure you're reeling in the people who will actually care about what you have to say.
Here's a pro tip that makes a huge difference: always add burned-in subtitles. So many people scroll with their sound off. If you don't have captions, your message is completely lost on them. It's a non-negotiable step for accessibility and engagement.
Final Touches for a Polished Post
Before you finally publish, take a moment to run through a quick final checklist.
First up, your cover image. This is the thumbnail people will see on your profile grid, so make it count. Pick a frame that's clear, eye-catching, and gives a good hint about what the video is about.
Next, tag any and all relevant accounts. Did you mention a specific brand, another creator, or a location in your video? Tagging them can get your post seen by their audience when it appears in their tagged photos tab. It's a simple way to expand your reach.
Taking the time to nail these little details is what separates a post that gets a few likes from one that truly performs. For more tips on cross-platform strategy, check out our guide on how to upload YouTube Shorts. These small actions give your content a professional edge and the best possible chance to succeed.
So you’ve figured out how to get a YouTube video onto Instagram. Great. But that’s just the starting line. The real magic happens when you move beyond simple posting and start building a reliable traffic funnel—one that consistently turns your Instagram followers into loyal YouTube subscribers.
It all starts with that prime piece of real estate: your bio link. Don't just drop a generic link to your channel homepage and call it a day. That's a missed opportunity.
Instead, I always recommend using a tool like Linktree or Later. These services let you build a simple, clean landing page where the very first button can always point to your latest YouTube video. Now, when you tell everyone to check the "Link in bio," they know exactly what they're clicking on and where to find the good stuff.
Build Genuine Hype Before You Post
Think like a movie studio releasing a blockbuster trailer. You don't just drop the whole thing at once; you build anticipation. A single clip is fine, but a multi-part teaser campaign makes your video feel like an event.
Let’s say you have a YouTube premiere scheduled for Friday. Here’s a simple but effective game plan:
- Monday: Start with a carousel post sharing some behind-the-scenes photos from the video shoot. Keep the captions intriguing.
- Wednesday: Drop a quick 15-second teaser clip into your Stories, and slap a countdown sticker on it. This gets people invested and reminds them something big is coming.
- Friday (Launch Day!): Post the absolute best 60-second highlight from your video as an Instagram Reel. The call-to-action should be crystal clear: "Watch the full video now! Link in bio."
Tap Into Other Audiences with Collabs
Another strategy that works incredibly well is collaboration. Don't go it alone. Instagram’s Collabs feature is a game-changer because it lets your post show up on your partner's feed, too. You instantly get your content in front of a whole new audience that’s likely interested in what you do.
Find other creators in your niche and pitch a cross-promotion. It's a simple, powerful way to grow. This is essentially a form of influencer marketing, which remains one of the best ways to connect with new viewers. For more data on this, check out these influencer strategy insights on sproutsocial.com.
The key takeaway is to treat your Instagram as a promotional engine, not just a content archive. Every post should have a purpose that supports your larger YouTube strategy and drives meaningful traffic.
Got Questions About Repurposing YouTube Videos for Instagram?
When you start pulling clips from YouTube to use on Instagram, a few questions always seem to pop up. It can feel a little confusing trying to navigate the rules, so let's clear up the most common ones to make sure you're doing things right.
Can I Post a YouTube Video That Isn't Mine?
Let's get this one out of the way first. The answer is a hard no.
Sharing someone else’s video on your Instagram account without their explicit, written permission is a big copyright no-no. It can lead to your video being taken down, a strike against your account, or even worse. The whole point of repurposing content is to get more mileage out of your own hard work, not someone else's. Stick to your own creations.
How Long Should My Instagram Video Be?
On Instagram, brevity is your best friend. People are scrolling fast, and you have only a few seconds to hook them.
Here’s a quick breakdown of the time limits:
- Reels: You can go up to 90 seconds.
- Stories: Each Story slide can be up to 60 seconds long.
While you can use that full time, the sweet spot for grabbing attention is usually well under 60 seconds. Think punchy, high-impact moments that leave people wanting more.
Treat your Instagram clip like a movie trailer for your YouTube channel. Your goal is to create a powerful teaser that ends with a strong call-to-action, like "Watch the full video on YouTube—link in bio!" This is a fantastic way to funnel genuinely interested viewers right where you want them.
Ready to create scroll-stopping short videos from your ideas in minutes? ClipShort uses AI to generate faceless videos with lifelike voiceovers, animated captions, and trending visuals, making it easy to dominate Reels and Shorts without ever getting on camera. Check out how it works at https://www.clipshort.co.